Napoleonic Zombies!

OK, I know that the purists might find this a bit difficult but I was intrigued by these models that I found in the War Banner office. I just happened to be passing by and caught sight of these conversions and I was immediately curious as to what they were.
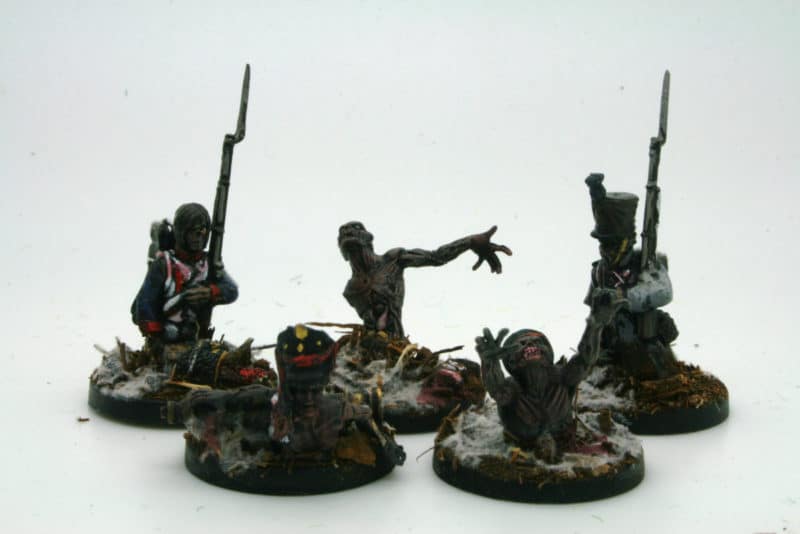
Watch out! Zombies!

Watch out! Zombies!

The models are made and painted by Darren Evans, co-designer of the very popular ‘Gangs of Rome’ game and so I immediately wondered if another game was in the pipeline! The short answer is no. The models were just an experiment but having a chat with Darren it was clear that there was a clever idea here for a fun game for the future. It was a great example of how perhaps people could be persuaded to have ago at Napoleonic’s without the need to invest in all the research required to turn out a Battalion of troops!
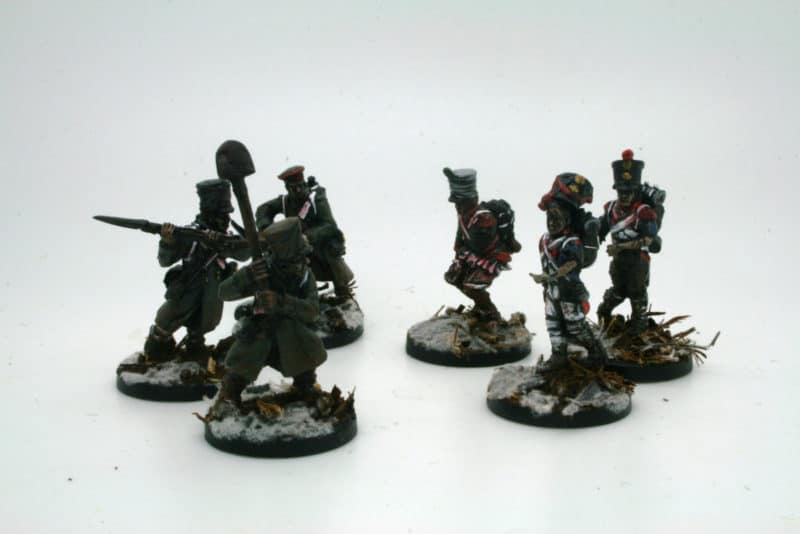
Napoleonic Zombies!

The simple back story to the idea is that during the hellish retreat from Moscow, following Napoleons disastrous attempt at invading Russia, it wasn’t just the freezing temperatures, marauding wolves and Cossack’s that threatened the French Army. Soldiers that had been driven to desperation by the cold and hunger had turned to cannibalism. Some of these poor souls, suffering a complete descent into madness, beyond all human decency had mutated into the living dead, Zombies. Refusing to leave this mortal earth they now turned on the living, caring neither whether their prey was French or Russian, just so long as it was warm…
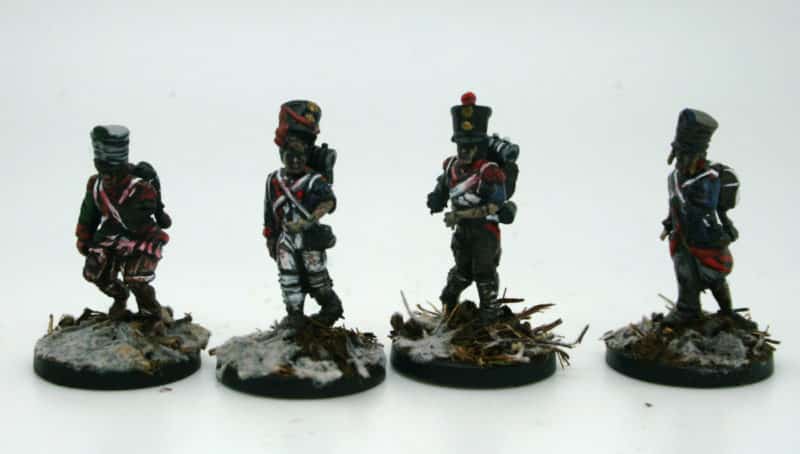
More zombies!

And so the stage was set for a very different type of Napoleonic skirmish game. As you can see Daz hasn’t worried too much about the detail on the uniforms. I doubt very much that those involved in the retreat from Moscow were too concerned about Parade ground dress.  Which also begs the question as to why some gamers get so hung up on the ‘right shade’ for a uniform but that’s a question for another blog. As for the Zombies, they really don’t care!
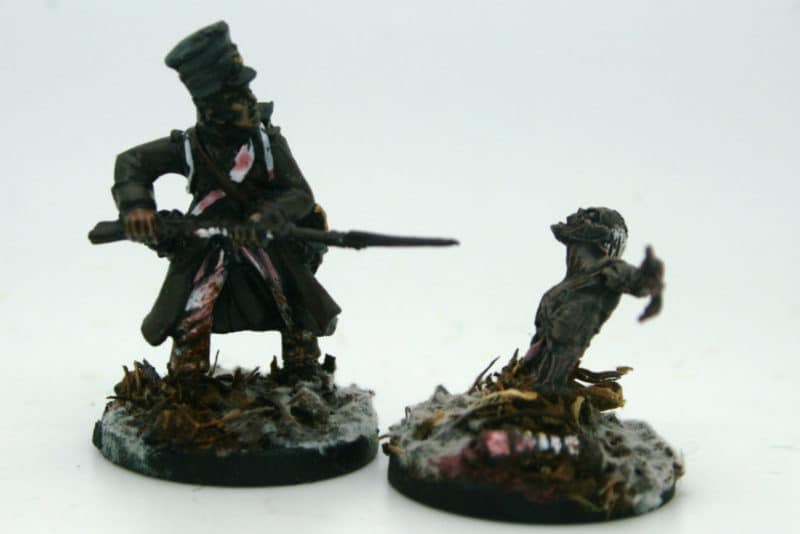
Extra cold steel!

Extra cold steel!

Regarding the conversions, the figures are a mixture of mainly Warlord Games Napoleonic plastics mixed up with some plastic Zombie parts or visa versa, depending on how far the contagion had taken! Daz simply took a scalpel to the figures and hacked away, adding a skeleton arm or leg as appropriate, or a uniformed arm, leg or head to a Zombie torso. There is no need to be too careful, the rough finish just adds to the overall look. When a figure is added to a snowy base, the effect is excellent and immediately evocative of the Russian retreat. It’s only when you look closely at some of the figures that you realise there is a zombie problem!
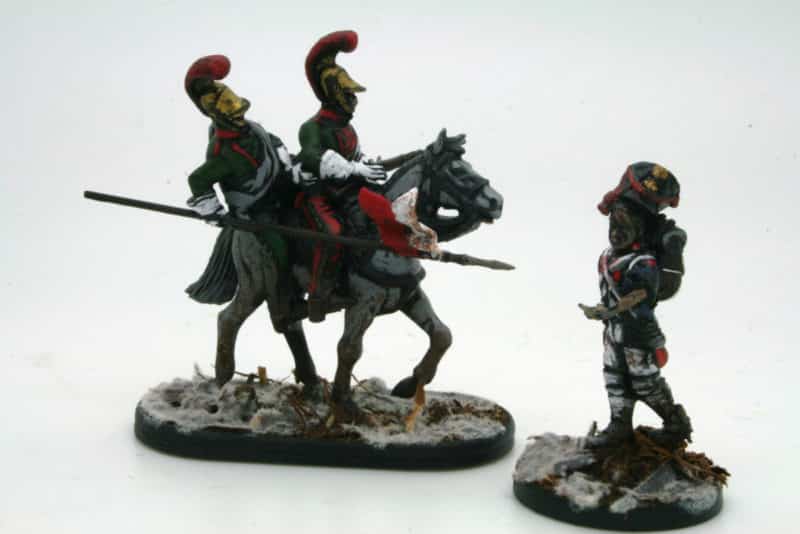
I wish we had a horse each....

I wish we had a horse each….

The ‘normal’ French that Darren made to fight the Zombie menace were in the main armed only with hand to hand weapons. Muskets were not reliable in the freezing conditions and the idea was to make the conflict all the more desperate. The French were just fighting their way home and trying to escape the latest sinister menace that had appeared.
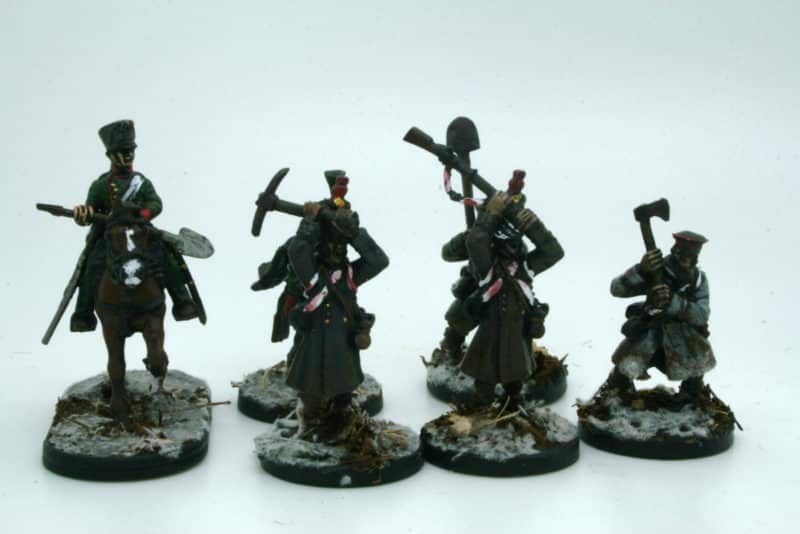
The muskets aren't as effective as a shovel!

The muskets aren’t as effective as a shovel!

As I have said, there are no rules as such for a game. The models were more an exercise in imagination. That said, I suspect it would be straight forward to incorporate a batch of Zombies into one of the many great Napoleonic skirmish games out there. Sharpe Practice and Over the Hills are two that spring to mind. I’m sure that you wouldn’t want to be playing Napoleonic Zombies every week but now and then, I think that this sort of stretch of the imagination brings the fun into gaming.
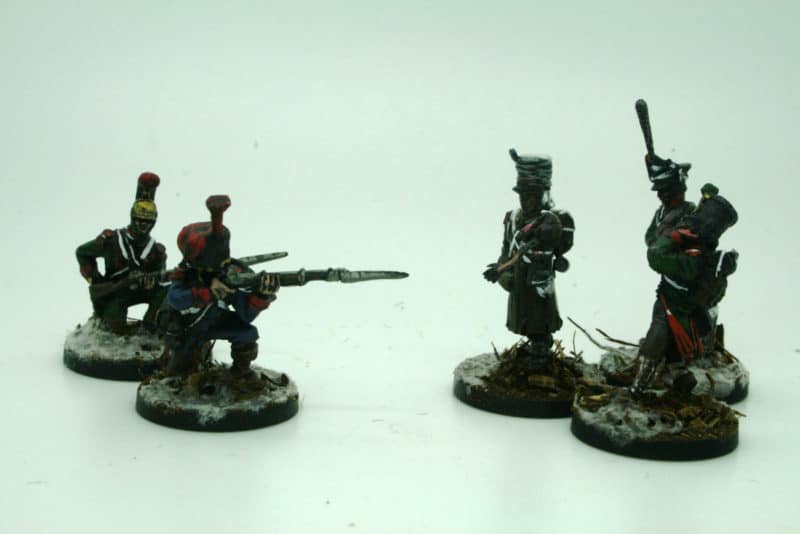
Fire!

Fire!

So there you are, Napoleonic Zombies – who would have thought of that? Sometimes it’s great to follow your imagination and who knows what ideas you can come up with. I think that Darren has done a great job with these figures and to see an idea through is impressive to me. Having an idea is one thing, actually making it is quite another! It’s that side of the hobby that I really enjoy and making and converting something a bit different is certainly a break from building my never ending Napoleonic army.
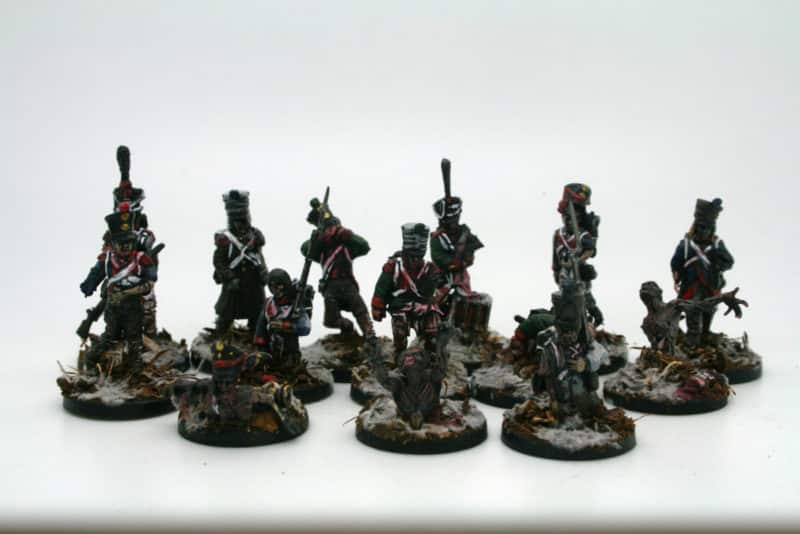
Zombie horde!

Zombie horde!

But in the meantime, back to Waterloo next week and my latest batch of Nassau….

The Commercial bit

If you would like to have a go at converting, we have a vast range of tools, adhesives, paints, Basing Materials and of course figures in our shop. Just follow the link:

ARCANE SCENERY


There’s always time….

With my attendance at Partizan and all the preparation that goes with it (and of course, the tidying up afterwards) my hobby time has been at a premium – but when have I said that before! To be fair, I have made some progress since my last blog. Due to the way that I work on my hobby there is always something on the work bench and I will use any spare time that I have, even 10 minutes to keep things moving along. I am lucky in that I have a permanent place to paint and model, so it is easy to pick up where I last left off and do a bit more to a model.

I was chatting to someone about this at work. Paul, was saying how he was so busy that he didn’t have time to do any painting. The problem was that he was looking for a spare morning or afternoon or even a day when he could really get stuck into his project. I find that such blocks of time are difficult to come by these days and I tend to work in short bursts – sometimes just 2 minutes! Yes, seriously. If the next stage of a model is to slap some texture paste on to the base, then it only takes a couple of minutes to do this. It will take 2 hours for the paste to dry but if I can get this job done just before I leave for work, then I know that it will be dry when I get home and it will take another two minutes to paint the base and so on.

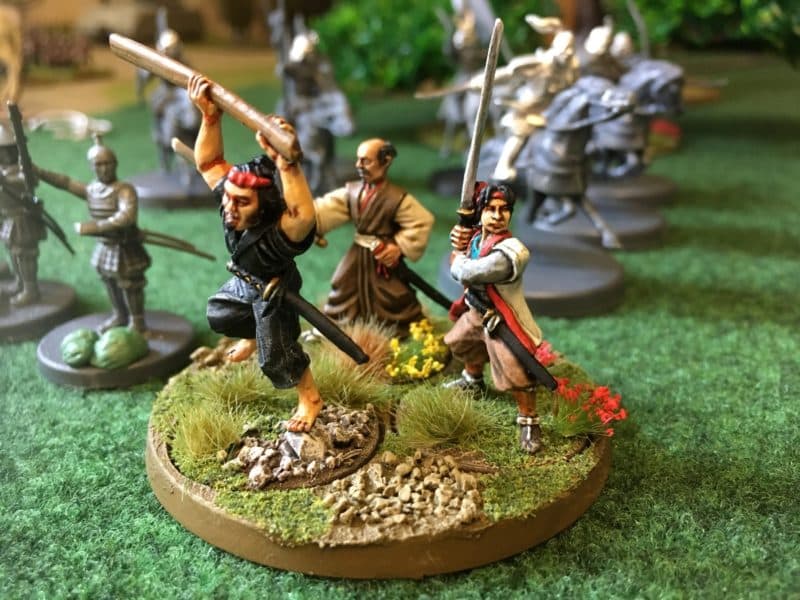
The same goes for the evenings. I may be too weary to spend the evening modelling but just half an hour or an hour gets a lot done, so I just focus on the next step in the modelling process rather than what needs to be done to finish the model, if you see what I mean. So since the last blog, some 14 days ago I have only finished one model/project. As you can see, Kojiro is now completed

Wargames Illustrated Special Edition Models now completed

Wargames Illustrated Special Edition Models now completed

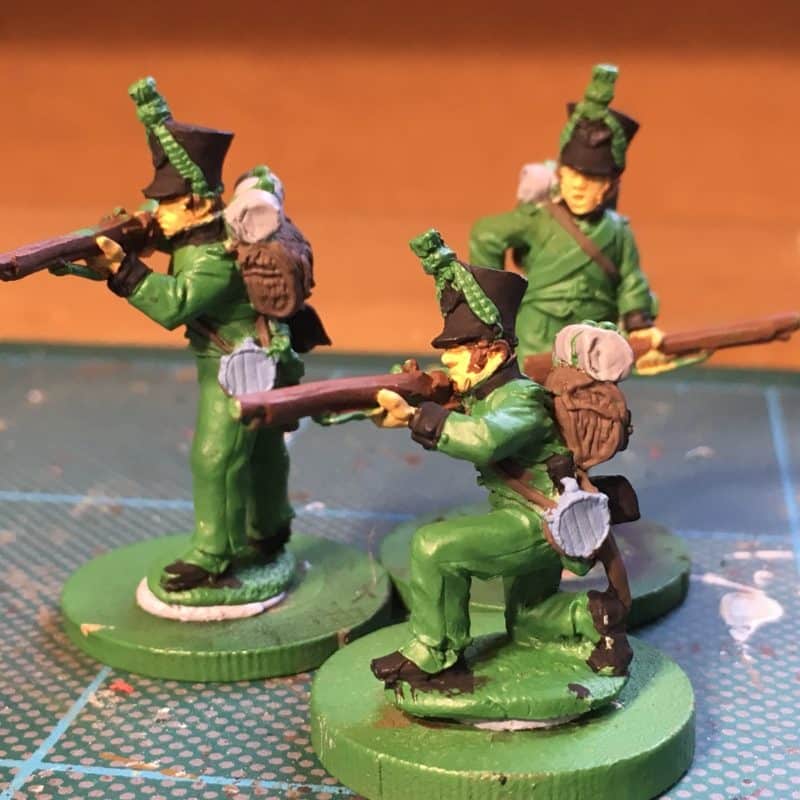
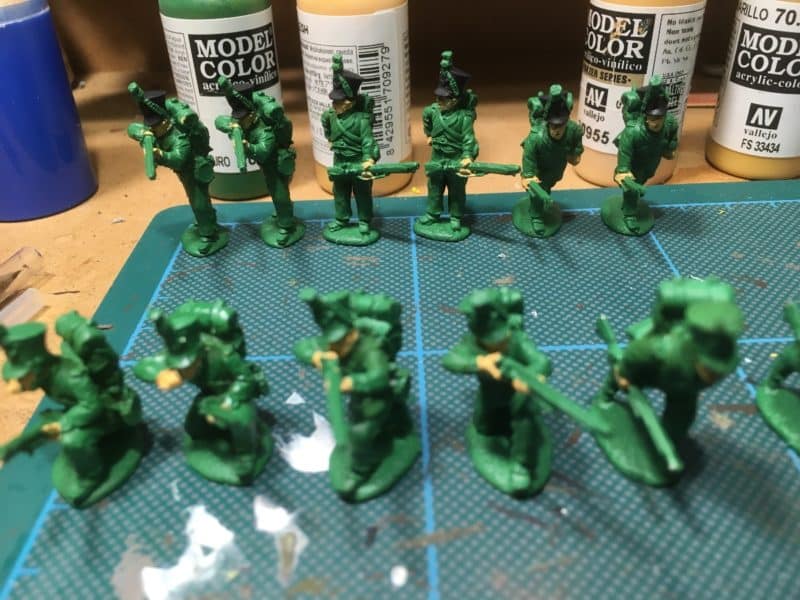
However, I have made progress on a whole lot of other projects. I mentioned that I would be working on another unit of Nassau infantry. Well over the 14 days they have gone from bare castings, primed and the start of the batch paint.

Nassau Volunteer Jaeger on the work bench.

Nassau Volunteer Jaeger on the work bench.

The (poor) photo above shows the figures 7 days ago. The back rank is primed green and the flesh and hats painted. The front rank (out of focus) shows that I have yet to add any black.

Volunteer Nassau - next step

Volunteer Nassau – next step

This photo shows as they are now. ( I promise all 12 are at this stage!). Yes, they are a long way off being finished but I’m happy that progress has been made. I know the next step to be painted – I’ll be painting the gaiters dark grey and then I’ll start the straps with yellow ochre. It wont matter to me whether I do both colours on all figures or just paint the gaiters on just two of them. So long as I am moving forwards, I’m happy. Now I know that 14 days to get to this stage seems like very slow progress but it is progress and I will soon have another unit for my Napoleonic Army.

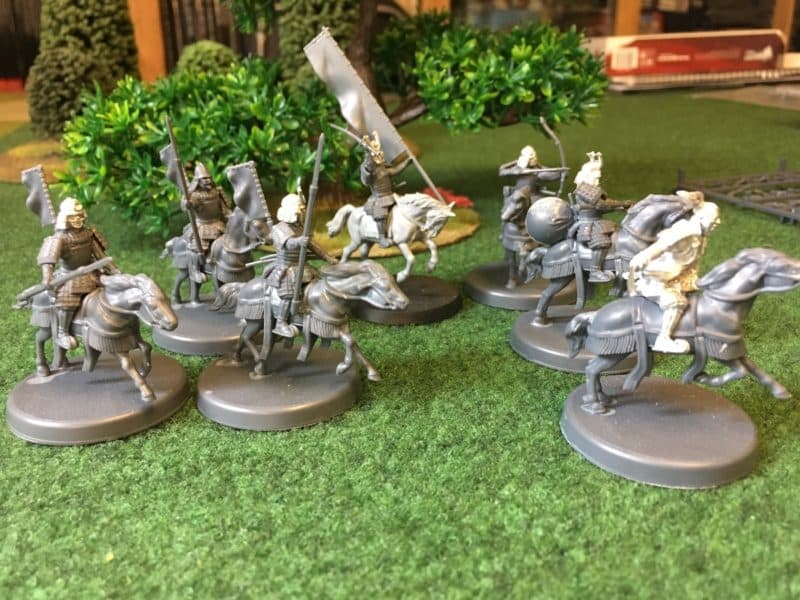
But that’s not all I’ve done. Taking a break from painting, I’ve assembled the next set that I would like to complete in the Test of Honour Range – Daimyos Retinue.

Daimyos retinue, under construction

Daimyos retinue, under construction

The majority of these were assembled over at Jaz’s house one evening. We took a break from gaming and just had a hobby night. I had never thought of modelling as being a social hobby but I was once again surprised as to how much I managed to get done whilst chatting away with my war gaming pals. So Seven mounted Samurai are nearly ready for priming.

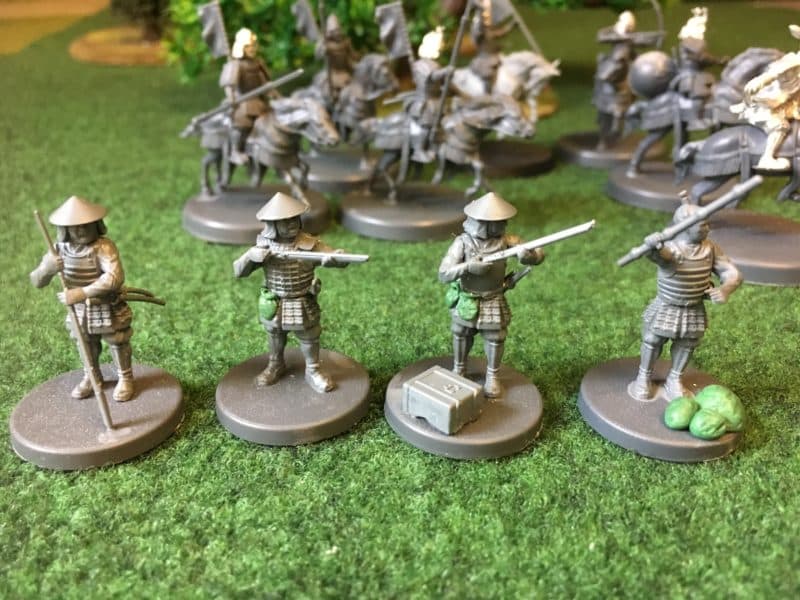
Musket men and Sergeant of archers

Musket men and Sergeant of archers

Building the Samurai cavalry gave me the urge to go back to some spare plastic ashigaru and assemble them as Musket men and I also needed a Sergeant of Archery to complete all the figures that appear on the cards. The musket men will be to go with Nobunaga – as this figure allows you take musket men for just 2 points each, I decided that I wanted at least two bases of them. I also decided to add some extra pouches using green stuff. I’ll never make a sculptor but they look passable enough. Interestingly, I ran out of time and rather than waste the green stuff, I used the excess to make some rocks on the Sergeants base. These models were actually assembled while I was sitting out in the garden with a glass of something cold and chatting to Julie.

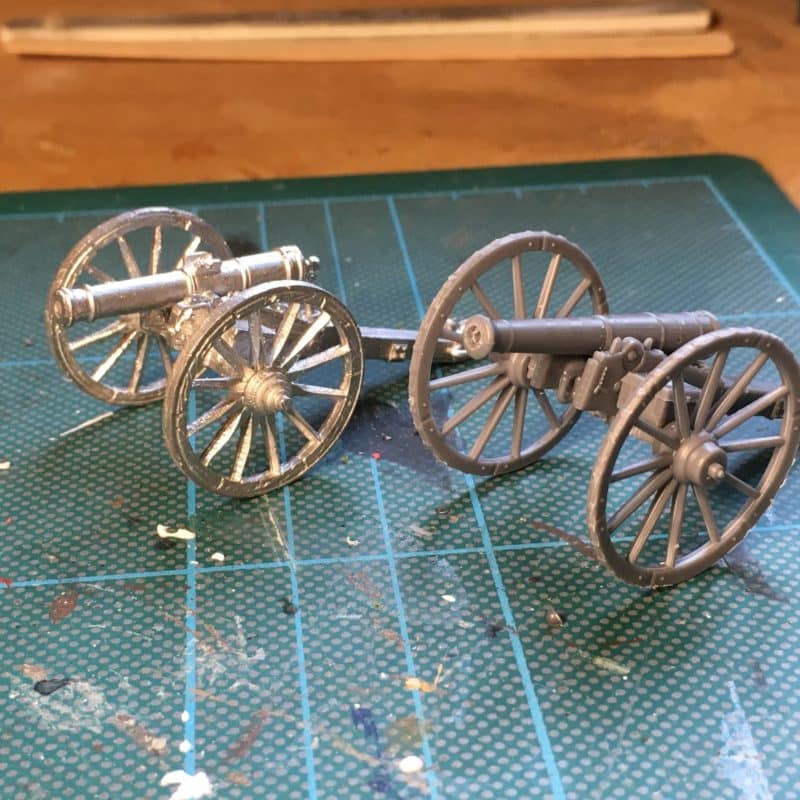
British Artillery

British Artillery

Finally, on the work bench are a couple of cannon that I am planning to add to my army. They were kicking around in my lead pile and it wasn’t a long job to get these assembled and ready for priming. I’ll probally prime these at the same time that I prime the Samurai horses, so they will be ready for painting.

So as you can see, I haven’t done much in the last 14 days…

The Commercial bit

You can get most of the modelling supplies that I use from the Arcane Scenery shop. Even better, it’s still post free for most world wide locations!

ARCANE SCENERY
If you would like to stay up to date with latest releases, wargaming gossip and the occasional post as to what I am up to in the garage, follow us on Facebook;

FACEBOOK

More for Test of Honour – Scenery & Musashi!

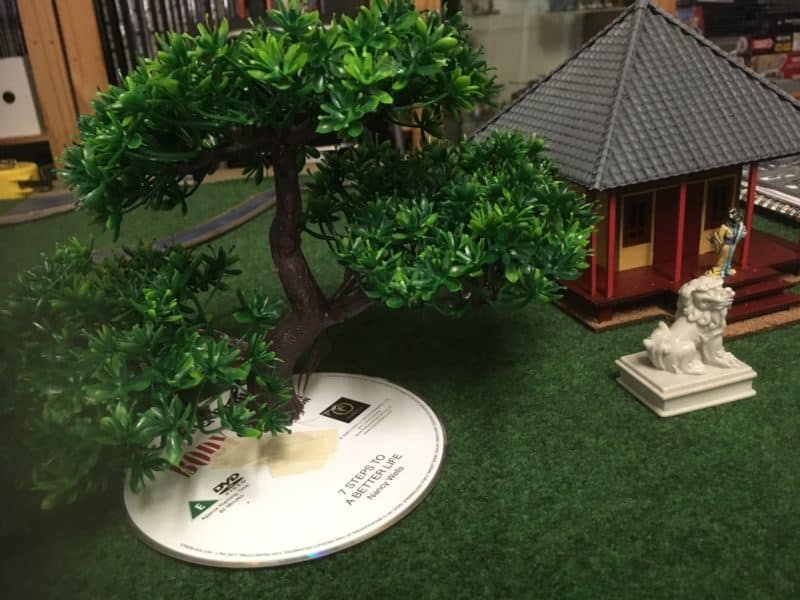
Having just finished my latest Napoleonic Battalion, I fancied a change. A recent post on the superb Test of Honour Facebook group had inspired me to send for some plastic Bonsai trees from China. The Bonzai trees make excellent full sized trees for a Test of Honour game. As a bit of a digression, I am usually not too fussed about the scale of my trees in war games, particularly when playing the larger battles. The trees on a wargames table are there to represent an area of wood, not to be a scale model.

However, Test of Honour is a skirmish game and a tree that is more in keeping with the scale of the figures and buildings seemed attractive. Even if the leaves are a bit on the large size, the overall impression would be of a specimum tree, as seen in Japanese gardens.

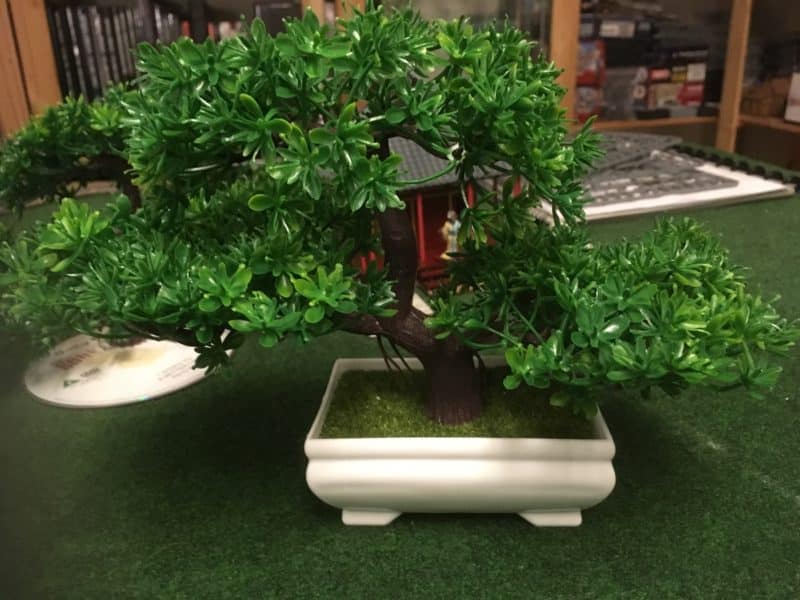
Plastic Bonsai tree

Plastic Bonsai tree

As you can see, the tree comes in a nice plastic pot so it was a simple task to cut it out and using a glue gun, stick it to an old DVD. I used ‘Seven Steps to a Better Life’ a free DVD from a newspaper and clearly nonsense, as none of the steps included ‘spend more time wargaming’. You can, of course, use any suitable DVD or CD…In fact, I think that would be an interesting survey…’Which DVD/CD is more suitable for scenery bases than watching/listening to! I digress once again, but at least I am recycling my rubbish!

Tree attached to DVD

Tree attached to DVD

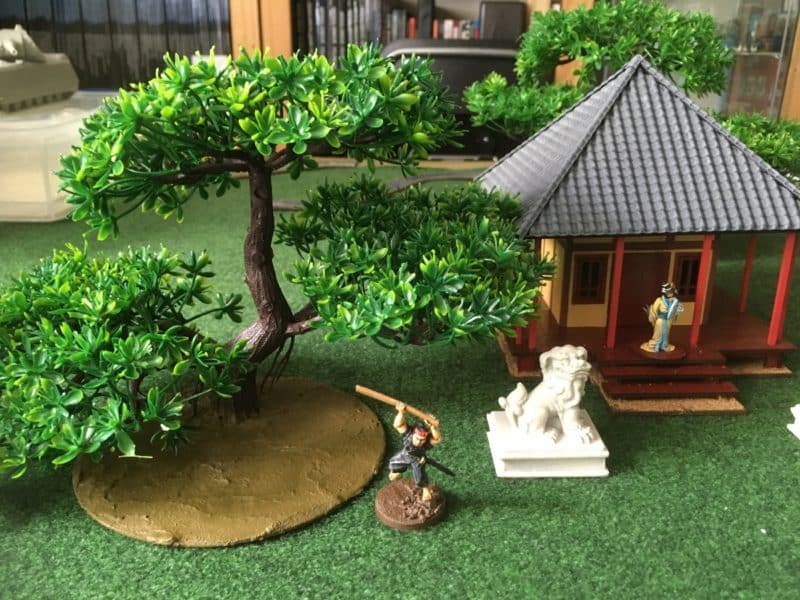
The next job was to slap some filler (Polyfilla or other decorators filler is ideal) over the base and when dry, I covered this with Vallejo Dark Earth Textured paste. Incidentally, the temple dog in the picture is from the Ainsty Castings range. They do a set of two of these and also make a very nice Sampan – if you haven’t discovered Ainstey Castings the link is below and they have some very useful stuff! Once the paste was dry, I gave the whole thing a good coat of paint – I use emulsion for scenery, it’s cheaper. The base is now ready for detailing.

Bonsai tree based and ready for detailing

Bonsai tree based and ready for detailing

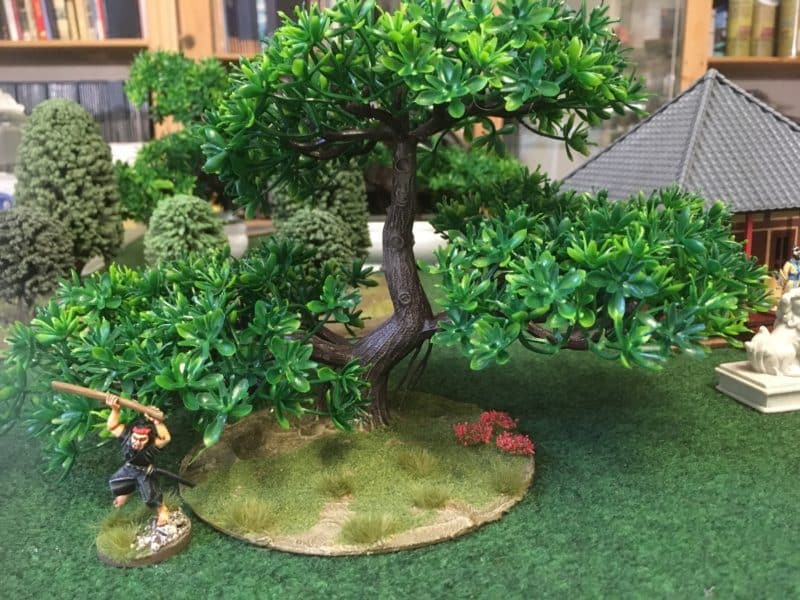
The next stage is to dry brush a highlight onto the textured earth and to add some scatter and of course, some grass tufts and flowers. While I was highlighting the base, I also used the same mix to dry brush the tree trunk  to bring out the detail. You could really spend a bit of time improving the tree with a quick spray or dry brush but time was at a premium and I’m happy with the overall look for a piece of wargames scenery that I hope will see plenty of use.

The completed bonzai tree based and ready for the table.

The completed bonzai tree based and ready for the table.

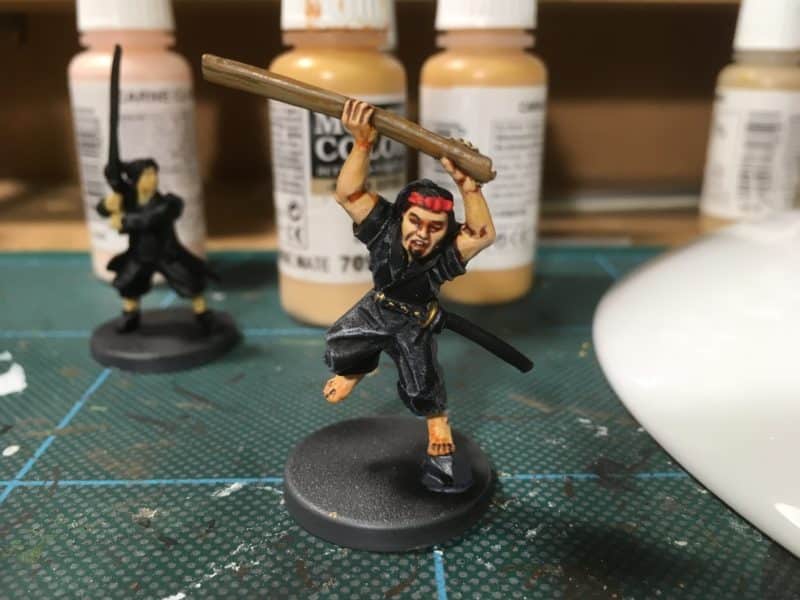
Each of the stages above only take a few minutes but the drying time is the issue. So I tend to have another project on the go when I am making a piece like this. As you can see from the picture above, I am working on  a set of ‘Giants in Miniature’ figures from Wargames Illustrated. The figures represent the famous duel between Miyamoto Musashi and Sasaki Kojiro and are a limited edition of 500 sets. If you would like one the link to Wargames Illustrated site is below.

Miyamoto Musashi on the work bench

Miyamoto Musashi on the work bench

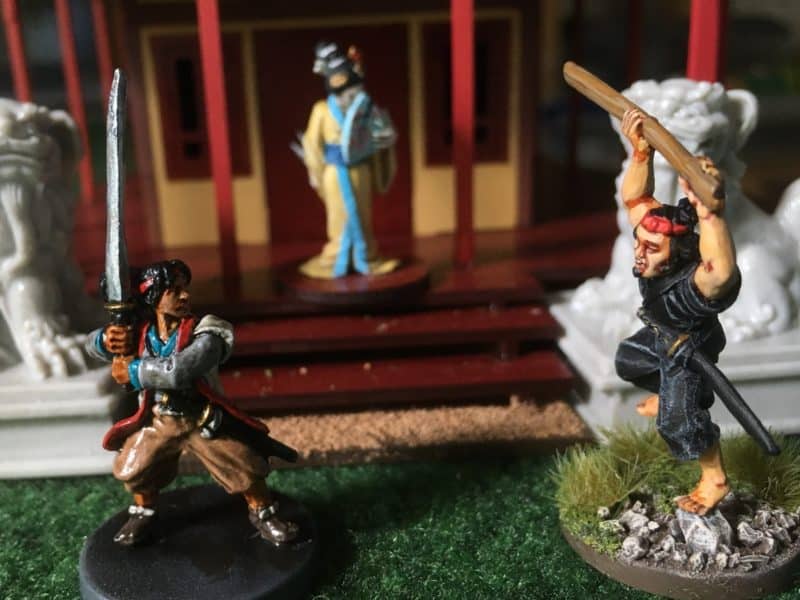
The figure is straight forward to paint as he is all in black, so while waiting for my scenery piece to dry, I got on with him. Sasaki is in the background. ready for his coat of paint! You can see the finished Musashi in the picture above based and ready to fight his rival Sasaki. The final picture is a very poor shot of the two of them fighting in front of the Sarissa shrine, with the Geisha spy looking on. Sasaki is yet to be finished, requiring a coat of matt varnish, some extra highlighting and of course, basing.

Musashi and Kojiro clash!

Musashi and Kojiro clash!

As I have said, modelling time has been at a premium these last couple of weeks but I should have Sasaki Kojiro finished for the weekend and he will complete my triology of limited edition figures from Wargames illustrated. I’ve also got a couple more of the Bonzai trees to base, but now that I know what I’m doing , these will be a quick little project. It’s back to Nassau Infantry after that!

The Commercial bit

You can find Ainstey Castings site here:

Ainstey Castings

You can get the Musashi and Kojiro ( there are 45 sets left at the time of writing) here:

GIANTS IN MINIATURE

You can visit the Arcane Scenery shop for all Vallejo paints, textures and basing products – we send post free! We have a great Samurai section and carry all of the Sarissa Japanese range.

ARCANE SCENERY
As regards the Bonzai tree, you will have to search ebay! However, we are looking to import a batch from China – they will be a little more expensive but we are looking to see if we can bundle them with some buildings. If you follow us on Facebook, you will be the first to know!

LIKE US ON FACEBOOK

Happy Modelling!

Painting the Nassau-Usingen Battalion. Part two, Batch paint

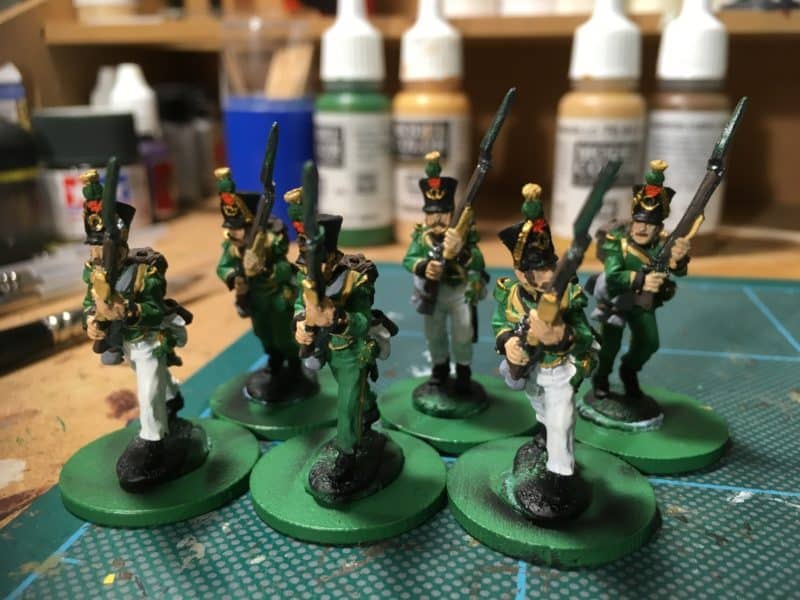
In my last blog I gave some back ground into how and why I was painting Nassau troops for my Napoleonic Army. This week is just a walk through of the basic steps in batch painting the unit. I was on a fairly tight deadline with about three weeks to finish the unit. For me getting 24 troops finished in that time would be a record but I had a plan! Actually, the unit would eventually consist of 36 troops but I quickly realised that this was just not going to happen. I am using the Perry’s metal Nassau troops to build my unit and my painting guide is the plate from the Mont St Jean site – see last weeks blog for more details.

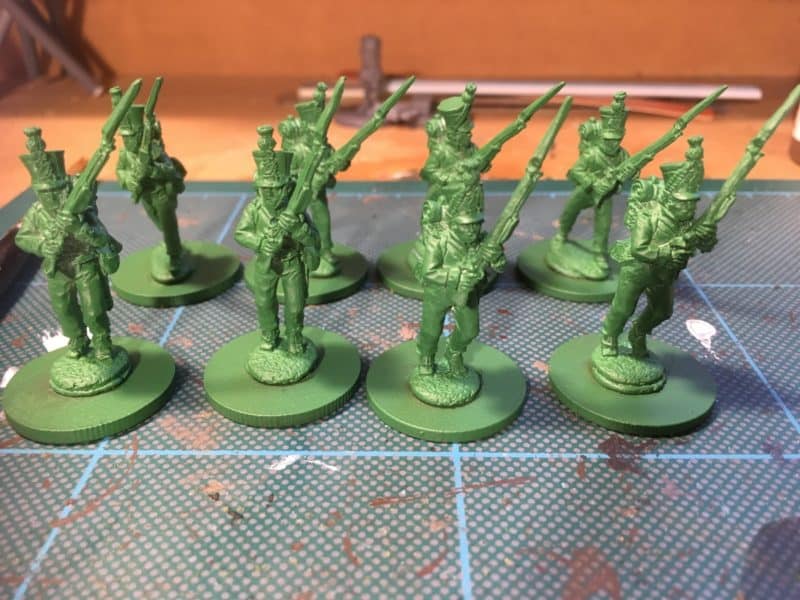
I wont go through the preparation stage other than to say although the Perrys models are beautiful sculpts, some of the castings need a bit of work to get rid of the flash and feeds. There was nothing that couldn’t be sorted with a quick file and scrape with a scalpel. Once cleaned up, I blutack the models to a temporary base and using the Army Painter Green skin primer, sprayed the figures. When batch painting, I usually work on batches of 6 to 8 models to start with. That said, if I am familiar with the colour scheme, I have painted up to 24 in one go.

The first batch of Nassau primed with green skin!

The first batch of Nassau primed with green skin!

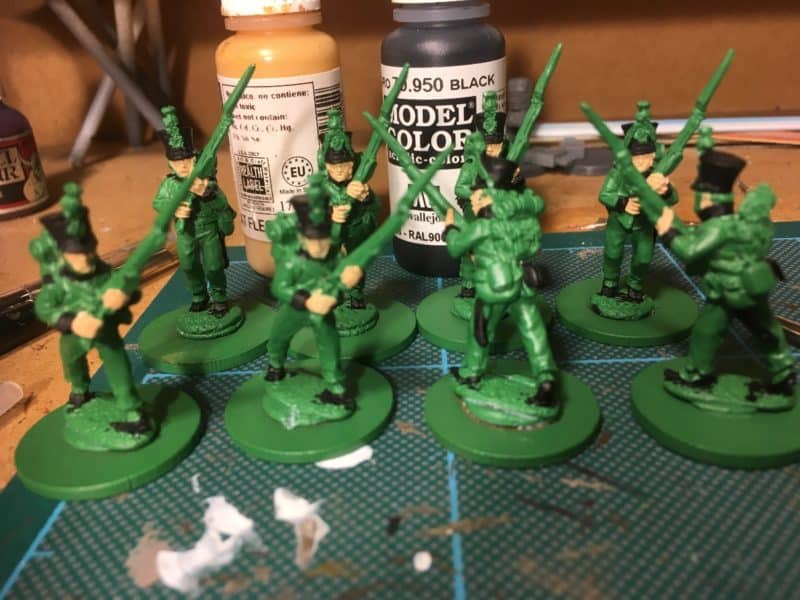
Once I had checked that primer had covered the models, the batch paint starts with the faces and hands. I use Vallejo colours from now and I will list the colours used at the bottom of the blog. With the flesh done, my next colour is usually Black, to paint the hats, boots, sword scabbard, cartridge case, collars and cuffs.

2018-02-04 17.26.50 Flesh and Black added.

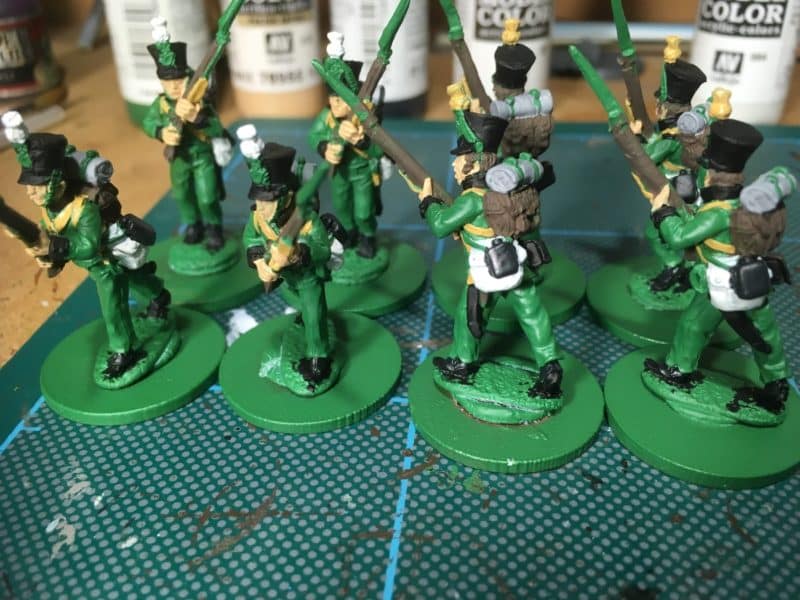
The next stage is to work through the equipment. I used leather brown for the hair, backpack, bayonet scabbard, and water bottle strap. This is an example of me cutting corners – if you want a more professional look, you would vary the hair colour and use different shade of brown for each item but these are war games figures and I am on a deadline! I used yellow ochre for the straps, off white for the food bag, black grey for the water bottle and sea grey for the blankets.

Nassau, main equipment done.

Nassau, main equipment done.

Each of the centre companies have a different coloured plume on their hats. Company 1 is yellow, Coy 2 is white, Coy 3 is Blue and Coy 4 is black. Orange was used to paint the rosette on the shako. The next stage was to paint the metallic colours, brass for the hat badges and chin straps, detail on musket and sword.  I use steel for the muskets and bayonets. I also painted the piping around the collar and cuffs and tidied up any obvious errors.

Voltigeurs block painted

Voltigeurs block painted

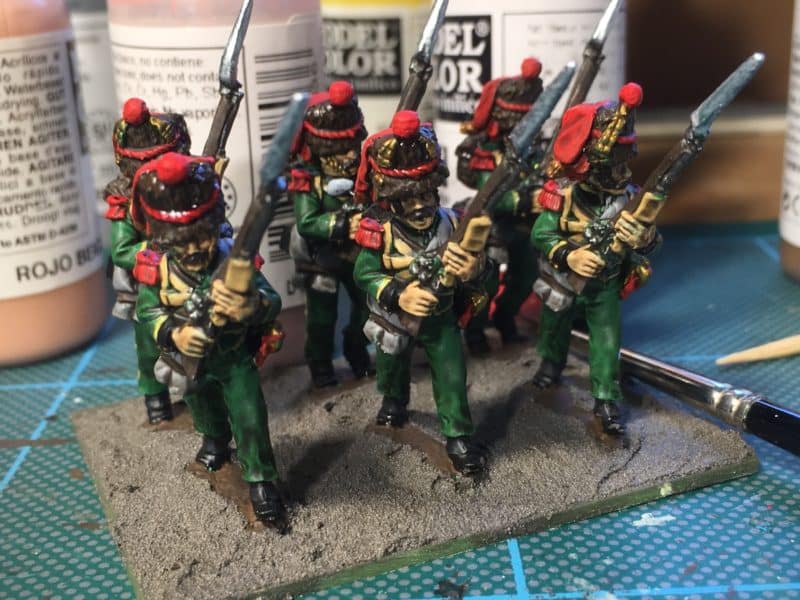
The picture above is a bit of a cheat as this is the Voltigeur company that actually was not ready for the battle! However, it does show the figures at the block painted stage. The figures are now ready to be painted in quick shade – I use the black or dark tone. Note that I don’t dip the figures as suggested by the manufacturer. I find this wasteful and messy. Simply use an old brush to apply the quick shade and you will have a better control over the finish. As a side issue, I decided to give some of the light company off white trousers, just for a bit of variance.

Nassau Grenadiers - quick shade applied

Nassau Grenadiers – quick shade applied

The picture above again is a bit of a cheat in that these were also not ready for the battle but it shows a unit with the quick shade applied and the first coat of matt varnish. I have now resorted to brushing on matt varnish and currently use the artists Galleria varnish. I have had a few recent mishaps with spray varnish and the Galleria seems to give a better finish.

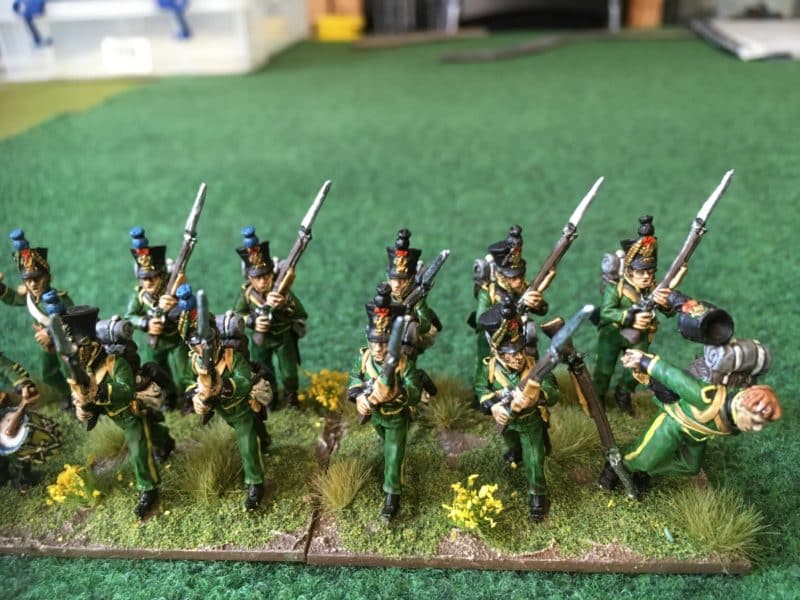
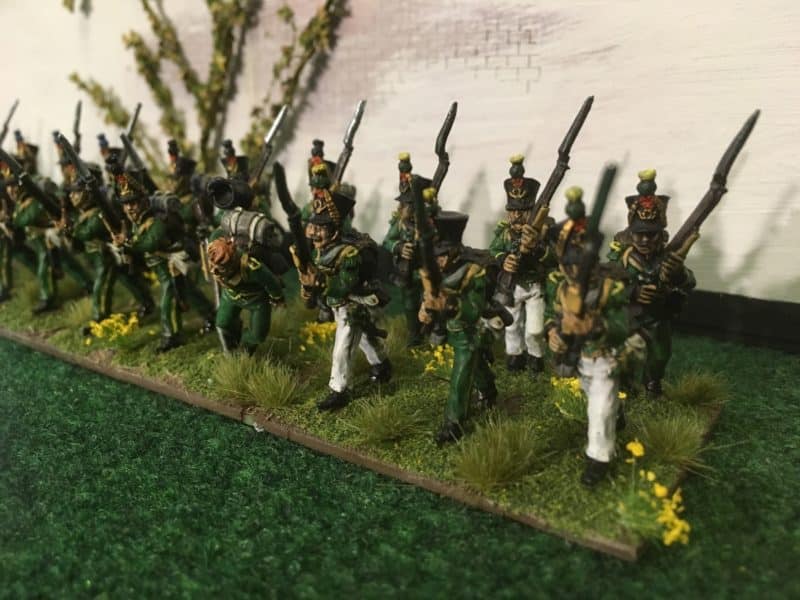
Nassau line Companies ready for basing!

Nassau line Companies ready for basing!

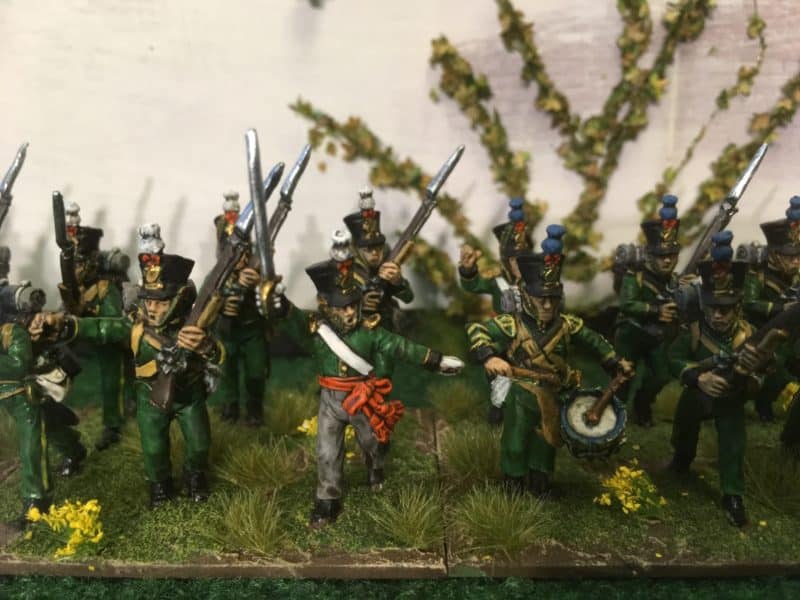
A closer look at the Nassau line

A closer look at the Nassau line

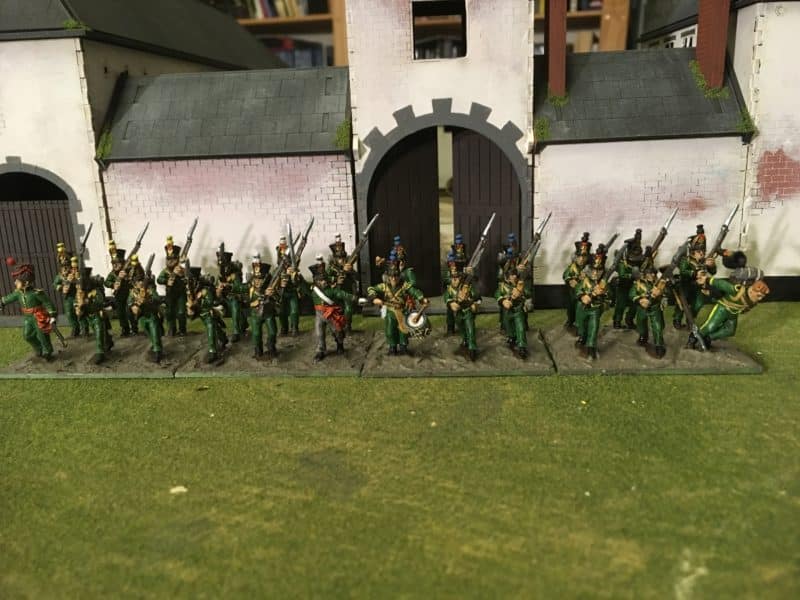
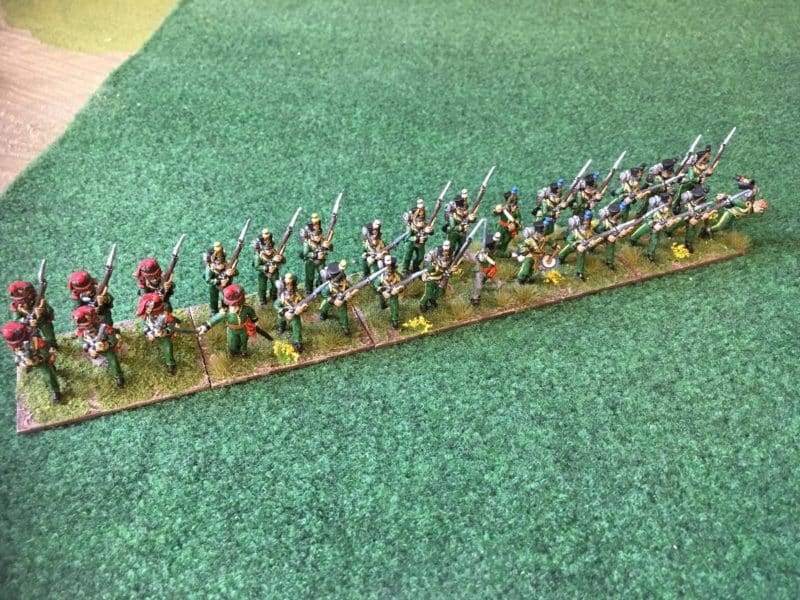
As you can see from the pictures above, the unit of 24 is complete and ready for basing. The figure on the end is from a the casualty pack and I added him in for a bit of variety. To base the figures, I use Renedra plastic bases or I am happy to use the Sarissa MDF bases. In this case, my haste led me to choose Renedra as I had some spare at home (I usually use wood bases for metal figures, plastic for plastic figures). I thought that I was using 60mm by 40mm but in my rush, I picked up 60mm by 45mm by accident. It’s not really an issue for me as depth of bases is often of no particular consequence in rules sets and certainly not in Black powder. I will be more careful in future!

When using the Vallejo paste , there no need to glue the figures to the base, the paste will secure the models. Just draw some of the paste up around the base to hold the figures in place. Once the paste is dry, I give the base a coat of Vallejo Chocolate brown to blend everything together and then add some Iraqi Sand to provide highlights.

Nassau Grenadiers based

Nassau Grenadiers based

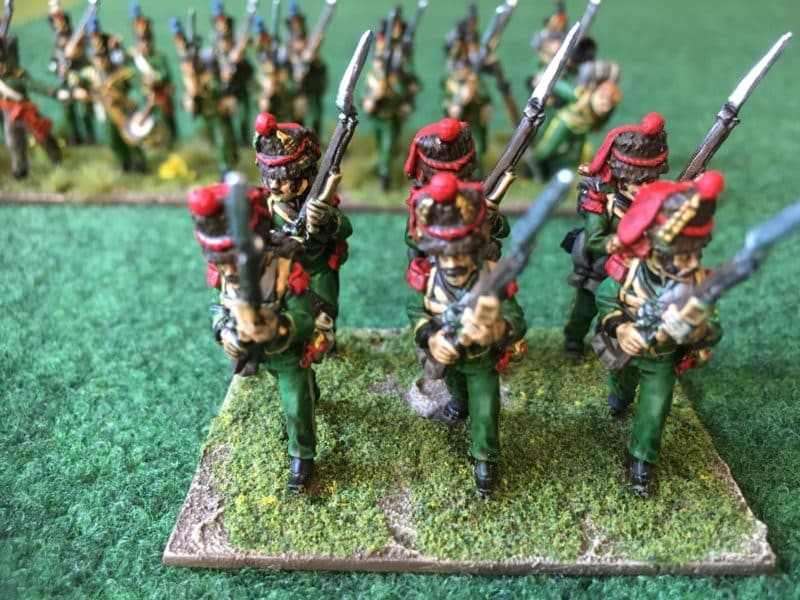
The picture above shows the Grenadiers based and I have added some Woodland Scenic scatter to represent grass and to help blend the bases together. The final part of the process is to add some grass tufts and a few flowers – yellow seemed appropriate.

The Nassau line based and ready for action

The Nassau line based and ready for action

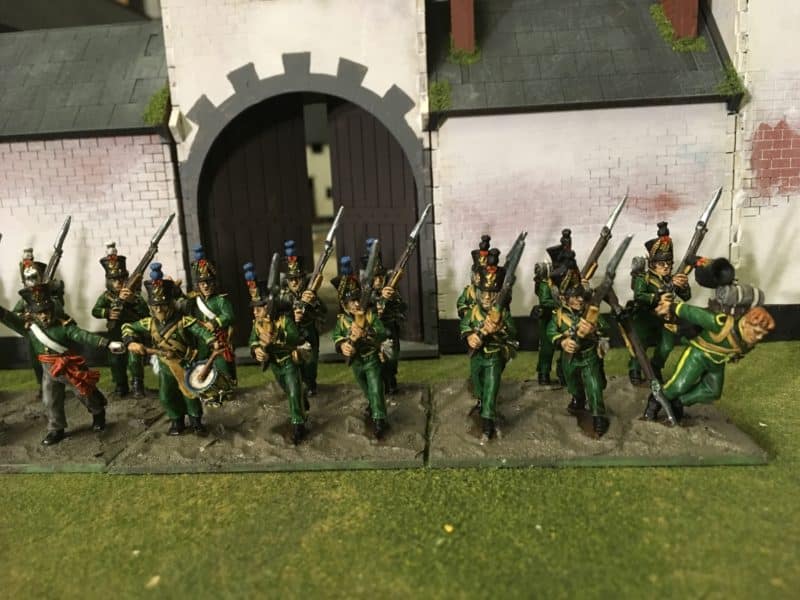
The picture above shows the bases completed. There is one step that I have missed out from my narrative. Once the figures have received their coat of matt varnish, I will go back over some of the lighter colours and metallics to tidy them up and make them shine out. So the collars ,cuffs and piping were highlighted with flat yellow, I used gold to highlight the brass and silver for the bayonets. I also retouched the yellow ochre where the quick shade had ‘dirtied’ it down too much.

Nassau - Ussingen 2nd battalion almost complete. Just the Voltigeurs to add.

Nassau – Ussingen 2nd battalion almost complete. Just the Voltigeurs to add.

So the 24 figures in the line Companies were completed ready for the battle and I have nearly finished the Voltigeurs and Grenadier company’s. I now have a large unit of Nassau to add to my Napoleonic army. Next up, the small Jaeger unit and of course Prince Bernard of Saxe-Weimar to complet and my lead mountain will return to it’s starting level in February.

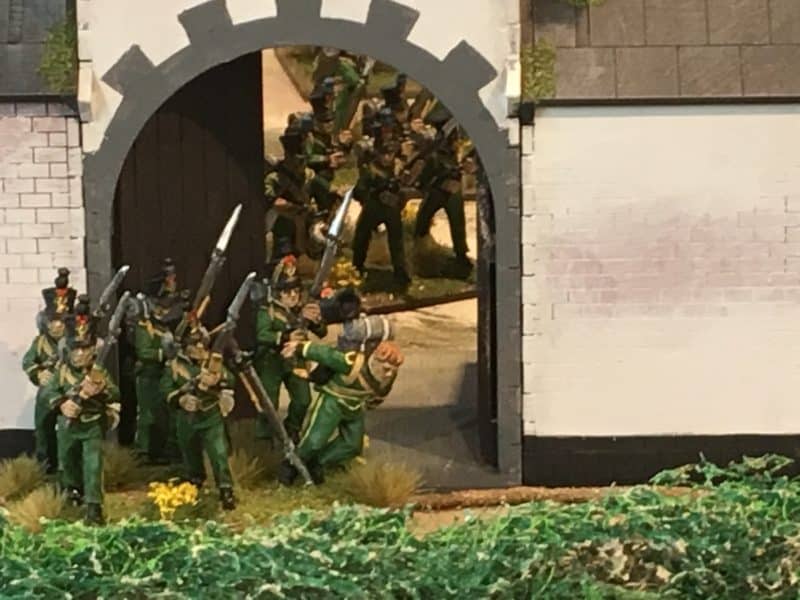
Despite taking casualties, the Nassau hold the gate at Papelotte!

Despite taking casualties, the Nassau hold the gate at Papelotte!

The picture above shows the Nassau ‘in action’. Papelotte was held – whether the battle was won is another matter! Below are just some shots of the finished Battalion taken in front of Papelotte at a later date.

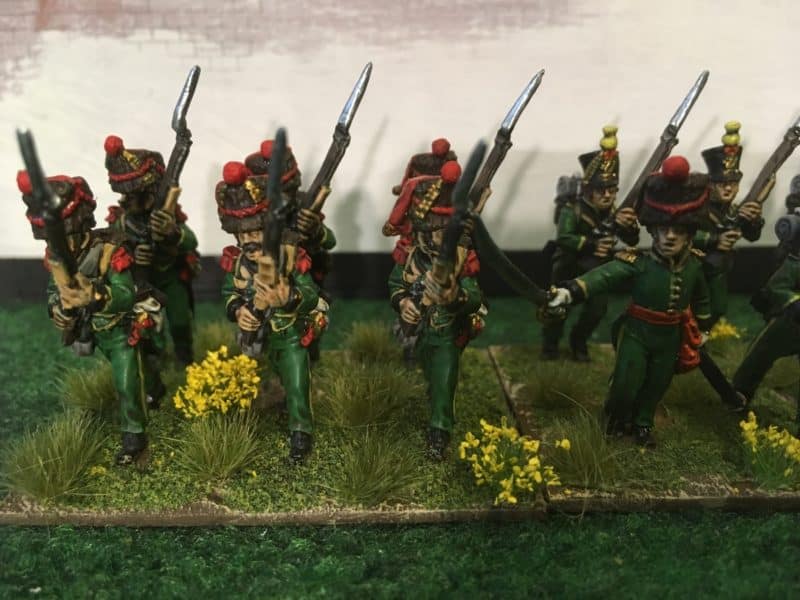
Nassau command - still waiting for a flag!

Nassau command – still waiting for a flag!

Nassau Voltiguers

Nassau Voltiguers

Nassau Grenadiers

Nassau Grenadiers

The final two pictures show that I did manage to get the Voltiguers and Grenadier companies completed – my photography skills don’t allow a full picture of the 36 man unit but hopefully, you will get an idea of how the battalion looks.

The Commercial Bit!

The Vallejo colours used were as follows:

Flesh 70955,  Black 70950, Leather Brown 70871, Yellow Ochre 70913, Black grey 70862, Medium sea grey 70862, Off white 70820, Steel 70864, Brass70801, Flat yellow 70953, Silver 70997, Gold 70996, Orange red 70910, Light Orange 70911.

All paints are available, post free at the time of writing,  from the Arcane Scenery shop here:

VALLEJO MODEL COLOUR

Tufts and basing stuff is here:

BASING MATERIALS

For more updates, blogs and new release information, please remember to like us on facebook

FACEBOOK