The final part of the project was to paint the ‘crew’ and base everything. Painting the figures was fairly straight forward – as they are supposed to be civilians, there was no need to worry about whether the figures would be in livery or not! I did check pinterest and Google images for pictures of medieval clothing and the general impression that I had from these sources was that the clothing would be mainly muted colours.
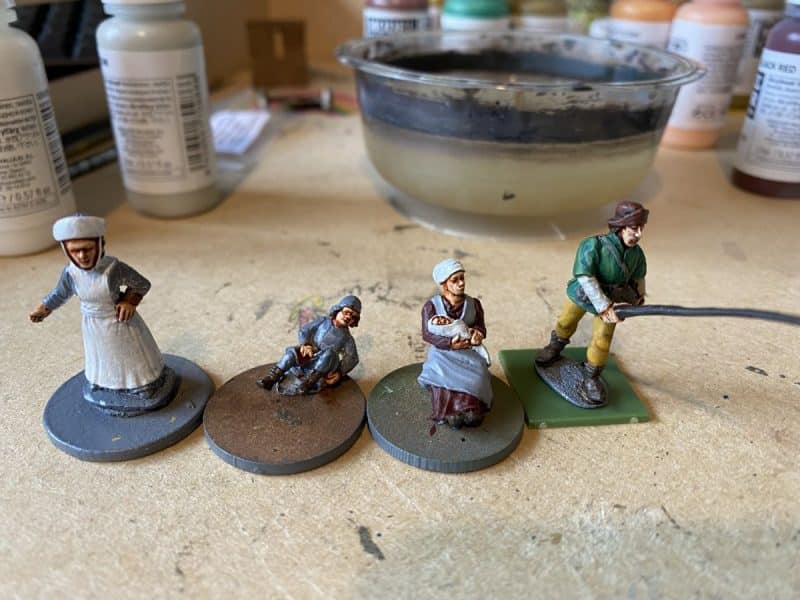
So the driver was painted in Gold brown 70877 for his leggings, and deep green 70970 for his jacket. The finished figure was actually brighter than I intended but he looks OK and adds some colour to the diorama. The female figure (the driver or drover’s wife?) was painted with a light grey 70990 apron over a burnt red 70814 dress. The baby and her hat were painted white to add interest and to show the baby off. The little lad was painted with black grey 70862 leggings and a khaki 70988 smock. I gave him a bright red hat to make him stand out against the luggage!
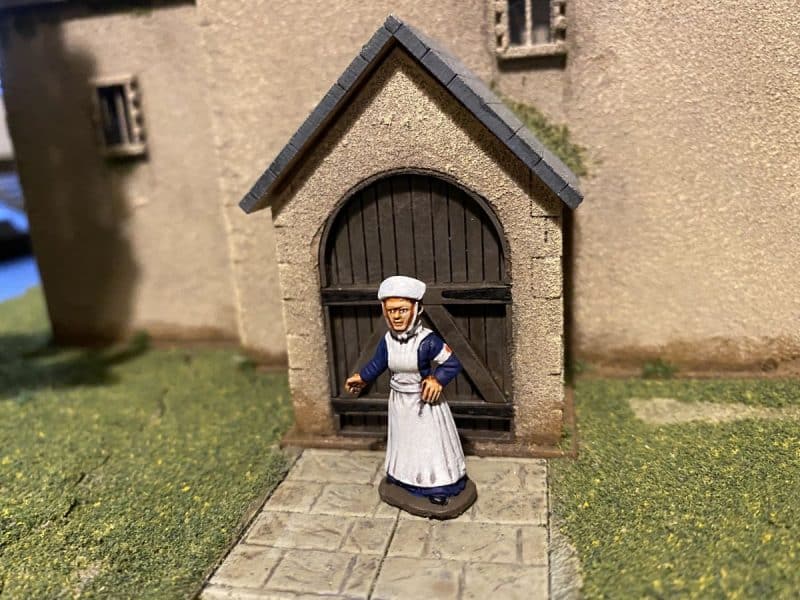
You may have noticed that there is a WW1 nurse in the picture above. It is the Edith Cavell figure that was being given out at Partizan this year. It made sense to paint her at the same time as the passengers, as I would be using similar colours. She is not included in the final diorama but here’s a picture of the finished model that I have added to my collection!
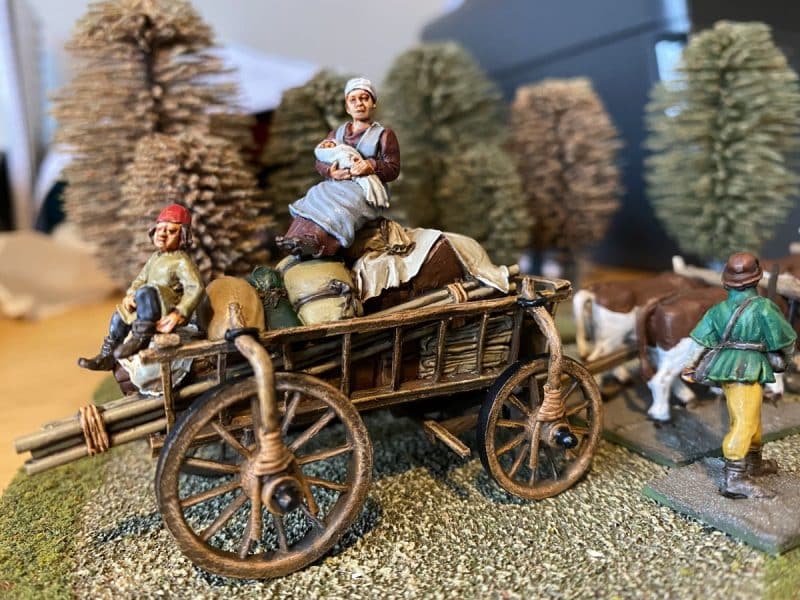
Once the figures were completed, they were based ( in the case of the drover) or added to the cart. The lady with the baby looks as though she’s is in a precarious position, perched right up on top. I’m sure that the Health and safety executive would not be pleased! However, this is where she is designed to go and from an artistic perspective, looks good!
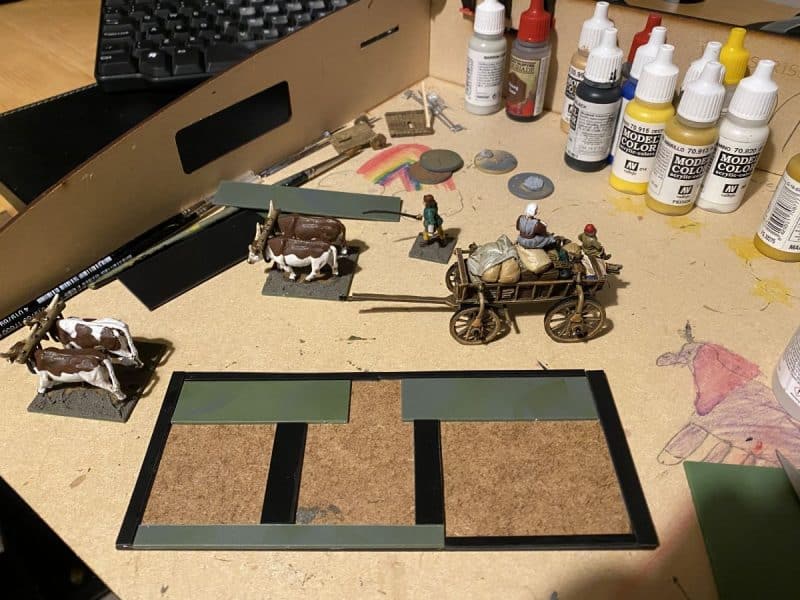
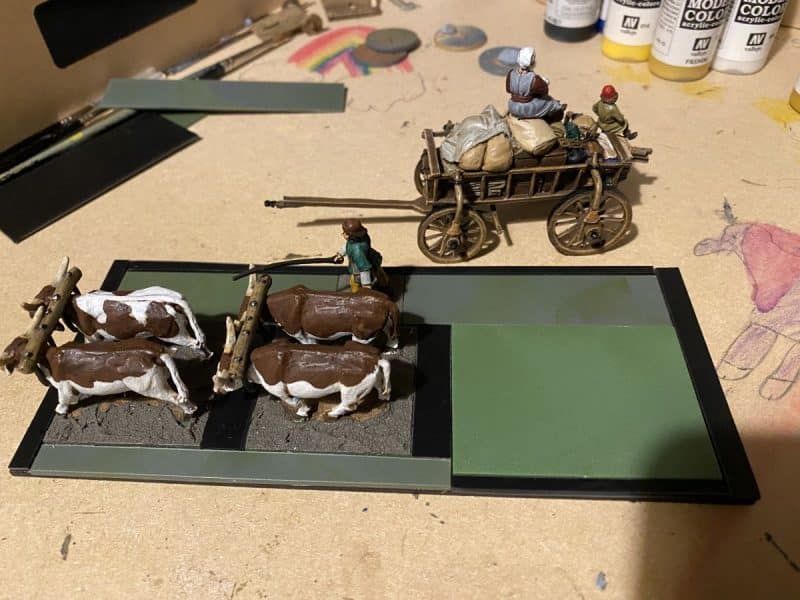
The next stage was to construct the base. For some reason, I have a tendency to go for ‘sabot’ style basing for my dioramas and vignettes. It allows me easier access to paint the bases and should I wish to change things in future ( I have no idea why I would want to….) I can do so. I used a piece of MDF for the base – I think it was part of a discarded movement tray that I had in my ‘bit’s’ box. It was then a question of using Plasticacrd and some spare renedra bases to block in the spaces around the wagon, Oxen and drover. The picures show how I did this.
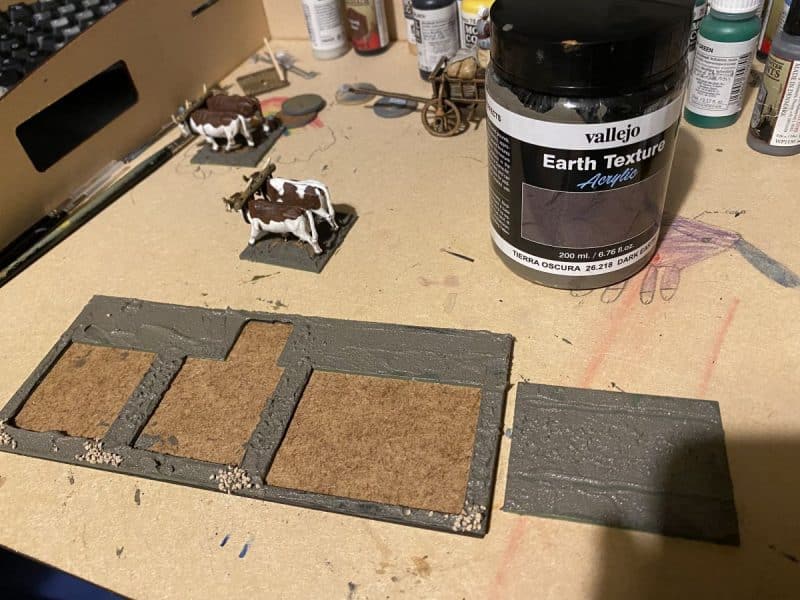
Once this is done, I covered the whole lot in Vallejo Dark Earth texture paste. I also added some ballast for some extra texture on the edges. I used my sculpting tools to stipple up the earth where the oxen would have walked, and created the cart wheel marks in the cart base.
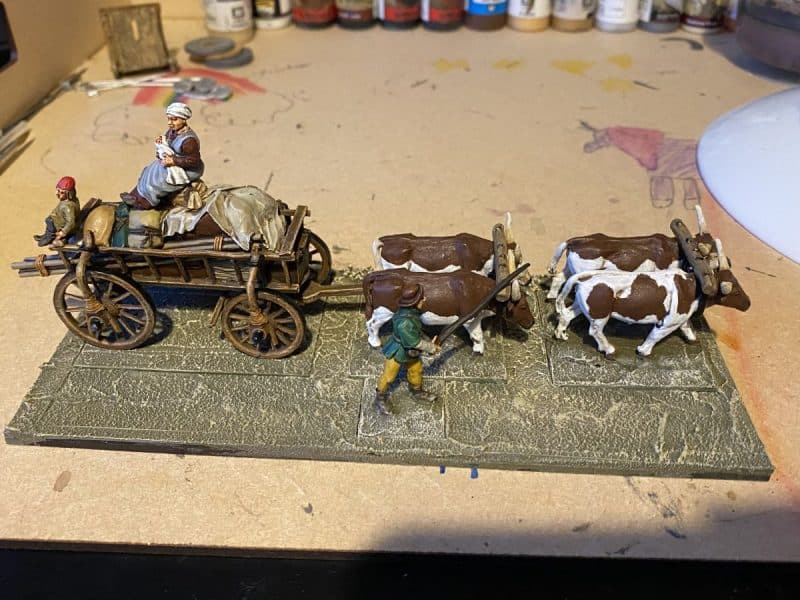
When dry, everything was painted with my choice of emulsion ‘Delhi Bazaar’ and then dry brushed with Iraqi Sand. I was going for a dry look to the base rather than a muddy winter or autumn finish.
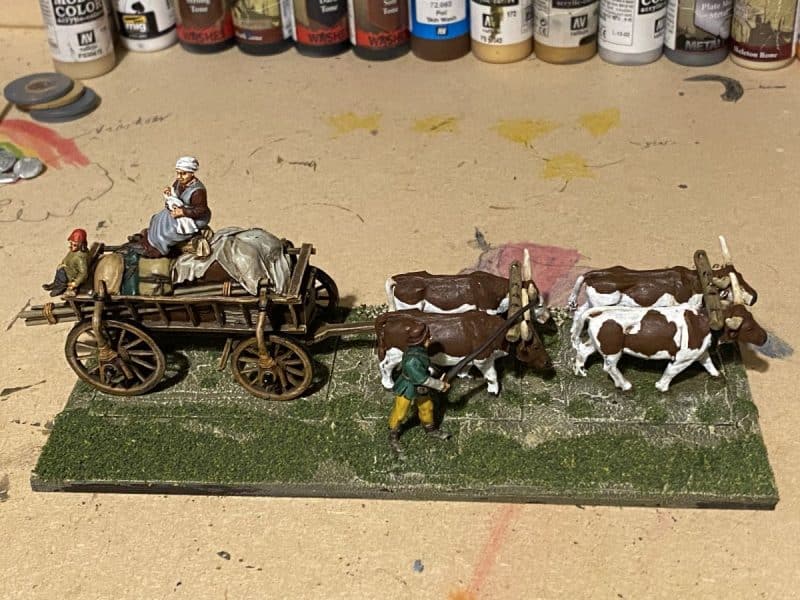
I then added some green scatter from the woodland scenics range, a blended green Turf.
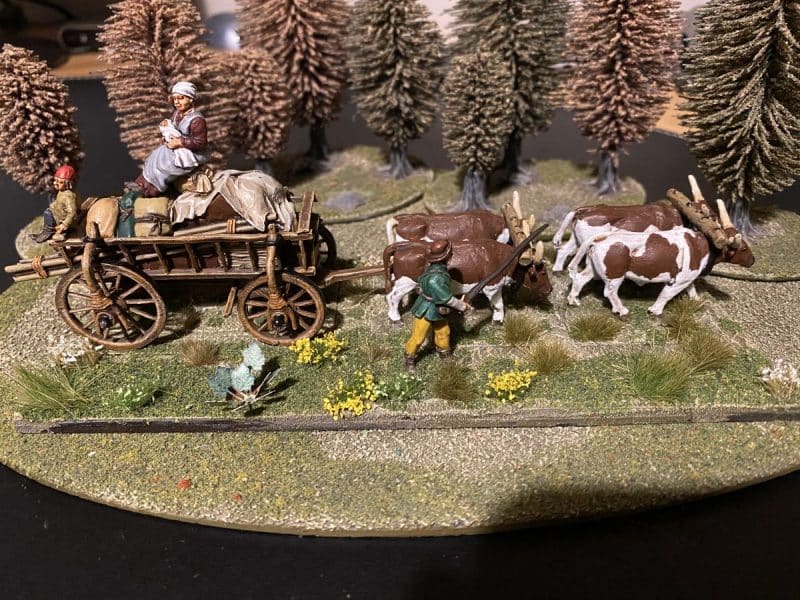
The final touch was to add a variety of tufts and flowers. My friends say that I use too many flowers on my bases but I like the colour that they add! I think that it adds to the rural look!
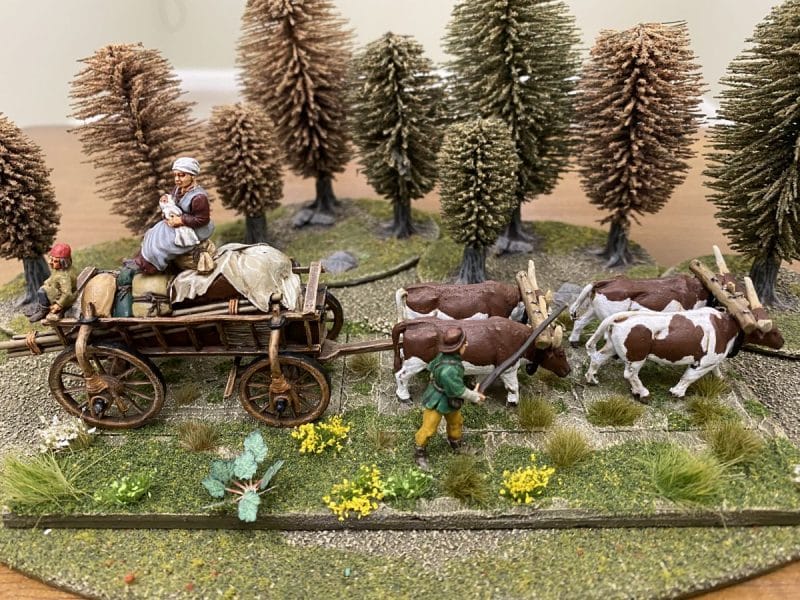
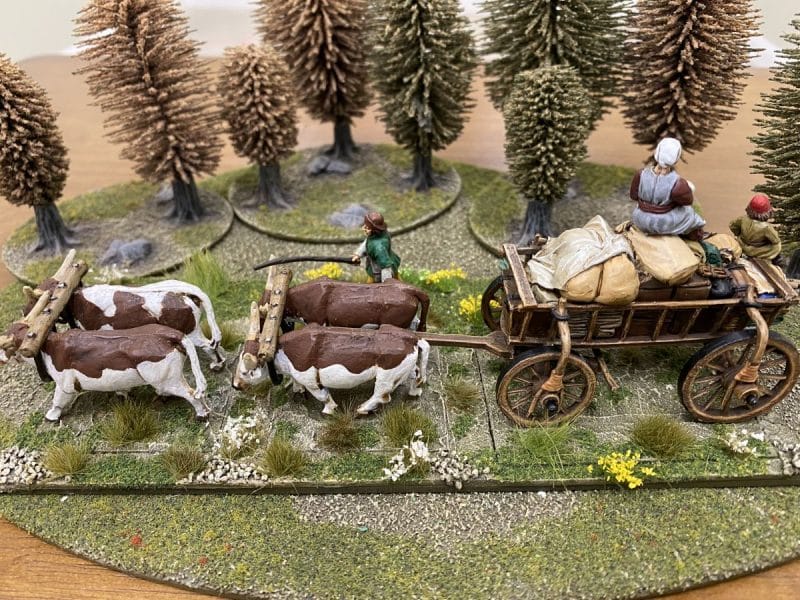
So the Ox wagon is compete and added to my collection. There is just one more thing that I will add. I need a length of chain to connect the front oxen team to the wagon but unfortunately, I am O/S of the size that I want and more annoyingly, I’m sure that I have some buried out in the shed somewhere! For now though, I’m calling this done and it’s on to the next project!
THE COMMERCIAL BIT
I hope that you all enjoy your hobby as much as I do – remember that our web site will have much of what you need! Click here to see our shop:
To see our range of Vallejo paints click the link below. To go straight to a colour, type the paint number into the search bar:
To see our selection of MDF and Renedra bases click here:
To go straight to the adhesives and fillers section. Click here:
To see our selection of tools, click here:
Tools and Modelling accessories
Happy Modelling!
