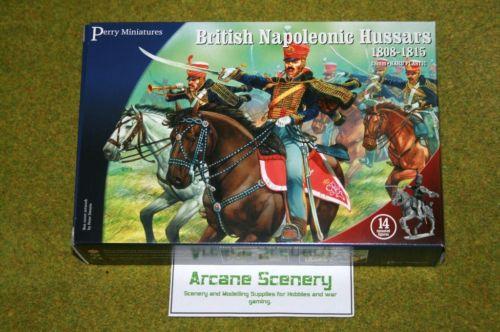
Long term readers of our blog will know that I am gradually building a Napoleonic army, and with the release of the Perry’s British Napoleonic Hussars set, I have the opportunity to add some cavalry to my army, and of course a chance to extend my painting experience. The following article is a step by step guide to how I paint these figures.

I have already assembled the Hussars, apart from the officer and trumpeter, which I will leave for the time being. I just wanted to get on and get the 12 troopers done, which will allow me to field them in our club Sharp practice games.
As with all Perry figures, they are beautifully moulded, although there were a couple of challenges: the horses did not quite go together as neatly as I would have liked and also on the hussars themselves, the fur caps had a bit of a sink hole from the moulding process, which I had to fill.
This gives me the opportunity to talk about the fillers that we carry at Arcane Scenery. Now, most people reach for the green stuff to fill blemishes, but for filling plastic models, a much better solution is to use Squadron White Putty. The beauty of this product is that its based on a plastic solvent, so it bonds very well to the plastic and it dries really quickly and smoothly, so you can get on with your model without having to wait for green stuff to set.
Now other than that, the moulding is very, very good and the actual cast lines in the figures are very light, they need the merest of scrapes with a file or a scalpel. So just another quick plug… we’ve recently started stocking Albion Alloys’ Flexible Files, which I suppose you could say look like glorified nail files, but they do the job brilliantly. By all means carry on using the wife’s or girl friends nail files, if you can get away with it, but I have found the flexible file to be much better.
With prep done, I continued by assembling the horses , undercoating and painting them, and then setting them aside whlst I built the Hussar riders. I’m not going to cover painting the horses in this article – painting horses will get it’s very own section!
So this means that I’ve chosen to paint the horses and riders separately, and thats not to everybody’s taste – some modellers say that the best way to deal with them is to glue the rider onto the horse and paint them as one, but I thought that given the Hussars are quite complicated it would be better to paint them separately.
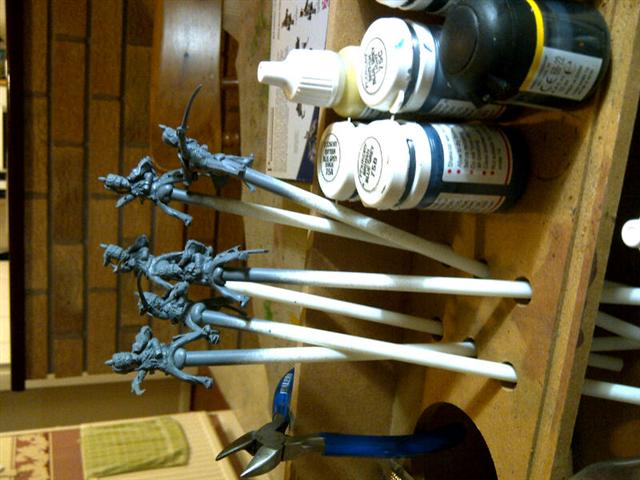
Now on with the painting…I’ve undercoated them with Army Painter grey spray paint. The hussars are difficult to handle, as they have no bases. To make this easier I have some plastic straws, that were holders for balloons and the riders are blu-tacked to the straw at the groin (and that doesn’t really matter because we want that clear to attach to the horse). So just to show you how that looks on my workbench we have them all lined up…
[Steve likes to live life at an angle…]
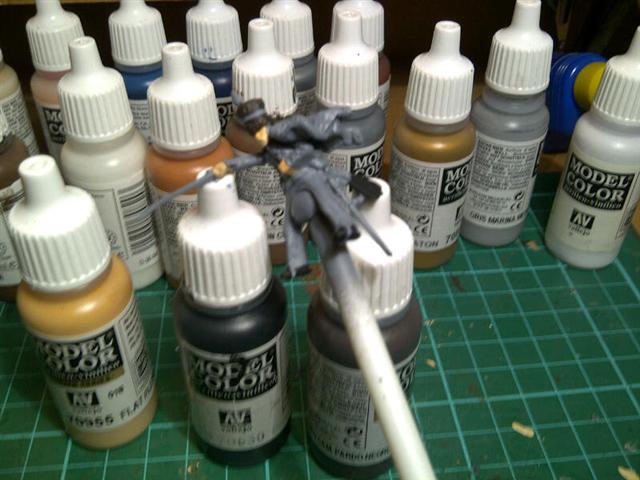
First 3 lots of paint on the figure as you can see from the photograph (apologies for quality I am using a phone camera)
I always start my figures with flesh, I think if you start painting the face and hands, it gives the figure some personality and its pretty clear where the colour goes (955 Vallejo). The next is Vallejo 950 black, for the boots and satchel and cartridge case, and again its a nice easy paint to use, and as you start to work on your figure you get an idea of whats to come and the sequence in which you will paint the figure. The next colour is for the hat, which is 822 German Camouflage Black Brown. The interesting thing is I am using several references, Mont Saint Jean which is a superb website, and gives the colours for all of the troops uniforms at Waterloo . I have also got the Perry’s colour painting sheet, which is supplied with the set (and I applaud the Perry’s for doing so- it’s a rarity in the business), it shows all of the Hussar regiments in great detail; and the final reference is from an Osprey book, Wellingtons Light Cavalry, which shows the regiment I have selected, the 18th Hussars in the 1815 period. All the pictures show the hat in a very different colour. The Osprey book: black, Mont saint Jean: a light brown (which may be due to the screen limits) and the Perry’s: a dark brown. Since two out of three are brown I am using Vallejo Camouflage Black Brown(822) which gives me the opportunity to bring out the texture on the fur by dry brushing with a lighter brown later on.
So three colours on and its taken me about an hour, and as usual I paint six figures at a time, which means I change colours every twenty minutes or so.
The next part of the figure to paint was the Pelisse, (the slung jacket) and the dolman, (the tight fitting under jacket) and I’ve used Vallejo 899 Dark Prussian Blue. But for now it’s time for a break…….
[Join Steve after his coffee for more painting]


