
Well Happy Christmas, Happy New Year and any thing else that I’ve missed in the two months since I last posted a blog! I have, as always, been busy and have been using Facebook as a record of my modelling progress, posting almost daily. This is as much to keep up my own momentum as to show off what I have been doing. The purpose of this post is to pull together some of the Facebook posts but more importantly, to record some of the ideas and lessons that I have picked up whilst building my latest wargaming force.

One of my earliest memories of playing with toy soldiers was my collection of Britain’s Medieval Knights. They were simply superb models – far too good for children! They were also expensive, so I had supplemented my army with various other figures – Timpo and Crescent being the two that I recall. Some of those were in Crusader, or more specifically, Templar dress and I thought that they looked great! Of course, back in the sixties, Tales of Richard the Lion Heart, Robin Hood and Ivanhoe were on TV to inspire my play!

Fast forward to my late teens and I was beginning to get involved on the periphery of serious wargaming. I bought and painted a few Hinchliffe mounted crusaders with the steel lances. I thought that they looked superb in their white surcoats and red crosses, although I suspect that my painting may have improved since then – well I hope so! Unfortunately, my flirtation with historical Wargaming waned as I was seduced by Games Workshop, driven by my love of science fiction.
Fast forward again, some thirty years or more and I am now obsessed with Historical Wargaming and my Games Workshop collection is gathering dust in my display cabinets! One of the joys of the GW, specifically, the 40K universe, was that one set of rules (albeit that they changed every three years or so) would let you explore and collect many different armies. With Historical rules it seemed from the outside that every period needed a new set of rules and a different basing and organisation system. Of course this wasn’t actually so – it just looked that way to me.
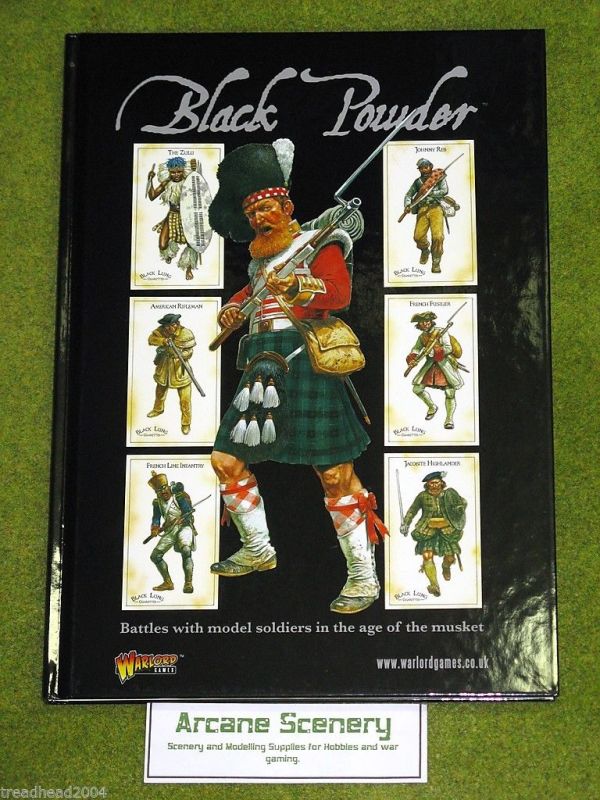
The rules set that changed my (wrongly assumed) impression was Black Powder. Although largely used to play Napoleonic games, It became clear through the various excellent supplements that the basic rules engine could be used for anything from the Romans (Hail Caesar) through to the American Civil War ( Glory Hallelujah!). Then came my involvement with Never Mind the Bill Hooks. Although primarily designed as a War of The Roses Rules set, it became obvious that the basic rules engine could be modified to comfortably accommodate all periods of warfare up the English Civil War, as well as Fantasy and even Medieval Naval warfare.

The forthcoming edition of Never Mind the Bill Hooks will feature some new periods and theatres of warfare. I have written a chapter for Samurai and have of course built the armies required to play the game. Also included will be a chapter on the crusades which gave me the incentive to recreate my childhood army of Crusaders. All of which is a very overlong introduction to why and how I am building my Crusader army.

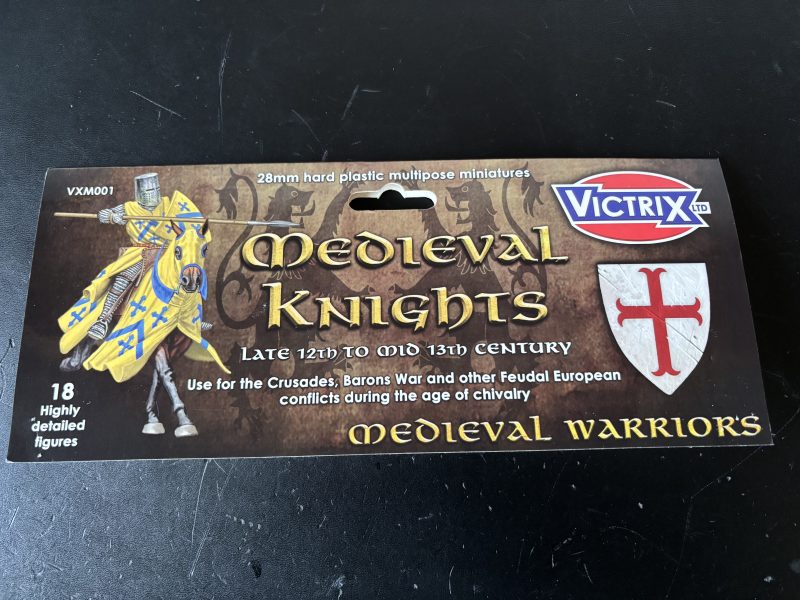
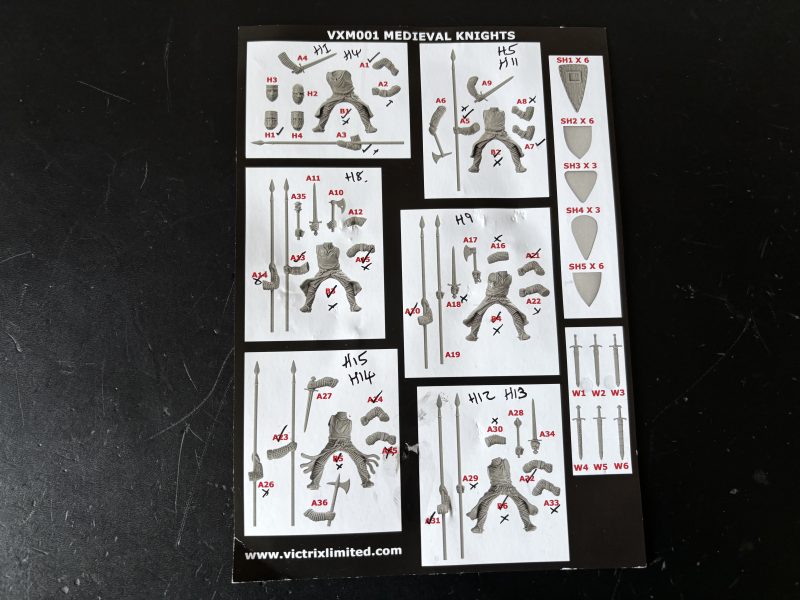
My desire to build a crusader army coincided with the Victrix release of Medieval Foot Knights and Mounted Knights. I have long been an admirer of the Victrix range and I was very tempted by this release, particularly as Victrix were promising to release further sets in the form of Foot Sergeants and Crossbowmen. I started with the foot knights and built an initial two units of twelve knights to make the core of my army. I was not disappointed with the quality of the figures or the vast number of options when it came to building them.
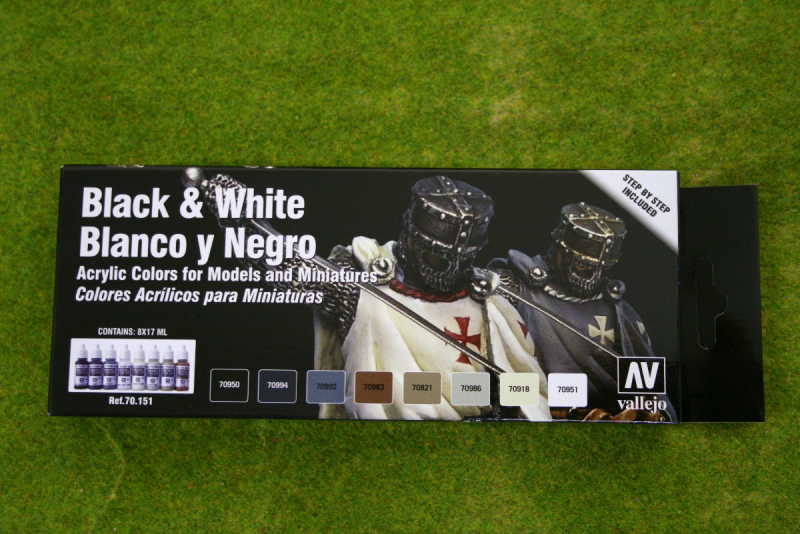
When it came to painting them, I followed the guidance given in the Vallejo Black and White Painting set. I had under coated theFoot Knight figures in Black to make painting the chain mail easier (5 of the foot knights were completely clothed in chain mail) but of course, this made painting the white more difficult! The basic procedure is to first paint the cloth in deck tan, then use German Camo Beige to pick out the shadows, then Neutral grey to pick out the deepest shadows, then Ivory to start the highlights , finally finishing with pure white for the top highlights The paint numbers can be seen in the picture above. Rather than go through that process in detail, I’ll show you my slightly faster procedure for the mounted knights that I used.
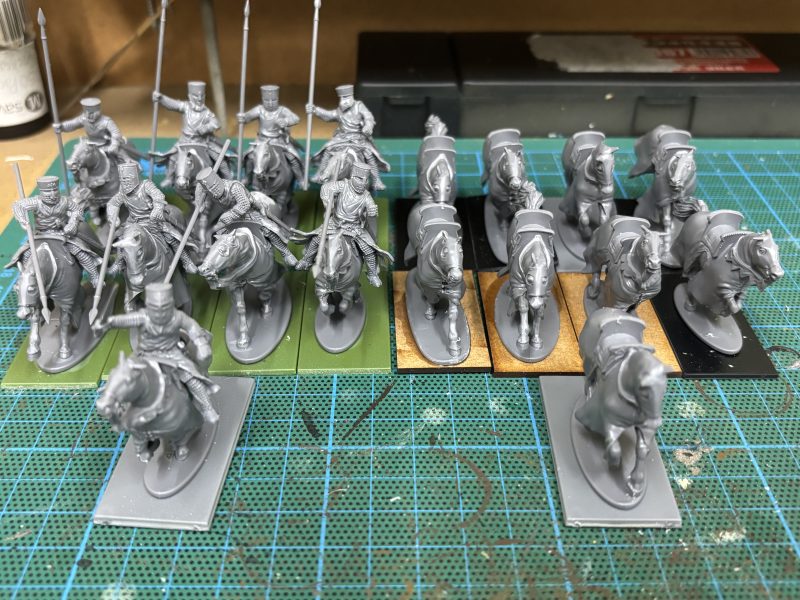
So starting with assembly, I first put together the horses. A good tip here is to write on the base, the number of each horse. This will make life much easier when it comes to applying the decals if you are using them. Next up were the riders. The assembly leaflet makes it clear which arms and heads will fit each body. I made sure that I had a variety of poses for all eighteen of my figures by ticking or crossing each option as I used it. I also marked down which horse that the figure would be sat on.
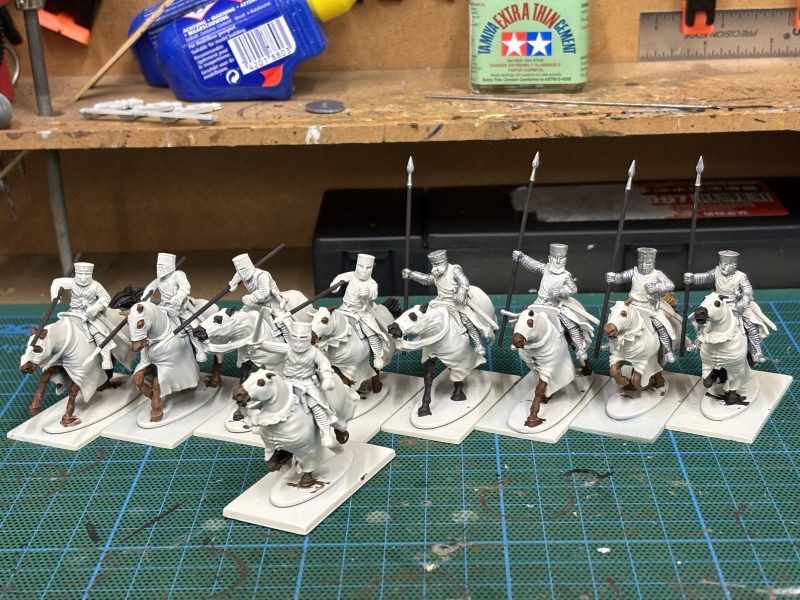
Once assembled and cleaned up, I primed the horses and riders with Colour Forge Wight Bone. This is an off white/very pale grey and replaces the need to coat the cloth with deck tan. Next, I picked out the creases with German Camouflage Beige but left out the step with the neutral grey in the deep creases. I felt that this was too harsh. In fairness, the example on the Vallejo instructions was for a 54mm figure, so I think that the neutral grey is not needed in the smaller scale of 28mm.
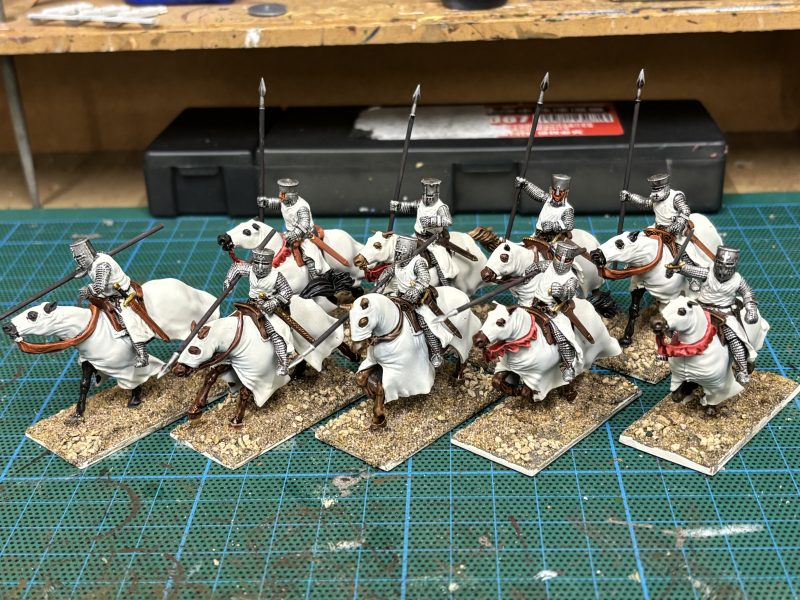
I then painted the cloth with Ivory, leaving some of the undercoat in the creases and of course, the camo beige. Finally, I went over most of the ivory with pure white. It’s a matter of taste and judgement as to how much white you use – I have probably been over zealous as I like my figures to look nice and bright on the table!
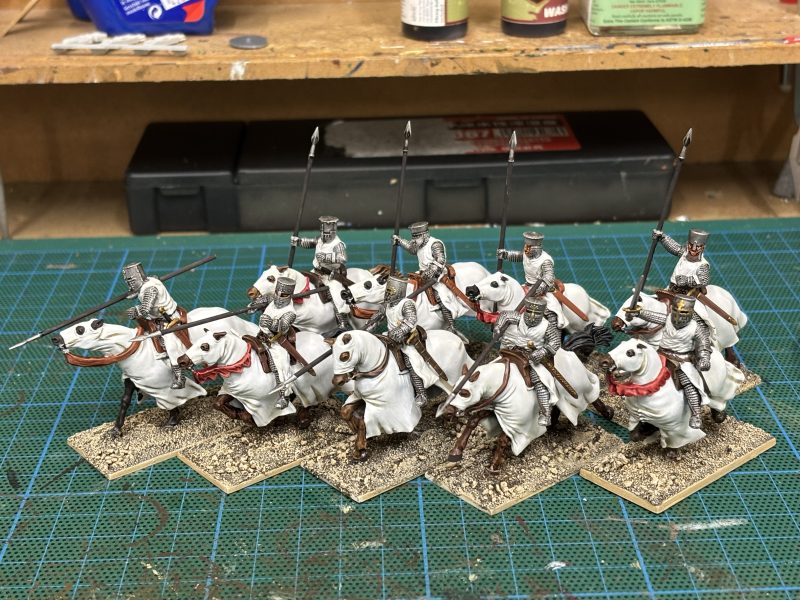
I haven’t detailed how to paint the rest of the figures. The Chain mail and armour is simply army Painter Plate mail washed in Dark tone. For the horses, I just used three different browns on three sets of three horses and washed them in dark tone. The leather work and saddles were painted from a choice of Red Leather, Saddle Brown or Leather brown.
The bases were covered in Vallejo dark earth texture paste and whilst still wet, I added some fine Talus from Woodlands scenics and then dipped the whole lot into fine sand. Once dry, I covered the bases in strong tone and then when this had dried, highlighted the sand with Vallejo Iraqi Sand, first straight out of the pot and then with some added white for a highlight. The bases were finished with a mixture of Gamers grass beige spikey and normal beige tufts.
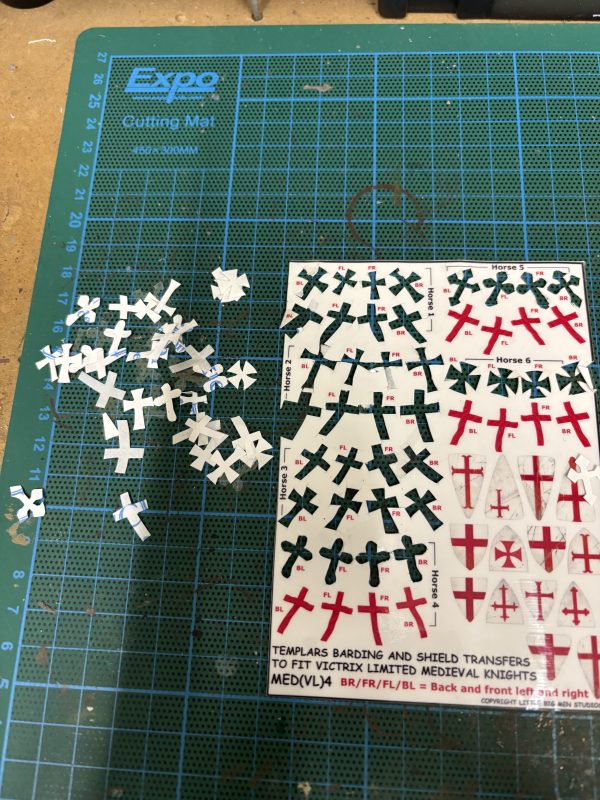
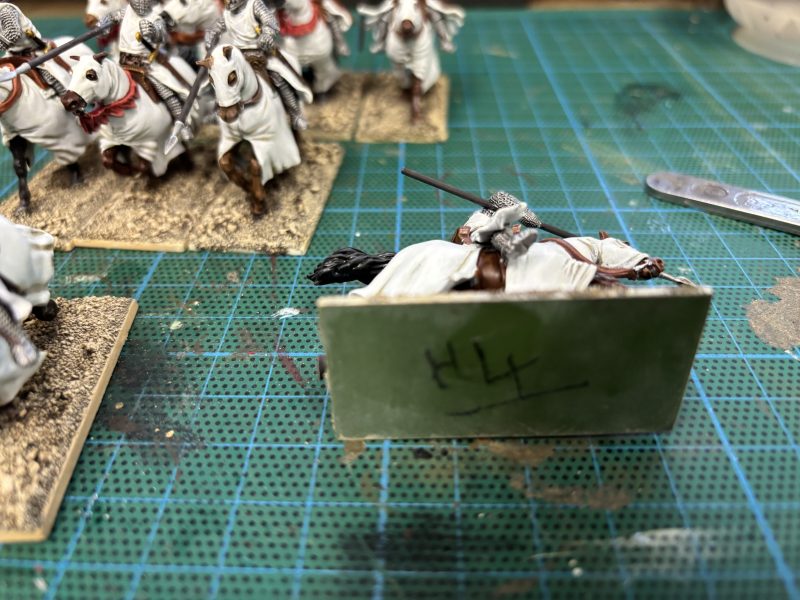
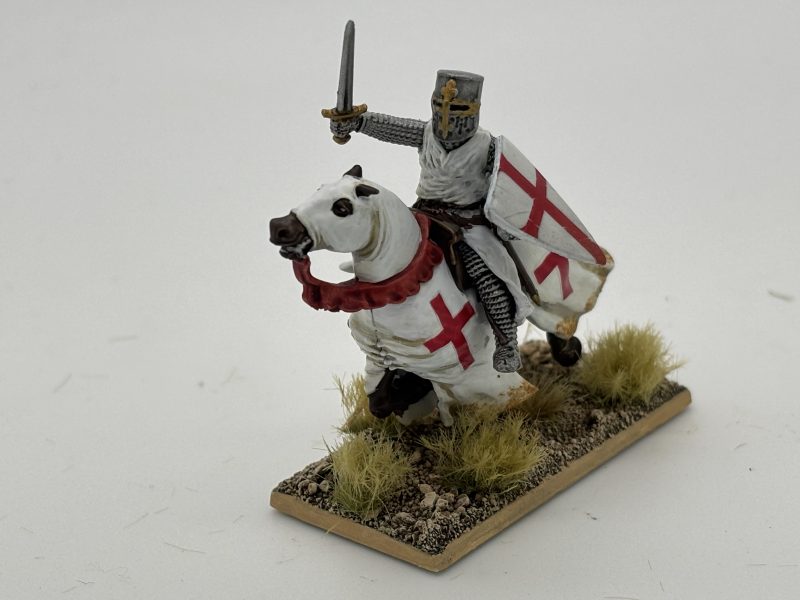
Adding the decals from the Little Big Man Studios was a long task but well worth it. As I had numbered the horses bases, it was very straight forward to locate the correct decals for each horse. I also matched up the crosses on the shield decals to match the decals on the cloth. There’s no guidance to suggest that you do this, it just made sense to me to do so.
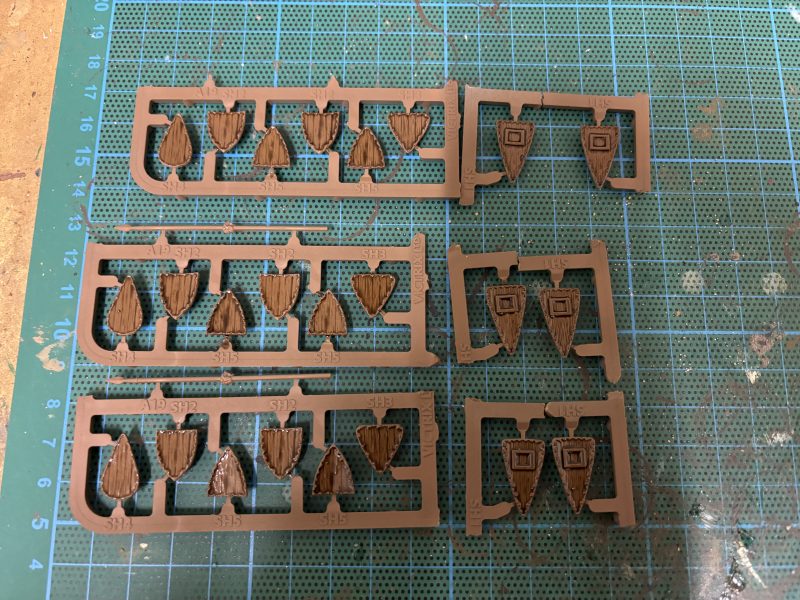
I had painted the shields separately from the rest of the models. I sprayed the back with Leather brown and then gave them a heavy coat of strong tone. The front was sprayed with Wightbone, then painted with Vallejo white before the decals were added. I used superglue to attached the shields to the riders.
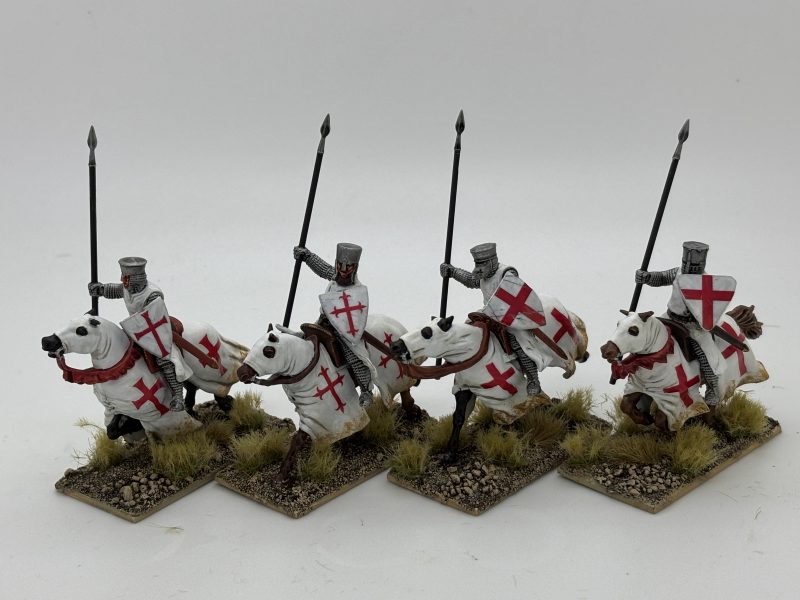
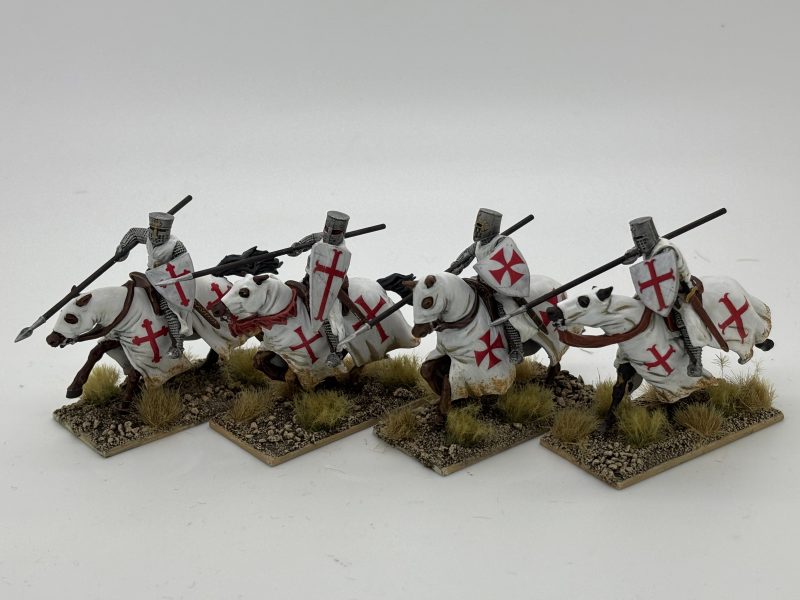
I also decided to add some weathering to the bottom of the horse caparisons. I used a Vallejo sienna pigment fixed with a drop of airbrush thinners lightly stipled on to get the effect that I wanted

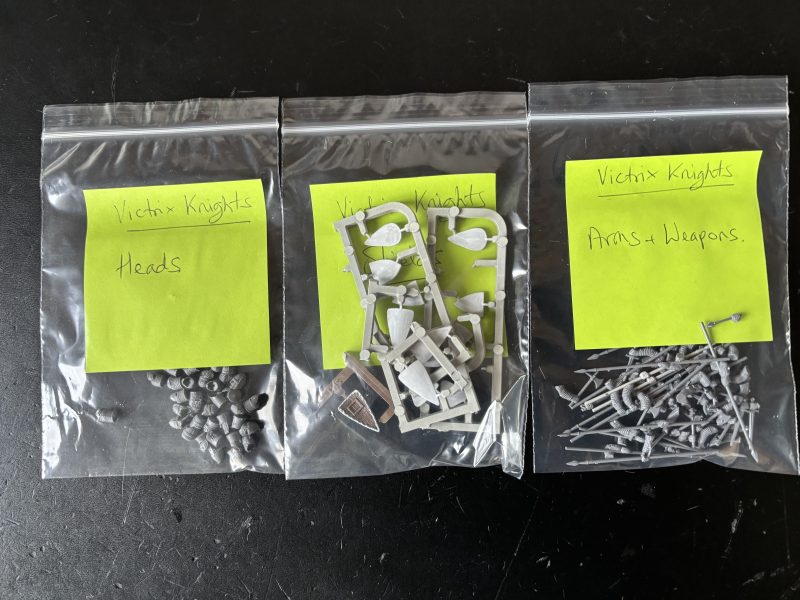
One final note. Once everything was done, I was left with a number of spare heads and arms on the sprues. As is my normal practice, I snipped them all off of the sprues and stored them in labelled Zip Loc bags. They take up less space this way but are easily recovered for future projects.
I hope that this has been useful. Happy Modelling!