When the remains of King Richard were discovered in a car park in Leicester, (just down the A46 from us), there was a great deal of media attention, as you can imagine. As far as I was concerned, the nicest item that I saw to commemorate the event, was the model by Perry Miniatures. I really liked the thought that had gone into the model and the gentle humour in showing King Richard bursting out of the car park on his steed! I had wanted to get one from the moment it was released but had been obsessed with my Napoleonic collection and so had not added it to my lead pile. With my interest in the War of the Roses, and the new rules set that we had been play testing, I now had an excuse to get the model. I also wanted to paint something for the rules writer, Andy Callan, who has spent hours re-writing and fine tuning the rules set after each of our play tests, having had to put up with yet more ‘feedback’.
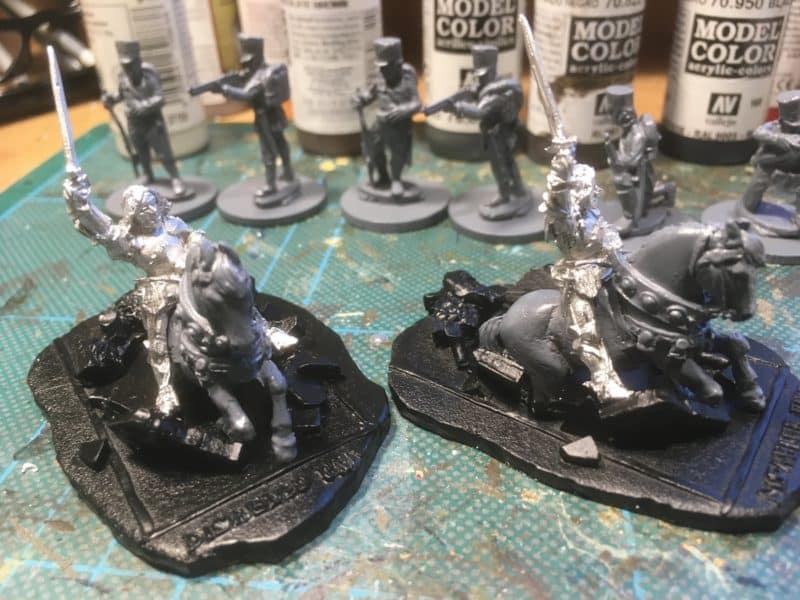
Preparing the models for painting.
So rather than one model, I bought two, figuring that it would not take very much longer to paint two of the same model. I had also decided to convert one of the models slightly, so that King Richard was holding a banner rather than his sword, showing off the title of the rules – ‘Never Mind The Billhooks!’. Just to give myself a bit of a challenge, I decided to paint the models ‘properly’ rather than my usual block paint and quick shade method. To start with, I cleaned up and primed the individual pieces, using a black primer for the base, grey for the horse and Plate mail for the figure.
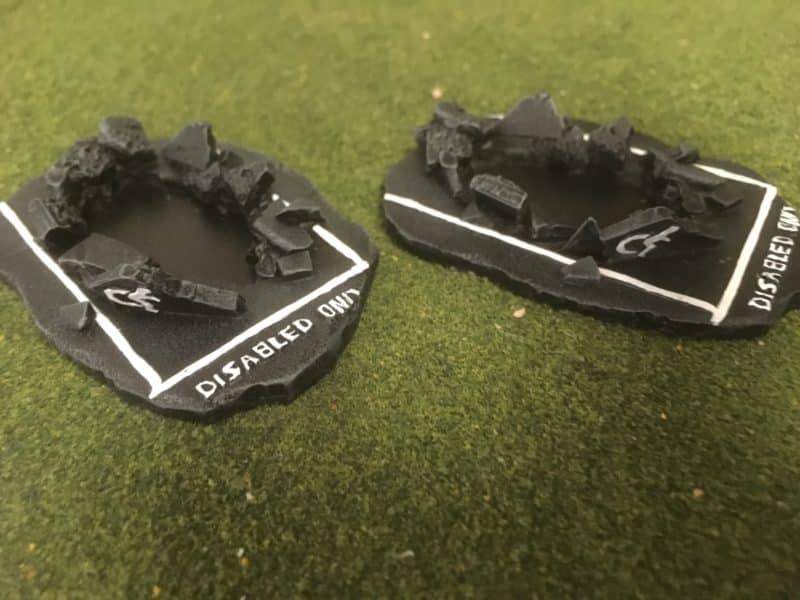
The car park space bases!
The base was quite straight forward to finish. I simply gave it a dry brush with Vallejo Black grey, 70862 and then followed this with a lighter dry brush of Light grey 70990. It was then just a question of picking out the markings on the car park spot in off white 70820. I could have used yellow – there are two painted models on the Perry web site that I was using as a reference (copying….) – but I preferred the white markings.
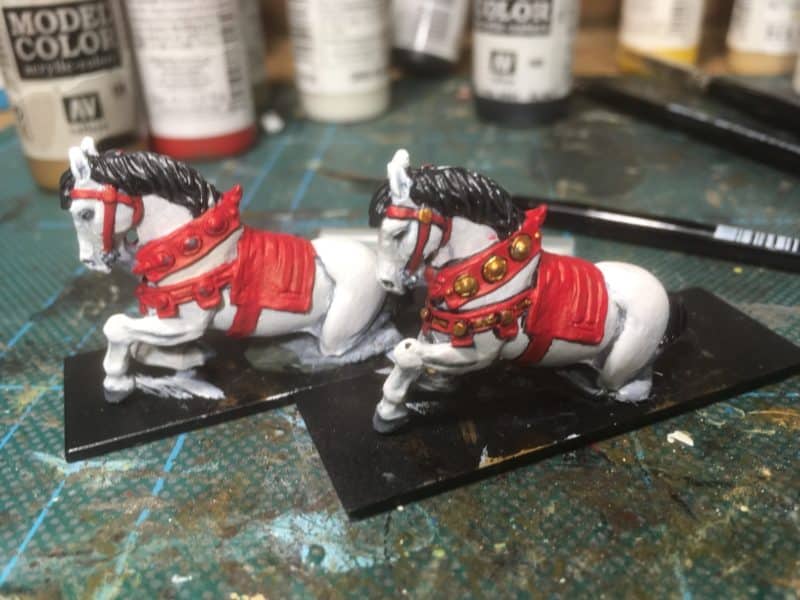
The horses being painted
The horses were first painted or rather wet/dry brushed with Light grey 70990 and then Silver grey 70883 as the first coats. I wasn’t too worried if the priming coat of uniform grey was left in the deepest of the creases. The wet/dry brush is my best description of the technique that I used, The paint brush wasn’t loaded with paint but neither was it wiped off, as with a usual dry brush. I also made sure that the ‘high points’ on the model were well covered in paint. I then used the same technique to paint the horses with a coat of off white, but this time, using a drier brush to leave the shadows in the darker colour. The horses manes were painted in Black grey 70962 and the horse furniture in flat Red 70957. The decoration on the horse furniture was done using Brass 70801.
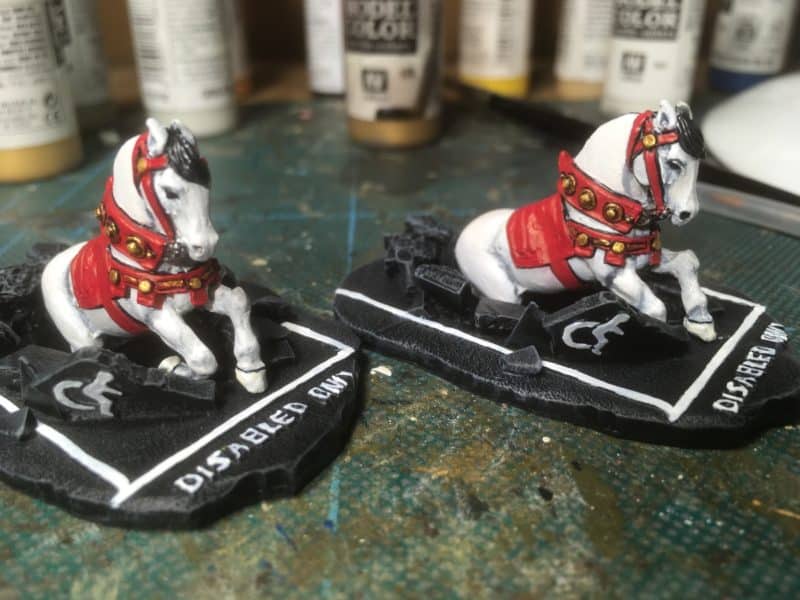
Completed horses on the bases
I then touched up the details on the horse, using Ivory 70918 for the hooves, Platemail for the bit and hooves, black for the eyes and I lightly dry brushed the mane and tail with a neutral grey to bring out the detail. I then carefully black lined the model to sharpen everything up. I really liked the stark appearance of the Perry’s painted model and so I followed this example. For this reason, I didn’t worry too much about highlighting or shading the red – I like the extreme contrast against the white horse!
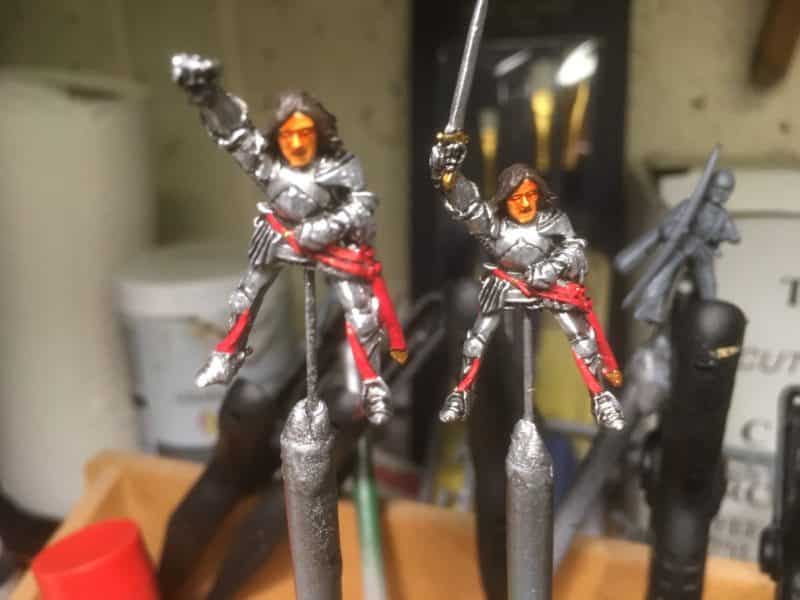
Painting King Richard – highlighting and details to do next!
It was then onto King Richard. As mentioned, I primed him with army painter plate mail and then gave him a good coat of Dark Tone or Black ink. Once this was dry, I dry brushed him first in Plate mail and then in silver. At this stage I then started the slight conversion to one of the models and carefully snipped off the sword and then drilled the hand so that I could insert a standard. I also needed to very slightly bend the arm but this was done without a problem. It’s always a good idea to go gently and ease the model in the position that you need – by it’s very nature, the metal will flex if you are careful. The details on the models were then picked out. Red for the belt and leather wear, Flesh 70955 for the face, followed by a skin wash, and then highlighting with another coat of flesh and then light flesh 70928. The hair was Chocolate brown 70872 with a flat brown 70874 hightlight and then a wash of brown ink. The details on the sword were picked out in brass.
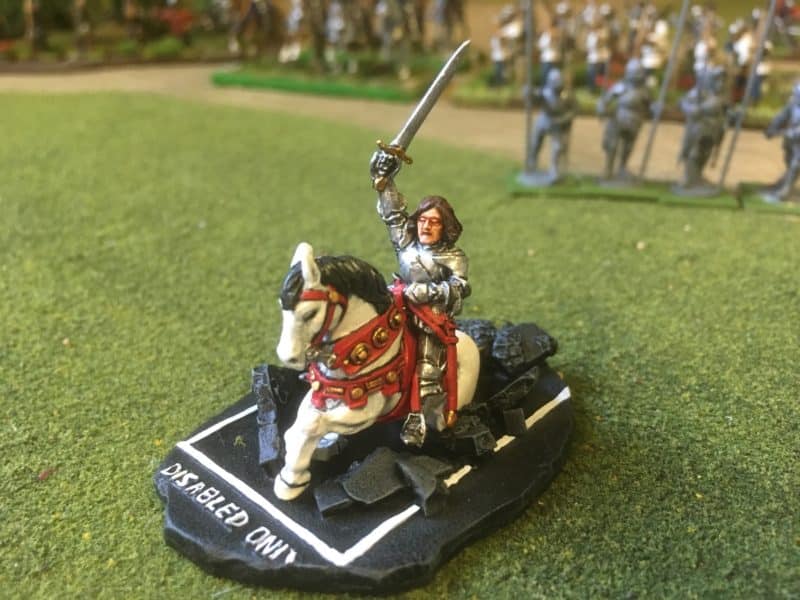
King Richard completed and on his horse!
The next challenge was to make the standard. It turned out to be simpler than I thought. I photo copied the standard for King Richard that comes in the Perry Miniatures Foot Knights set and used a Dymo electric printer to print the title. This was cut to size and stuck onto the flag, which in turn was cut out using a fresh scalpel blade. I then used watered down PVA to stick the flag onto a cut down spear and the job was done!
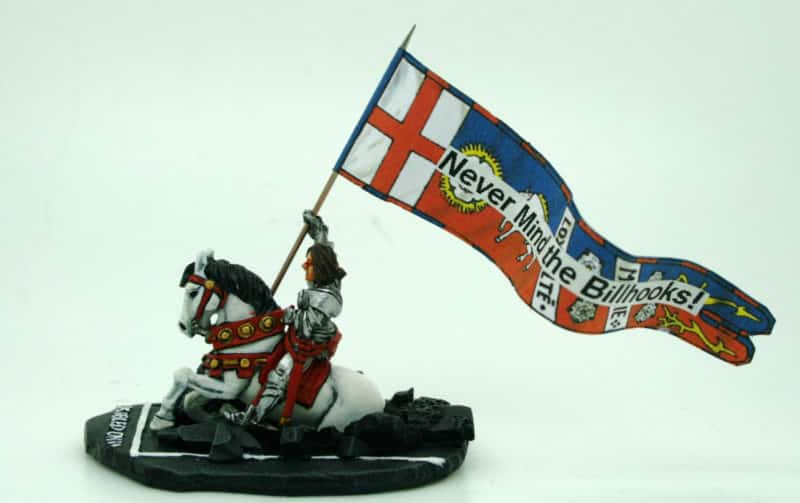
Never mind the Billhooks!
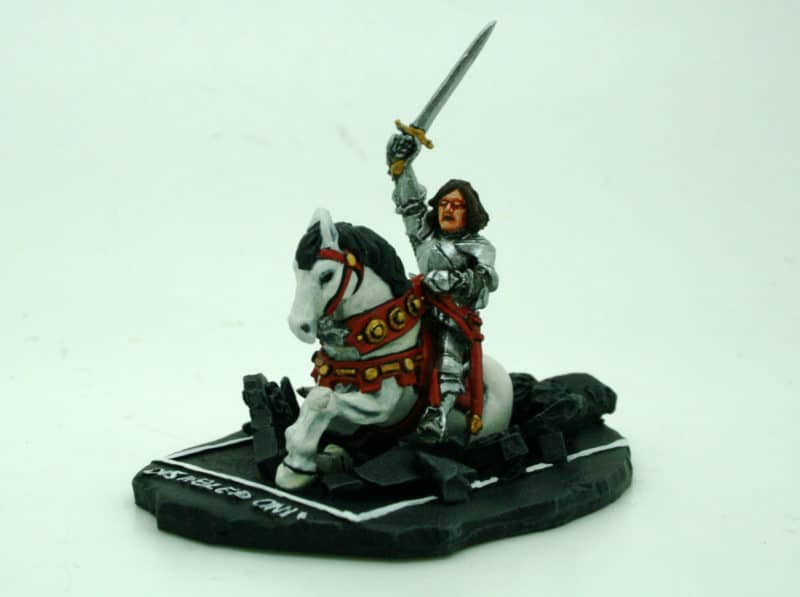
The standard King Richard…without a standard…
The finished model with the standard is for Andy and I have the original with the sword for my cabinet. Incidentally, I did make two standards – one was the Billhooks version and the other a normal Royal Standard – I think that the Billhooks version looks best on this model!
I am very excited about the release of the ‘Never mind The Billhooks’ rule set. It will come as a free full colour 24 page supplement with the May issue of Wargames Illustrated. I have now seen the draft rules, and they look great. I can only hope that other Wargamers have the same fun and enjoyment that we have had when they finally get their copies!
THE COMMERCIAL BIT
Almost all of the paints, miniatures, bases, basing materials and anything that you are likely to need for your hobby are available POST FREE from my shop here:
Perry’s WOTR plastic range are here unfortunately, we are unable to supply the metals:
You can find all the Vallejo Model colour paints here. If you don’t want to browse, just enter the paint number into the shop search bar;
‘Never mind the Bill Hooks’ will be available as a full colour supplement with the May edition of Wargames Illustrated. If you would like the current issue, click here:
Happy Modelling!
