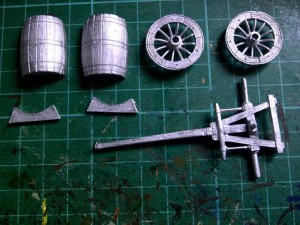
Today we are starting a new project and once again its one of my favourite topics, which is wagons and the support for Napoleonic armies. In this project, we are going to make a water wagon, or it could even be a beer wagon if you prefer! It is a simple conversion and makes into a nice model. Basically we’re taking a Gribeauval Limber from the Trent Miniatures range and we’re combining this with a Cask from the same range, to make a simple water wagon. So first off let’s just show you the components, and then it will be a question of filing them all down, making them fit together nicely and putting the parts together.
So, having laid out the components you just need to take a file and clean up any cast lines, and dry fit everything so you can see where it’s all going to go. Obviously, the two halves of the cask need to fit together, so you need to file these to make them nice and flat so that there willl be a nice join there. The two cask supports, the stands, will be stuck to the limber at either end. So file off the bottom to make sure you’ve got a nice clean fit here. Then, just tidy up the wheels with your file.
Once you’ve done that, the limber itself needs a bit of a clean up. In the middle there’s a spiky piece, which is where the French gun would be attached. You need to sand this flat, because it’s going to get in the way of the cask. Once that is sanded flat, the cask will sit quite nicely on the limber. So we can now assemble the water wagon.
First of all glue the two halves of the cask together. I use superglue, you can use epoxy resin, but I find that a thick superglue (we sell the expo variety) and some accelerant means that it will set off quite quickly, and the thick superglue will provide an element of filling. So some of the imperfections in the casting of the barrel will be taken out, and that will make life easier when it comes to painting.
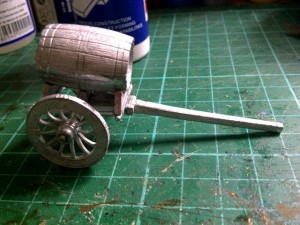
Now you’ve glued the barrel together, the next thing is to glue the supports for the cask onto the limber. I glued one support to the very rear spar of the limber, and one support to the front. Once you’ve done that, attach the wheels and the main construction is complete.
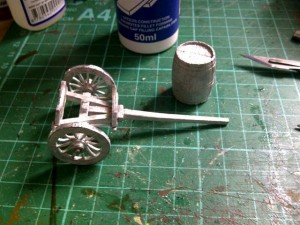
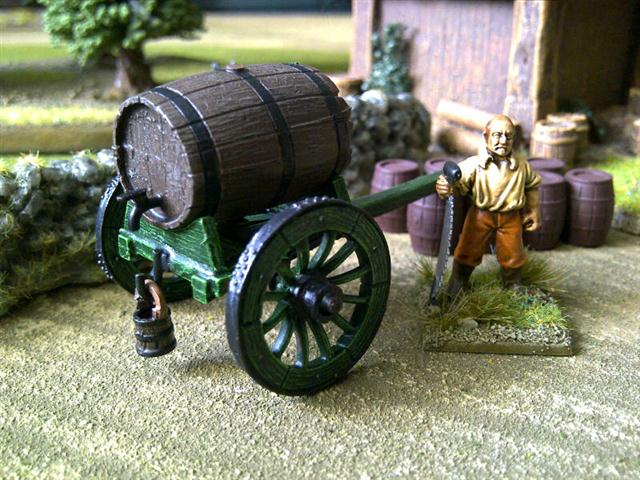
If you look at the picture you’ll see that I’ve got a separate barrel on a separate limber, but it’s a pretty straight forward job for the cask to be glued onto the top and hey presto you have what looks like a passable water wagon already. You could just stop there, a little coat of paint this would look quite nice, but I’m going to add some more detail.
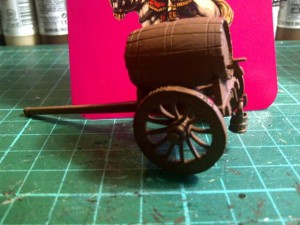
The picture shows the water wagon assembled, and as you can see I have added a few little details. On the back there’s a little tap, very straight forward to make,if a little fiddly. I’ve used some 5 core solder which I’ve bent into shape, drilled the barrel and inserted the tap into the hole. I’ve then used another piece of flattened solder to make a tap top. Then there’s a hook with a bucket on it; again fairly straight forward to make. I took a small square piece of plasticard to make a little plate, and then taken a piece of florists wire and bent that to shape, and I’ve super-glued that on to the back on the limber. There’s also a cork on the top of the barrel which is a little bit off of a plastic. The assembly is very straight forward, the key is to file it well.
I’m going to paint the Gribeauval Limber dark green as if it were French, so even if I use it with my British army I will claim it was a captured piece of equipment as I imagine many were. I won’t claim that this is an actual scale replica of a water wagon as I found it very difficult to find a picture of such a thing. However, I think that it makes a nice piece of scenery and it’s fairly convincing! No doubt it will feature in a future skirmish using the Sharp Practice rules to provide the background.

