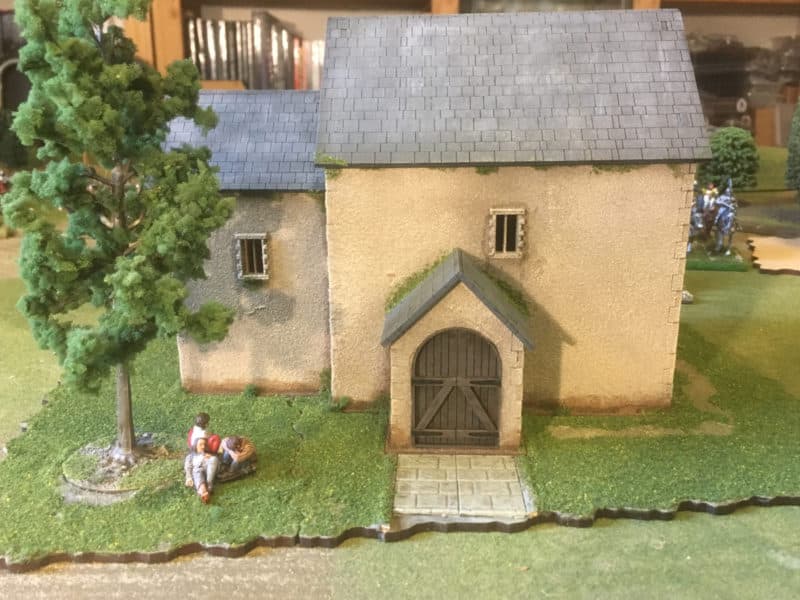
It’s been a long term goal of mine to build a Medieval Village or Farm. Partly as a modelling project and partly as a way of expanding my scenery collection for use on the wargames table. I really liked the idea of using the Sarrissa Precision Terrain tiles as I could build the farm or village in modules and expand it at my leisure. I had built a small Church and a barn sometime ago but the project had rested on the back burner for the last few years.
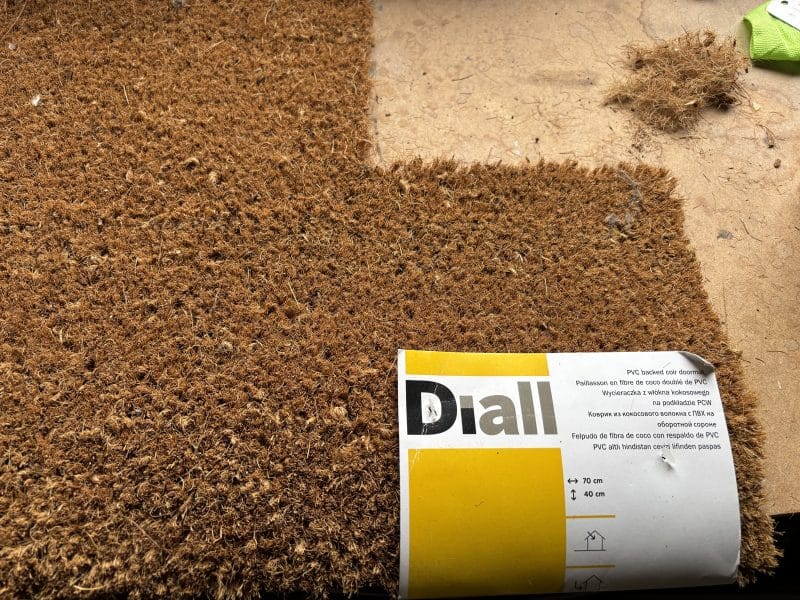
I also had picked up a coco fibre door mat from Ikea years ago, with the aim of using it to make Wheat fields. The door mat became, in effect part of my ‘lead pile’ and was languishing in the shed with other projects that I had yet to start.
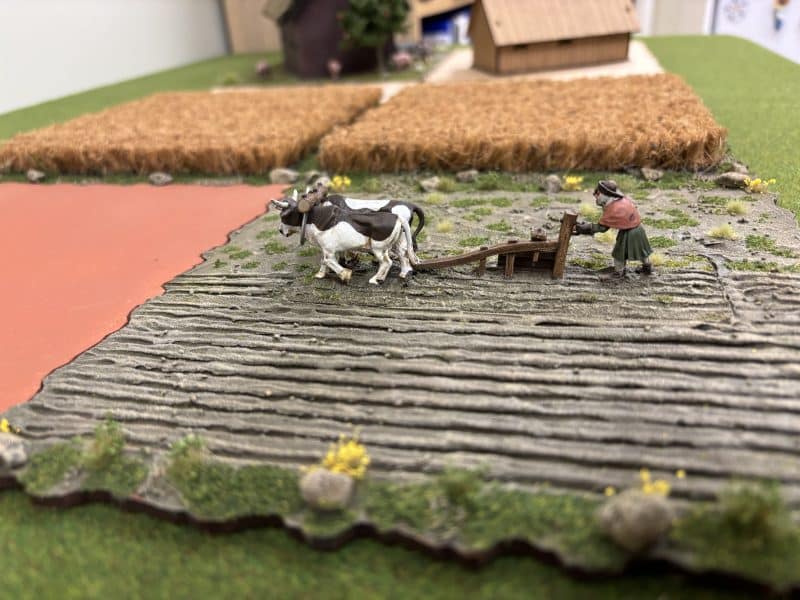
The final reminder that I had planned the Medieval village was that when tidying out my cabinets, I cam across a lovely model of ‘Piers the ploughman’ from a foundry set that I had completed sometime ago. It was finding this model that prompted me to get on and add some extra terrain tiles to my village.
Making the wheat fields is one of the simplest scenery projects that I have worked on! As I was using the Sarissa Terrain tiles, I cut some seven inch squares of door mat and stuck them onto the terrain tiles.
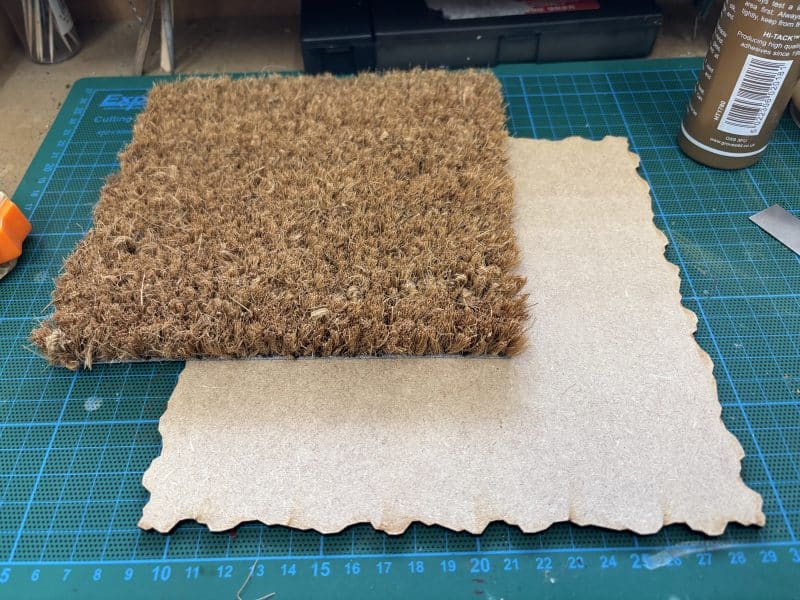
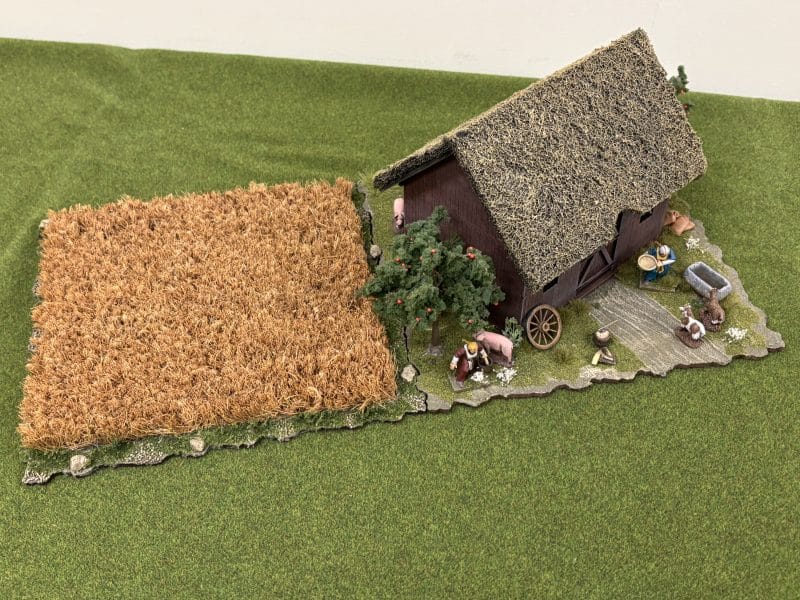
Once the mat was stuck down, I used Vallejo Dark Earth paste to blend the edges onto the tile and then added some stones and grit for extra detail. I then painted the edges using the standard basing method that I follow and added some Woodland Scenics blended turf to finish.
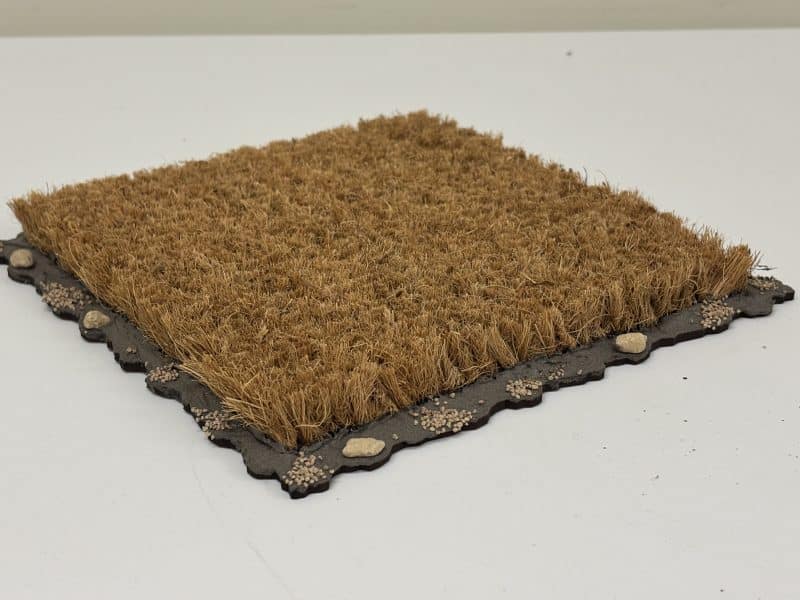
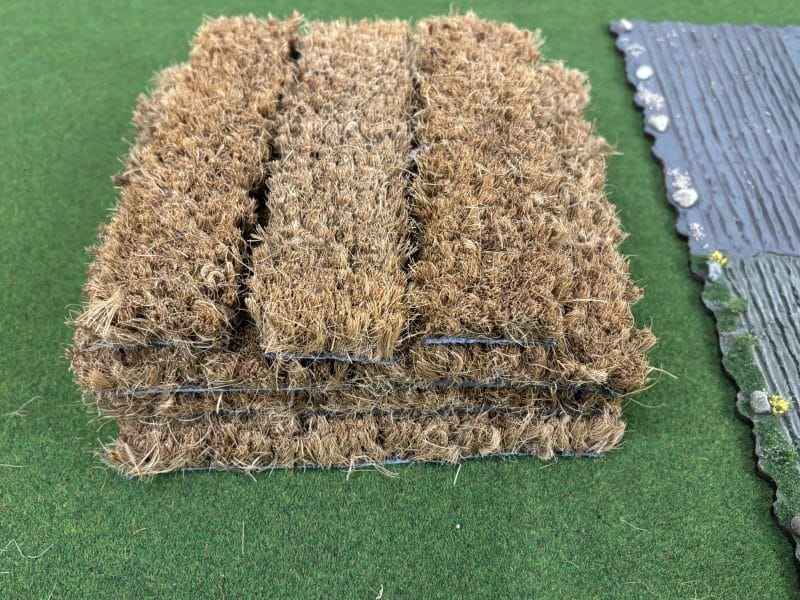
You can see the finished wheat field in the picture with the barn. Having successfully made one field, I decided to add another! Of course, I still had plenty of doormat left, so I cut it all up and will use the extra ‘fields’ if needed!
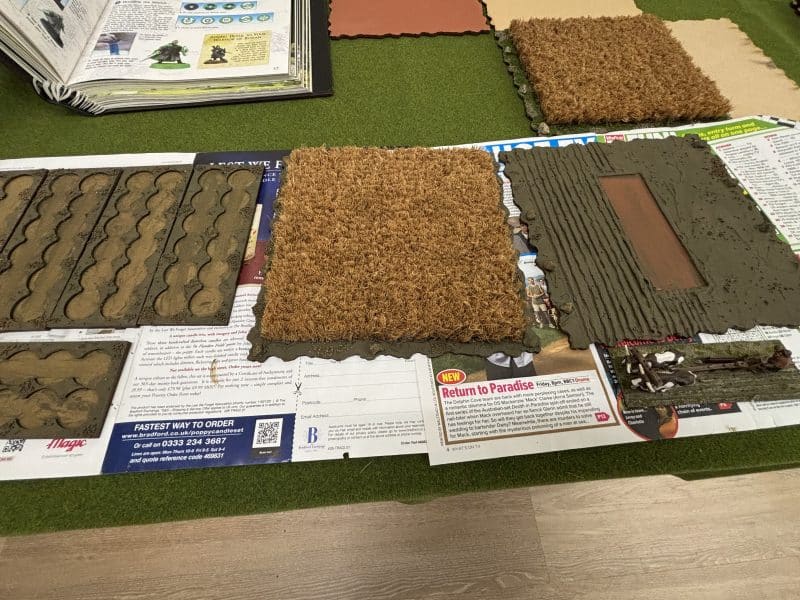
I also started work on the ploughed field. I wanted the ploughman to be removable, so I made a sabot frame to hold the model and then used Vallejo paste to coat the terrain tile. The furrows were very simple to make – I just used a sculpting tool to draw through the paste and make the furrows. The following pictures should help to make the process clear.
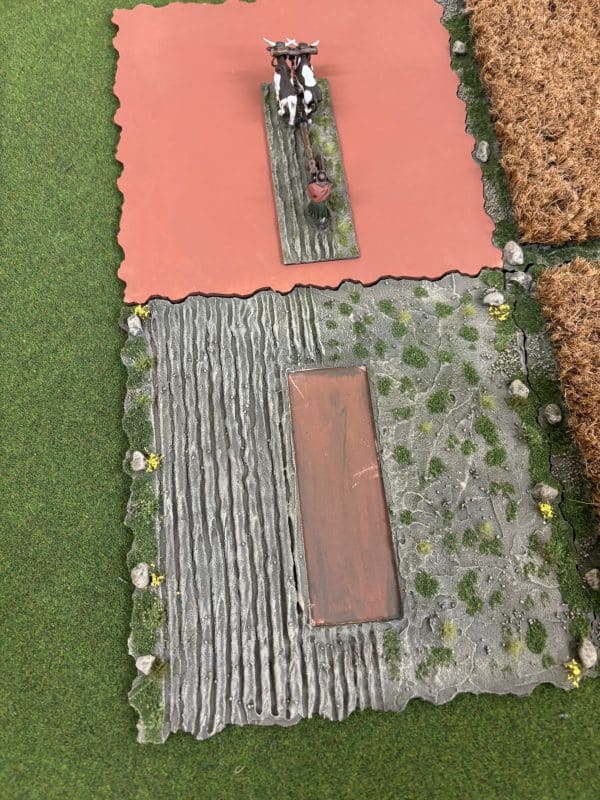
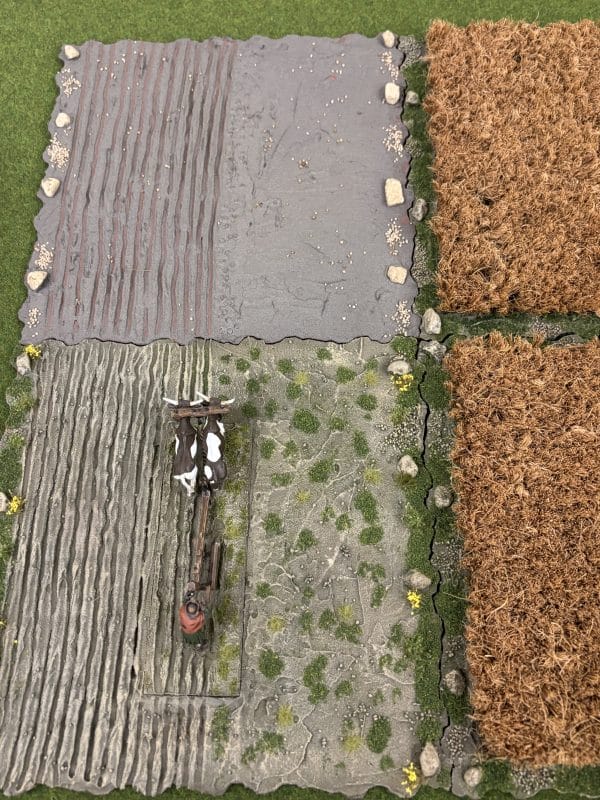
Just a few notes for the purists out there! In my research on medieval villages and fields it was clear that they farmed in strips rather than the squares that I have made. However, modelling the irregular strips would not really be practical using the terrain tiles. There is also the question of scale, a contentious issue at the best of times! My fields are probably way too small. A furlong, a typical measurement of land, is 660 feet long, meaning that a 1/48th scale furlong would be 13.5 feet long – a tad too long for my gaming table! The fact that the fields are not enclosed but marked with stones is probably right. In the Medieval and Tudor times, open field farming was the practice. Incidentally, in my research, I came across the measurement term ‘Bovate’ which is theoretically the amount of land that one Ox could plough in a season. A term that I had never heard of before. Finally, the yellow flowers that I’ve used are often seen at the edge of modern fields in Bingham and they are of course Rape seed flowers which I don’t think were around then!
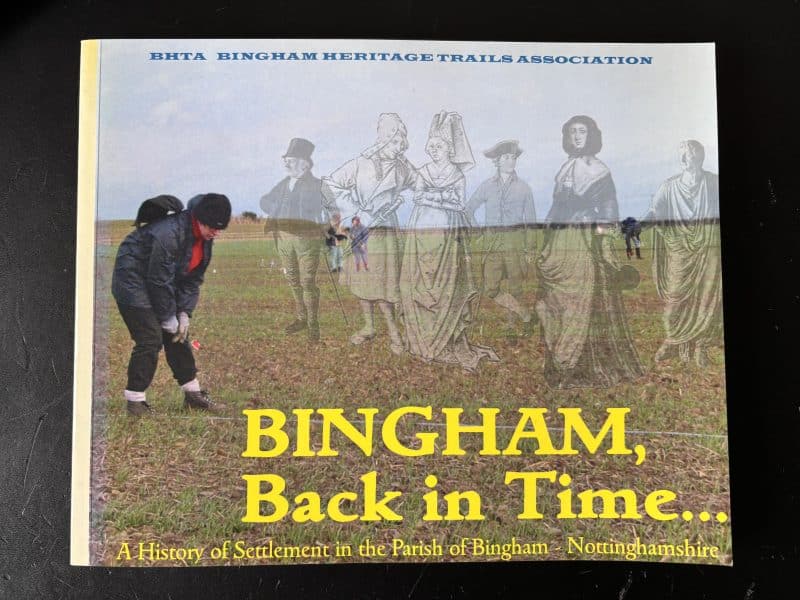
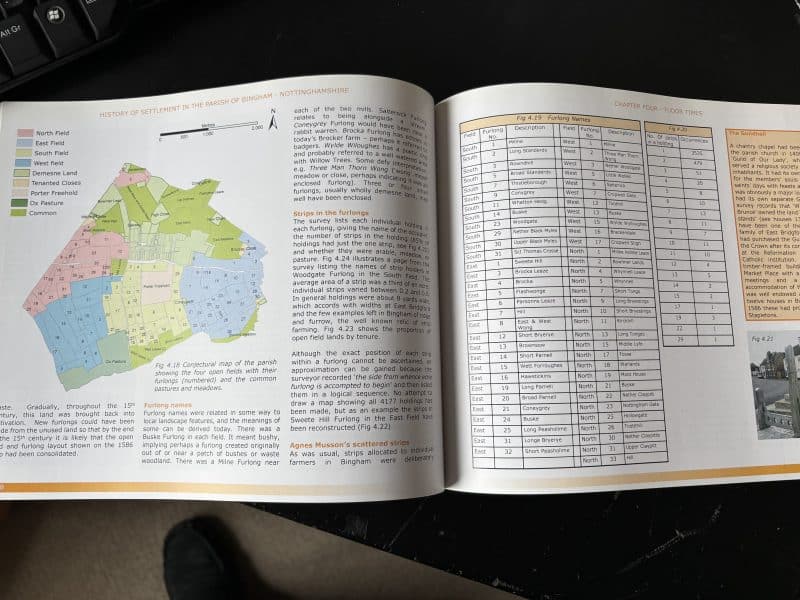
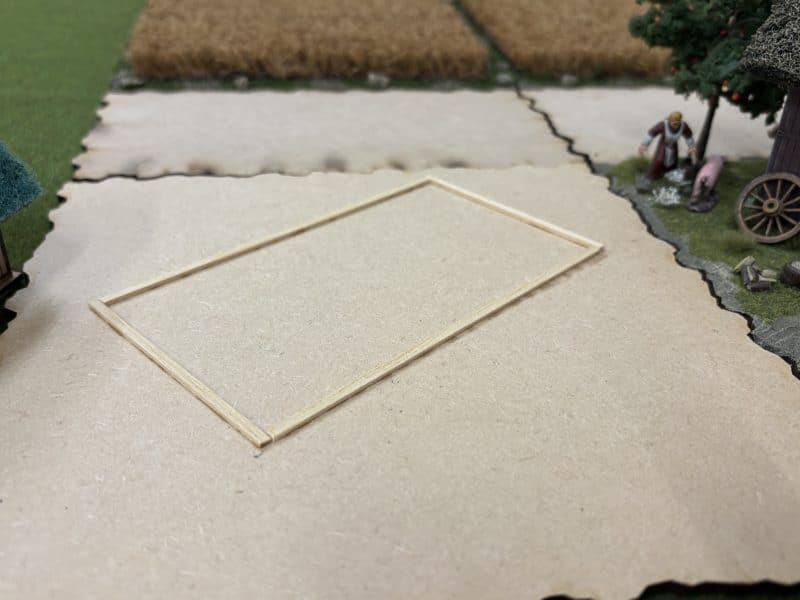
I also decided to add another barn to the farm. This is still a work in progress. Using another terrain tile, I made a sabot frame for the barn and used a pan scourer to make the thatched roof.
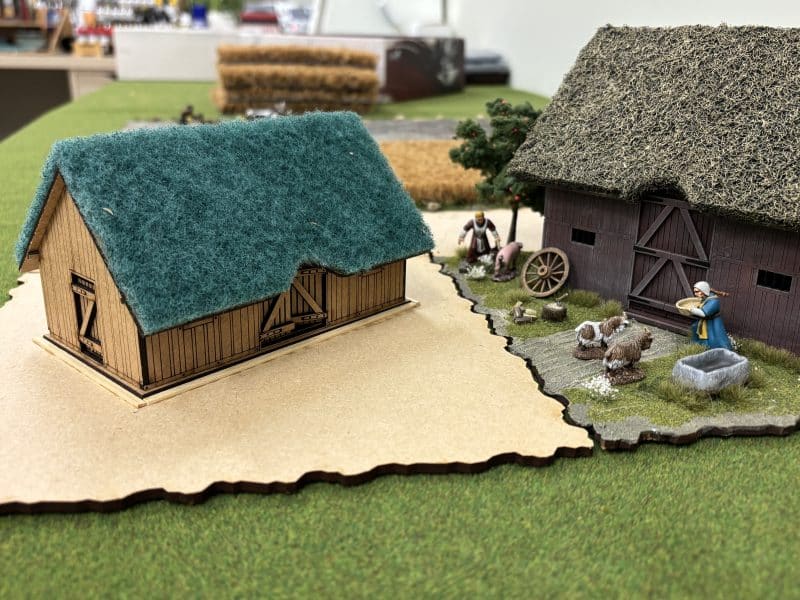
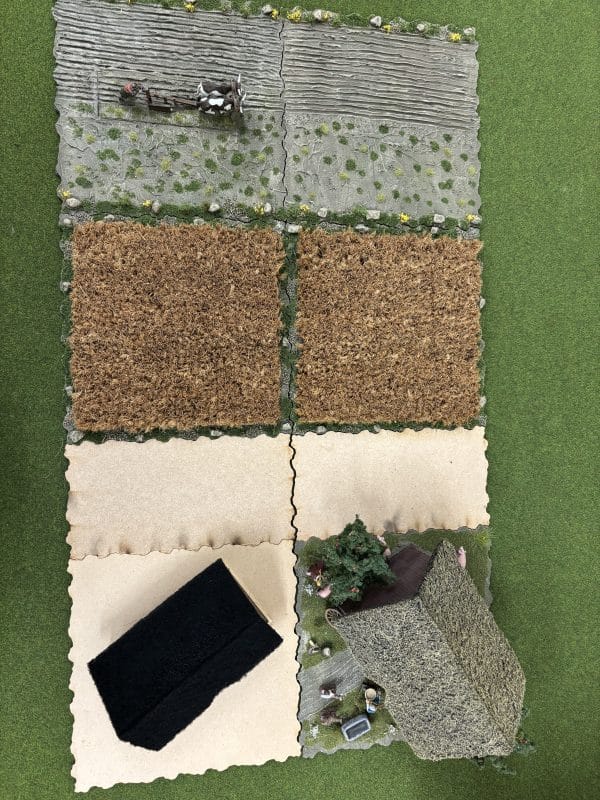
The final picture shows a top view of the farm so far, with the new barns roof primed ready for painting. Of course, the farm will continue to grow as far as my imagination will allow! I’ll post further pictures as I add to it!
I hope that you found the information useful. If you type ‘wheat fields’ into you tube, you will get plenty of videos to help you should you decide to add some to your scenery stash!
In the meantime, Happy Modelling!
