I’ve been gradually finishing off my Test of Honour war band and adding bits and pieces to them to get them to a ‘finished ‘state. This is the first time that I’ve played a game with unpainted figures. Usually, when trying a game, I either borrow a friends figures or wait until I have at least a painted unit of my own. Test of Honour was slightly different. It burst onto the gaming scene so quickly that most of my gaming buddies were in the same boat and as the game involved Samurai, nobody seemed to have any older figures in their collection that they could dust off and bring out to play. The upshot was that I was keen to get figures painted and on the table with out spending too much time planning the overall look of the army. I had quickly settled on a colour scheme for the figures but hadn’t really thought about basing other than to sprinkle some scatter over the painted bases. To make matters worse, I just picked up the nearest tub of scatter that I found, which with hindsight is a tad brighter than I would normally use.
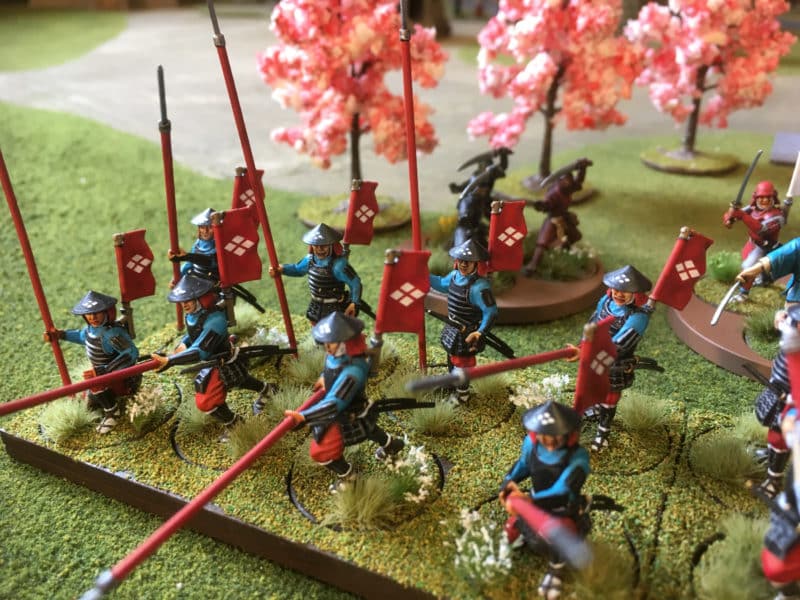
Samurai band with Mons added
So in between gaming and other painting projects , I’ve gradually been adding detail to my warband. The first task was to add some decals to the flags and hats to show the clan mon. After a false start, I found a nice straight forward clan mon that I could use – the Takeda mon. Even better, the supplier, Veni, Vidi, Vici printed the decals in white. The first batch that I ordered from another supplier required me to repaint the background on the figures to get a white clan motif, a faff too far for me. The mon on the flags are actually 15mm scale but fit quite nicely. I used Vallejo Decal Medium and Decal fix to ensure that they confirmed to the uneven surface. It’s a straight forward job. Just paint the decal medium over the flag, soak the decal in water for a few seconds, carefully apply the decal using a fine brush to help and use a paper towel to carefully soak up any excess water. I then gave the decal another coat of decal medium. When relatively dry, I then applied the decal fix. If it sounds complicated, it isn’t when you get into the swing of it. To get the smaller clan mon for the hats, I used a scalpel to cut original decal into four diamonds. I then applied the diamond to the hat using the same process with the decal medium & fix. Once dry, I then painted two lines to divide the diamond into the four sections. Again, it sounds tricky but didn’t actually take too long.
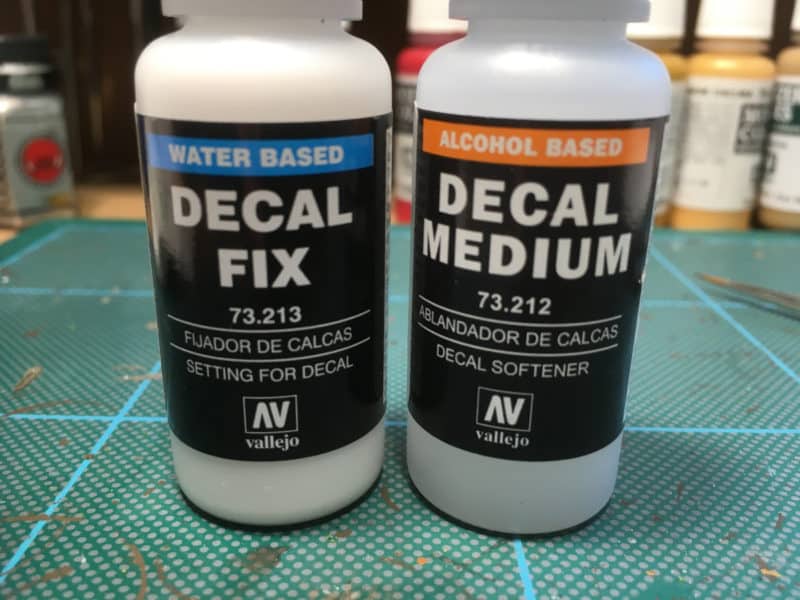
Vallejo Decal Fix and Decal Medium
The picture below shows some of the figures with the decals added to the hats before I had painted the dividing lines and should help you to understand how straight forward, if some what fiddly the process is.
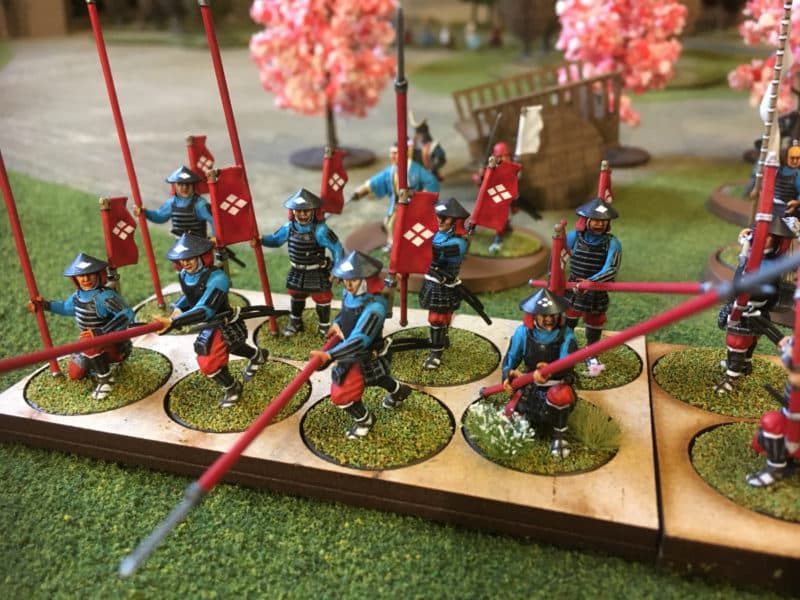
Decal fixing in progress!
The next job that needed doing was to improve the basing. I did consider scraping the scatter off and starting again. I hadn’t used my favorite method of basing, using Vallejo paste, as the figures are attached directly to the plastic base and I was concerned that I would cover the feet of the men in mud. I decide to work with what I had and the obvious solution was to apply some Gamers Grass light green tufts and some Noch white flowers. I also decided to transport and store my archers and spearmen in movement trays, so I also added some scatter to these.
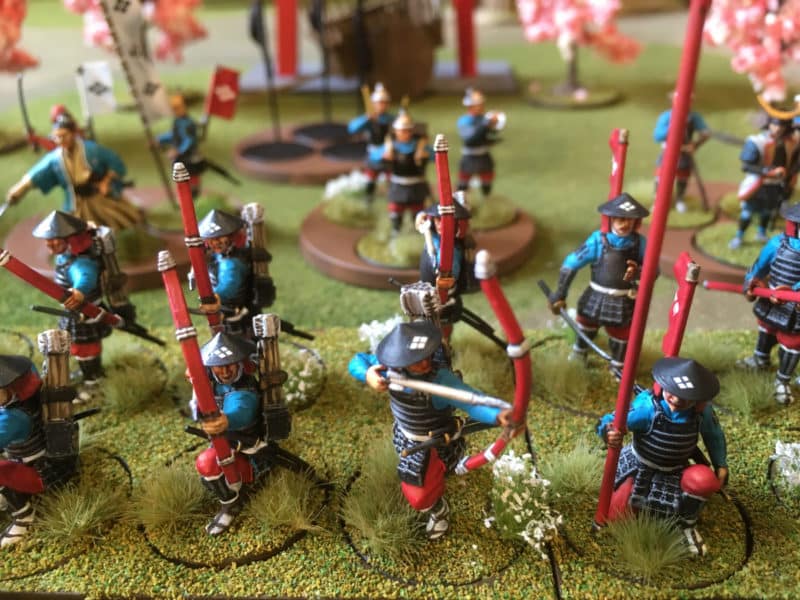
Movement tray and bases with detail added
The figures are starting to look more as I had imagined them to be when I first started the project. As far as basing goes, I’m nearly there but I think that looking at the pictures, I will add a few patches of static grass just to give another layer of texture. I had also intended to add bowstrings to the bows. To do this I decided to use stretched sprue. When I mentioned this at the club, I was met with a few blank looks. It seems that this dark art has been lost in recent years – it was a technique that I used when rigging my Airfix World War One biplanes many years ago. It is a simple as this.
First you need a tea light or small candle and a piece of scrap plastic sprue. A piece of the frame that your Samurai came on is fine. Hold the sprue just above the candle, rotating it to gently warm it until it starts to melt. If it catches fire you are too close…so be careful!
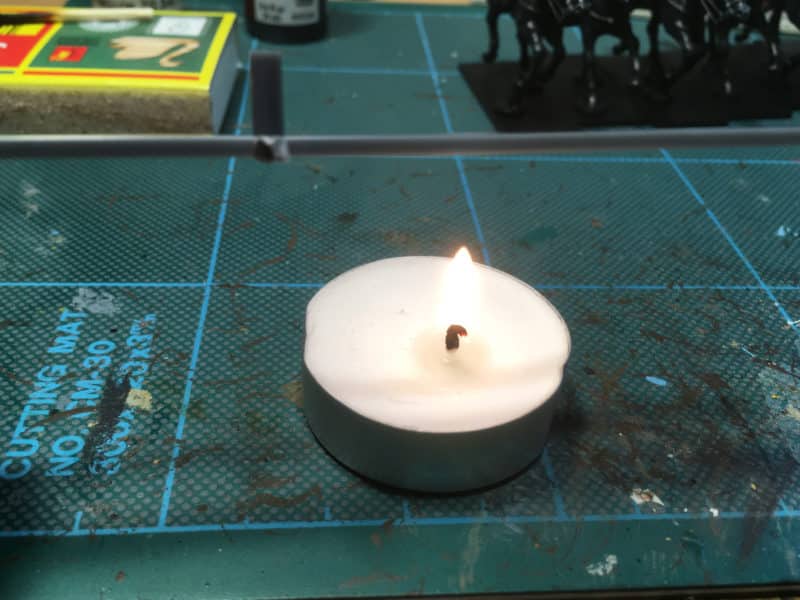
Gently warm your sprue!
Once you see that the sprue is beginning to soften, take it away from the heat and pull it gently apart. The sprue will naturally stretch and as it goes cold, hardening off into a thread.
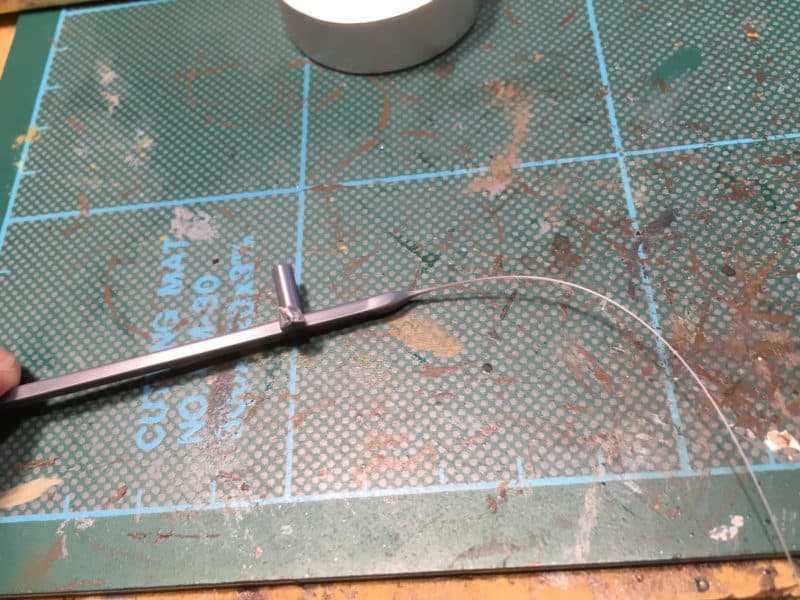
sprue stretched ready for use
As with everything, practice makes perfect but the sprue is free, so it doesn’t matter if you get it wrong a couple of times. Just be careful with the hot sprue, if you touch it when it is still melting it will stick to you and burn – I can show you my scars. You can then cut the stretched sprue to the desired length and attach it to the bow. With hindsight, I should have done this before I had painted my troops as I had to use superglue, rather than polystyrene glue. So I actually managed to glue the bowman to my fingers a couple of times. Fortunately as I was on my own in the garage, nobody heard the tirade of bad language….
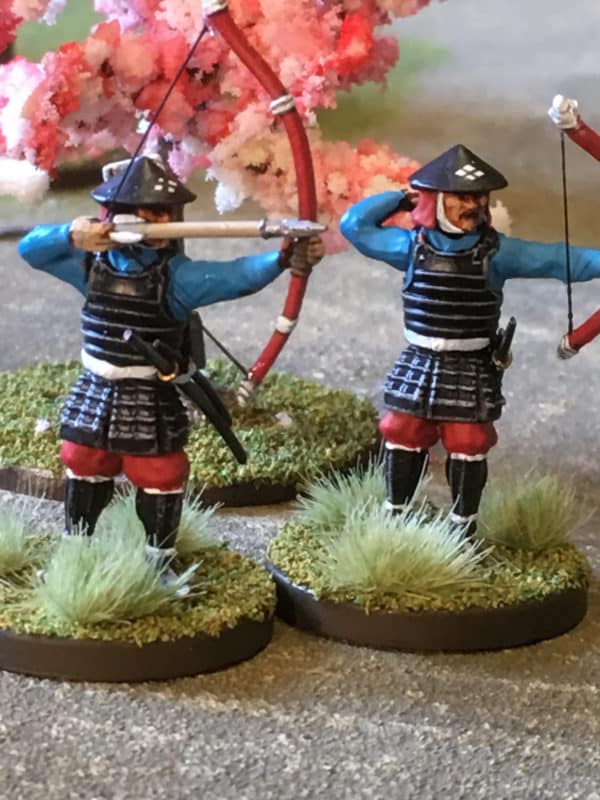
Bow strings attached
I am gradually getting to where I would like to be with my Samurai warband. I now have enough figures to play a reasonably sized game and I have most of the characters that I need.
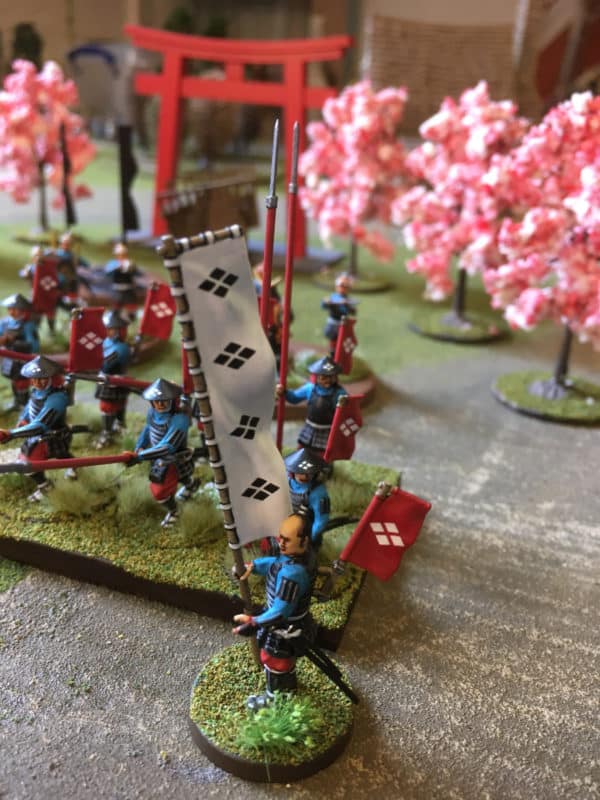
Takeda Clan Bannerman
I think that I will be revisiting the warband over the next couple of weeks but basing aside, I’m just about there with this batch of figures. The next part of the project is to complete four more samurai and paint the beautiful Geisha spy figure. Not forgetting the objective markers and some more scenery…it’s going to be a busy summer!
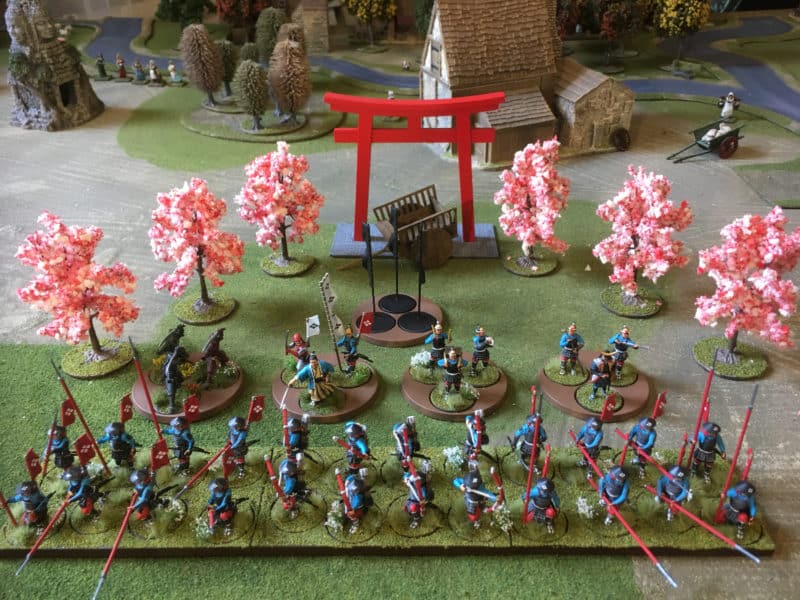
The warband takes shape
Most of the products that I use are available post free at the time of writing, in the Arcane Scenery shop. A good place to start is the Samurai section here:
SAMURAI
You can find plenty of basing products here:
Scatter, Static grass and bases
Vallejo Decal Medium
Vallejo Decal Fix
We don’t sell the decals but you can get them here – service was excellent.
Veni, Vidi, Vici
