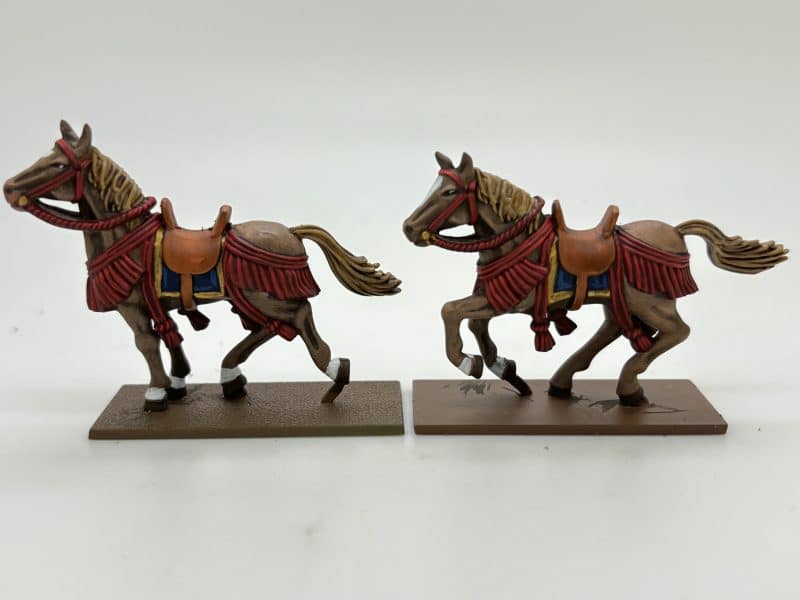
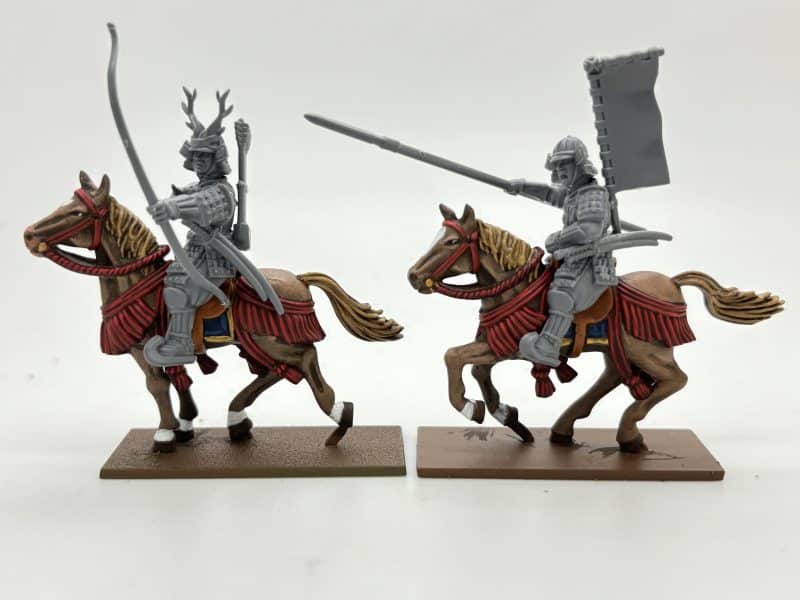
I’m never sure of the best way of painting cavalry. Should you attach the rider to the horse and paint the model as a complete item? Or is it better to paint the horse and rider separately? I’ve tried both methods and I think that when it comes to painting a unit of cavalry, I find that a batch paint for the horses and riders separately works best for me. I tend to paint the horses in two’s or three’s, varying the colour for each batch and then adding different markings to give some variety. The same goes for the riders, unless of course, they are in uniform.
It’s then a question of how to paint the rider. By this I mean how do you hold the rider when there is no base to grip?

I’ve tried several methods. My preferred method used to be to sit the rider on a ‘saddle’ of blue tack attached to a stick. I then upgraded this to the method above. A wire stuck in bluetack through a plastic tube. It was OK but a bit over engineered!
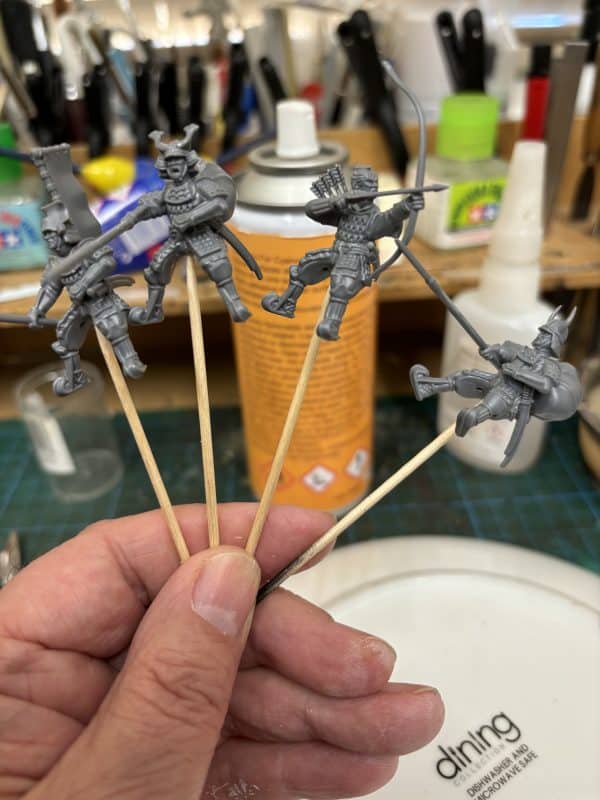
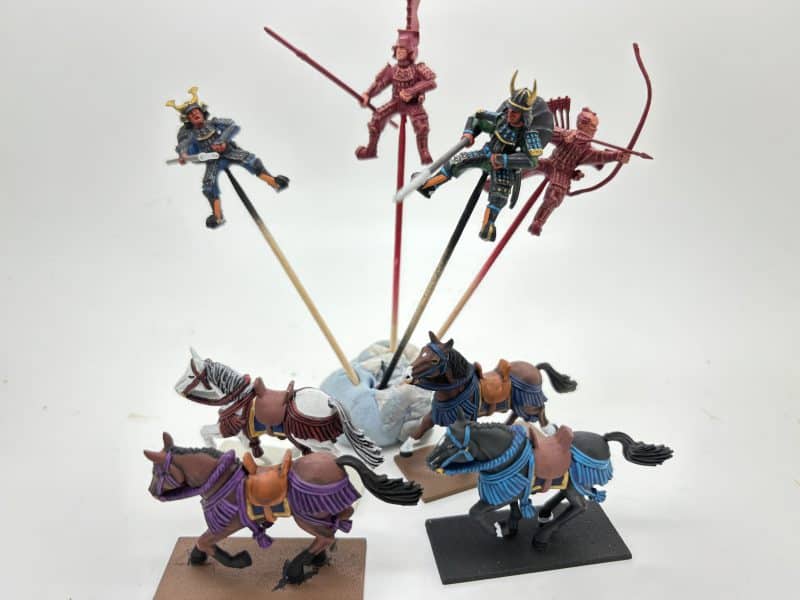
My latest solution is just to drill the base of the rider and use super glue to attach a cocktail stick. The cocktail stick is more than big enough to hold whilst you are painting the figure and gives you access to all areas! Once the model is painted, I simply clipped off the stick with my trusty Xuron sprue clippers and the rider was ready to attach to his horse. Cheap, easy and effective.
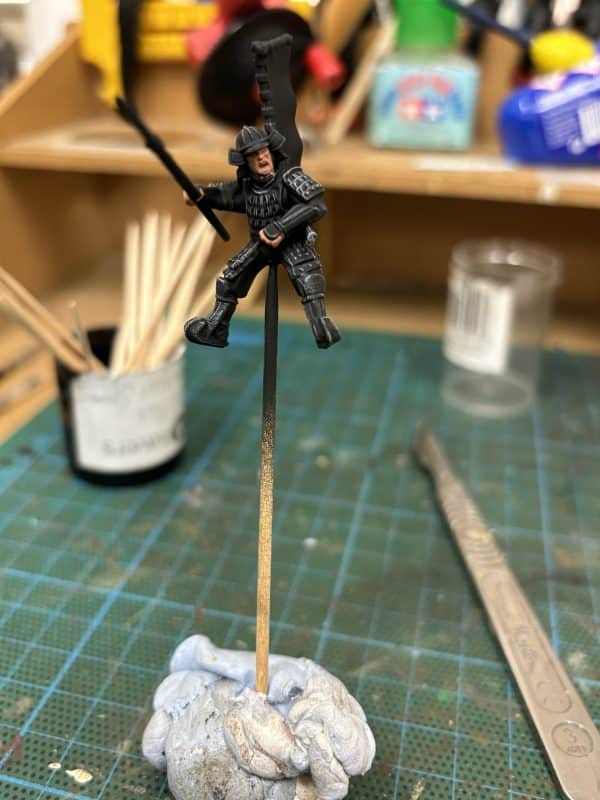
As you can see from above, I ‘plonk’ the stick into a blob of blutack in between coats to protect the paint from any damage or if a wash is drying.
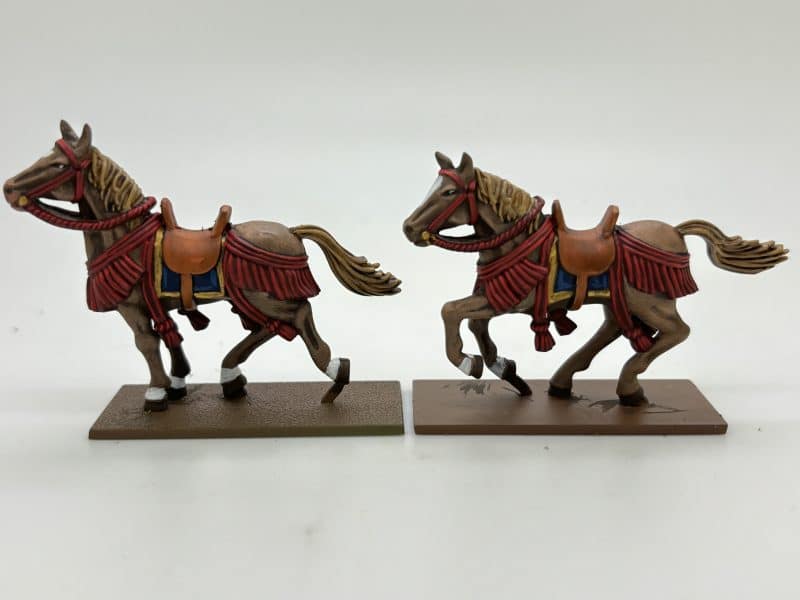
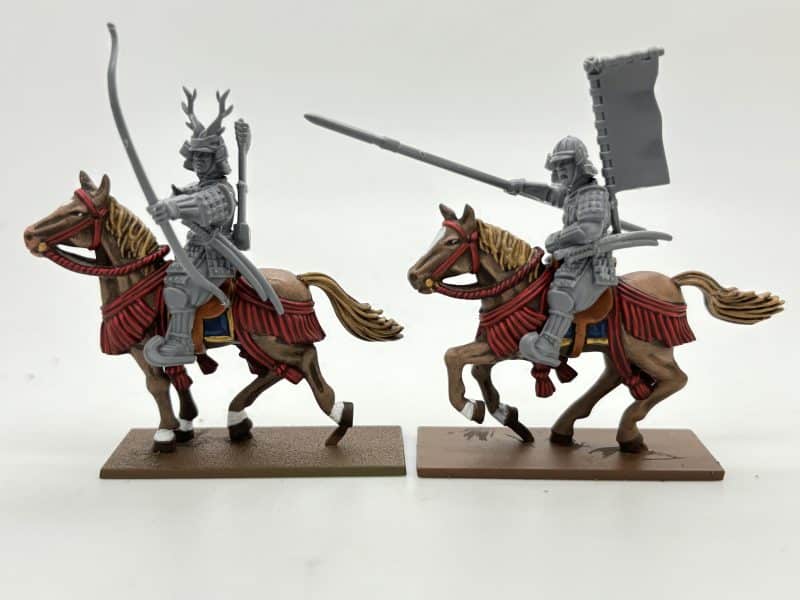
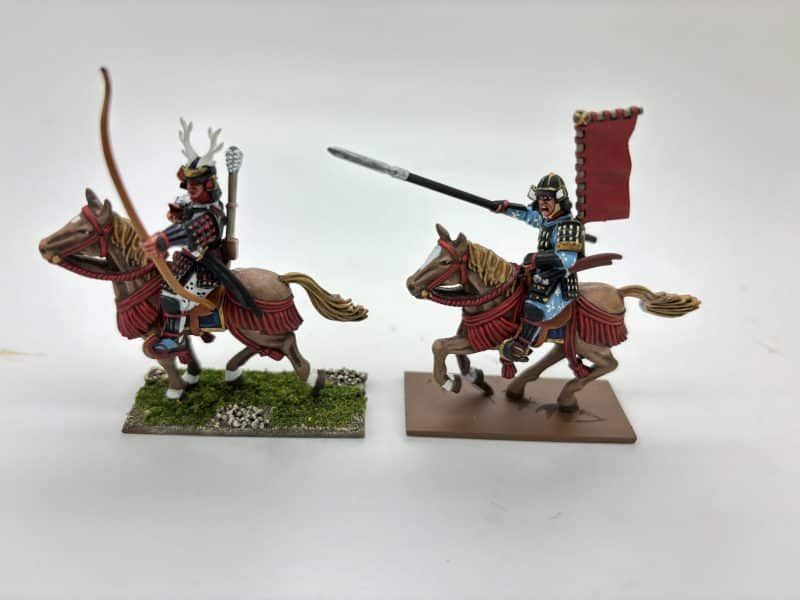
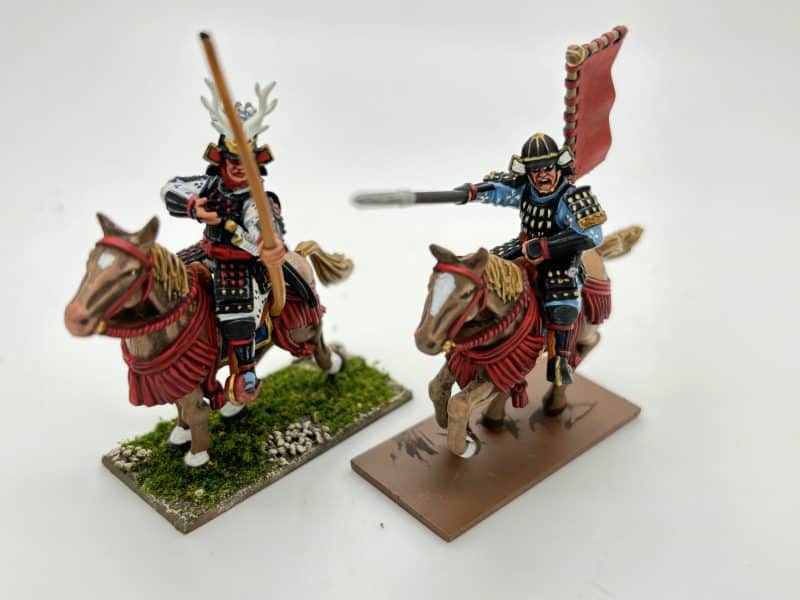
So, I have a new simple method of painting cavalry riders that seems to be both cheap and effective. Unfortunately, whilst it makes painting easier, it doesn’t make it faster. It’s taken me two weeks to get six horses and two riders completed. Just four more to go!
Happy modelling!

