My gaming groups foray into the War of the Roses continues as we play test the rules set that Andy Callan has developed. As you can see from the title, there is a nod in the direction of the Two Fat Lardies style of play. The WOTR rules that we are using have morphed from our ‘Rules for Old wargamers with short memories’, which we used for our Napoleonic skirmishes, also written by Mr Callan. Andy has a long history of rules writing and tinkering. Indeed, his rules set ‘Loose files and American Scramble’ originally published in Wargames Illustrated back in the ’80’s (and incidentally, the only article to be republished in the magazines history) has often been copied and they are still in use today. More recently, Andy has collaborated with Peter Dennis on the ‘Paper Soldiers’ Project, with Andy writing the rules for many of the books.
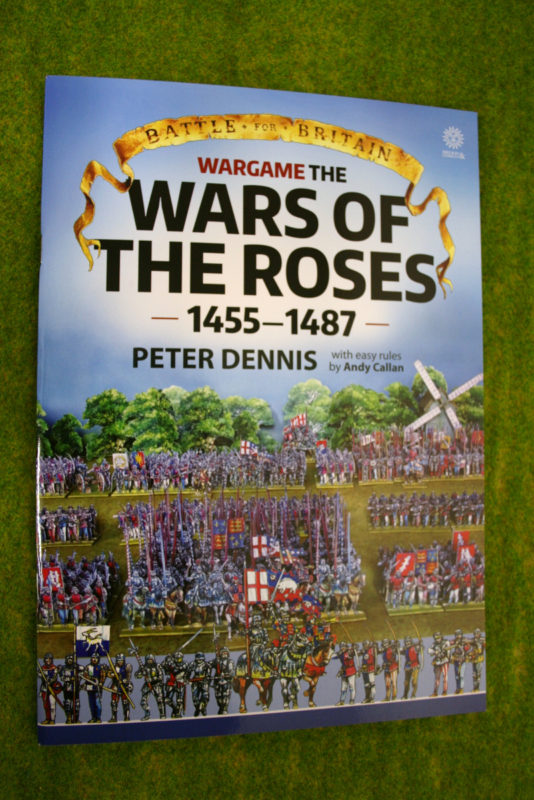
Andy Callan’s rules set are included with the book.
The battle report that follows is a run through of the latest manifestation of the ‘Never mind The Billhooks’ rules. As usual, I was playing, so the report will inevitably be biased and one sided, which makes it totally authentic when compared with accounts of the actual battles in the War of the Roses as written by the chroniclers of the time…

The Battle of Bingham Fields – the set up.
The initial set up allows the players to deploy their troops as they see fit, with the army being commanded by a number of officers or characters. In our battles, the commanders are all fictitious, with my commanders named after Tottenham players, Harry Hotspur being the leader.

Sir Harry Hotspur makes ready to advance.
The Commanders are activated by drawing cards and once activated, they can give orders to the appropriate units within their command range. To speed the game up, at the start, players are able to freely move their units, one at a time, until either the first contact or shooting action. At which point the game is then controlled by drawing the cards. This allows the players to manoeuvre before battle is joined!

Skirmishers!
Skirmishers are semi independent of the control system, in that they are activated by their own card but can also be given orders if they are within range of a commander.

My cunning battle plan – go right!
My cunning battle plan was to send my cavalry (out of shot in the above picture) and one unit to the left as a feint, whilst switching the main attack to the right. This would allow me to bring the bulk of my archers to bear against Lord Binghams force. In the game, Archers have a limited arrow supply, so it is important to choose your target carefully. You can see that I had one gun to provoke the enemy into moving. Whilst Artillery isn’t too effective in the game, it does wear the enemy down if they don’t get out of the way!

Archers Loose!
With my archers screened by both the woods and skirmishers on the flanks, they were free to unleash an arrow storm on Lord Binghams forces whilst the Men at Arms advanced in the centre.

Irish Kern attack!
There was a moment of consternation when a band of Irish Kern skirmishers burst out of the woods and hit the flank of my archers. Lord Bingham had also finally managed to move his archers around the other side of the wood to threaten my flank.

Lord Bingham’s Archers – down to their last two shots!
However, The Cavalry, commanded by Lady Ravenshead were able to halt the enemies advance and Sir Harry Hotspur chased off the Irish to secure the left flank.

Hold the flank!
Meanwhile, Sir Eric Diehard had closed with the enemy, and true to form, was giving them a good kicking (you need to be a Spurs fan to appreciate the tactical nuances…), pushing Lord Bingham back.

Captian Eric Diehard secures the right flank
With Harry Hotspur now able to join his loyal Captain in the push, Lord Bingham’s force began to waver.

Harry leads his forces to Victory!
With numerical superiority established on this side of the battlefield, numbers began to tell and as casualties mounted, Lord Bingham was forced to withdraw from the field. In fact, Lord Bingham was forced to retreat across a turnip field to make his escape! He would be back to fight again once he had cleaned up his armour!

Victory for Harry!
Not quite a resounding victory for Sir Harry but a victory nonetheless!
The battle was a good run through of the rules and many lessons learnt. To be fair, my opponent, Pete, had not played this particular version of the rules before, so I was at a slight advantage. During the post battle discussion, Andy has since come up with some amendments that will allow the battle to flow more easily. As usual, with rules writing, there is a conflict between allowing the rules to reflect some of the character of the period whilst allowing the game to flow. I think that we are getting there. I haven’t described the effect of some of the ‘special cards’ that can be introduced into the game that allow for say, an arrow resupply or for a commander to waver or even change allegiance. The method of calculating a units morale is still quite cumbersome and will be refined.
I particularly like the idea of naming your characters and using them consistently over a series of games. I have found that they can take on a life of their own and add extra fun to the play. Once we have a settled rules set, with Andy’s permission, I will publish a PDF for download.
THE COMMERCIAL BIT
If you are a wargamer or modeller you will find that Arcane Scenery has a very well stocked shop that should be able to help with most of your modelling requirements. Even better, we supply post free to most worldwide locations! Click here to see our ranges:
Should you wish to read more about my WOTR project, click on the War of The Roses Category in the side bar of the blog.
Happy modelling!