My latest project is a Medieval Ox cart from Perry Miniatures. I seem to have a growing collection of wagons and although they are of little use in most wargames, they do look nice on the table as scenery pieces. They also look nice in the figure cabinet as part of my collection, so I seem to keep adding to my baggage train! As an aside, I must get around to writing a scenario or two involving either rescuing or raiding a baggage train. It would at least add some variety to our games.
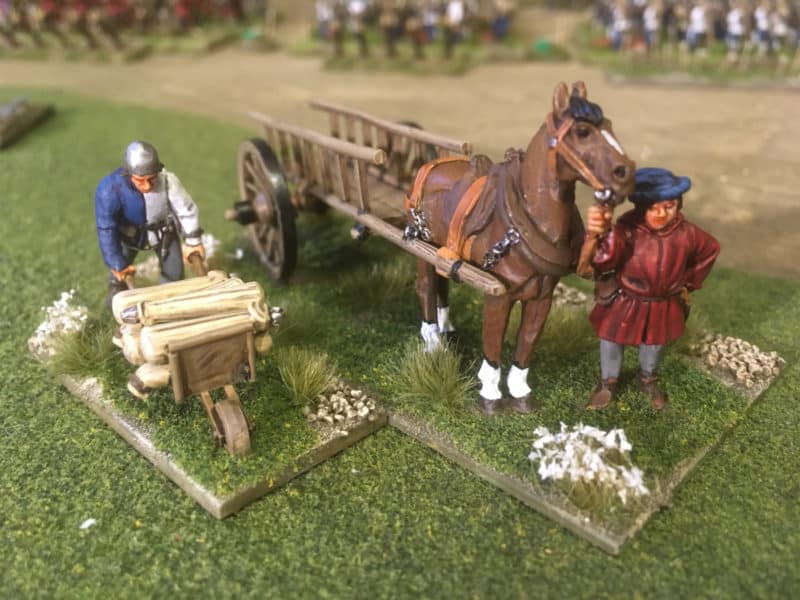
I am a great fan of the Perry Miniature sculpts – there are other company’s out there with some fantastic ranges but I like the style and proportions of the Perry’s figures. The Perry’s have also been involved in Medieval re-enactment, so they know their stuff when it comes to the period. There is just two minor grumps that I have with their products. Firstly, the casting quality is not always as good as it could be., particularly with their horses and wagons. It took me a couple of evenings to clean up the parts for the Ox wagon – the wheels were a particular challenge. The other issue is that there is no assembly instructions with these kits and I think that they are complicated enough to warrant some sort of guide. If not supplied with the kit itself, a bit more information on the web site would help.
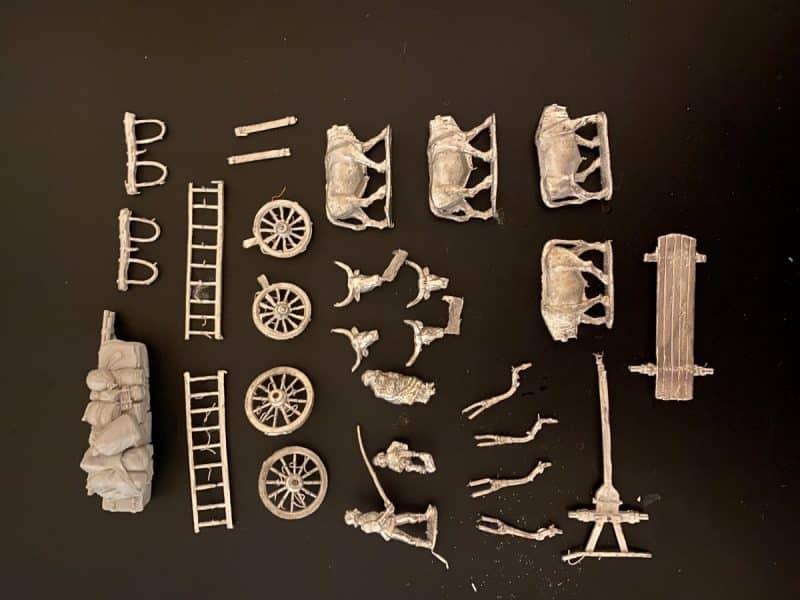
So here’s how I went about assembling the wagon. I hope that it is useful. The first place to start is of course, the clean up. I used a couple of differently shaped needle files and a Scalpel with an old blade for scraping the mold lines. For assembly, I use Expo Thick Super glue. I find it ideal for assembling metal miniatures. It’s thickness gives the glue some ‘fill ability’ on the joints so they don’t have to be perfect to stick together. Also the slower set time allows me to make sure that everything is lined up before the glue sets. The set time is about 10- 12 seconds, depending on the size of the bond. You can speed things up by using an accelerant. Despite being careful, I usually end up sticking parts to my fingers and usually get enough glue on my finger tips to stop me logging into my iPhone…
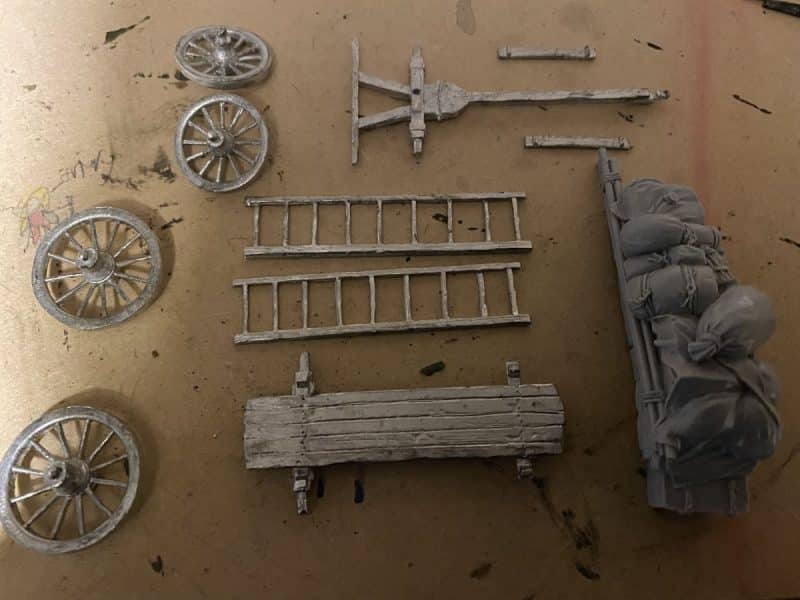
One other thing, I always wash resin pieces in hot soapy water before assembly. Resin seems to be particularly likely to have a residue of the mold release agent on it, which will cause problems when painting. The picture above shows the main components for the wagon all cleaned up and ready to assemble.
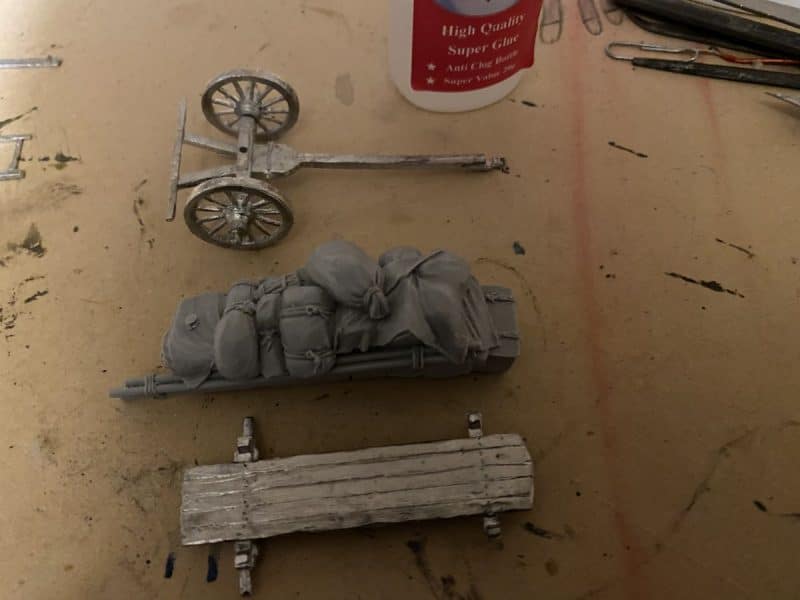
The small wheels fit onto the front assembly. The Wagon load is fixed to the wagon bed. Note that the front of the wagon bed is the rounded bit and the rear of the load has the poles sticking out.
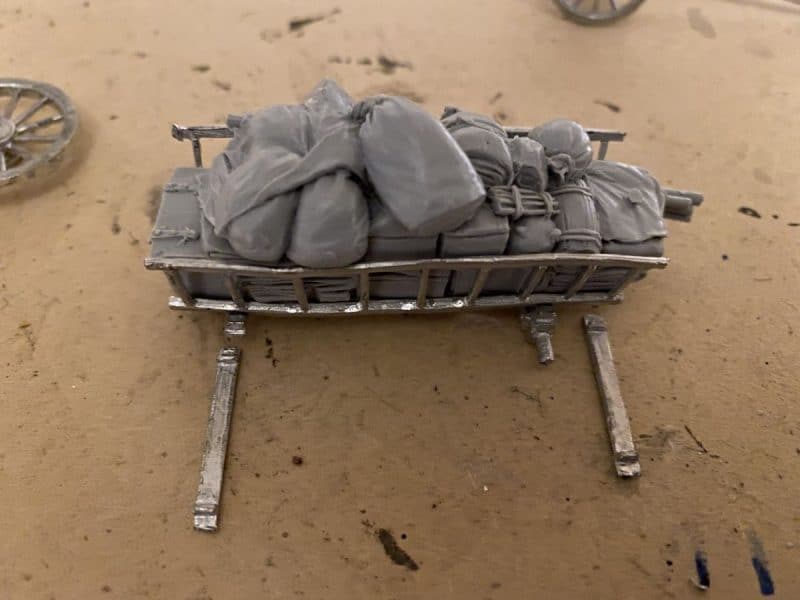
Next, attach the sides to the wagon bed. They locate into the cut outs above the axle and may need a bit of filing to get them to fit. The two pieces in front of the assembly are the top connectors – they hold the railing sides together at the top.
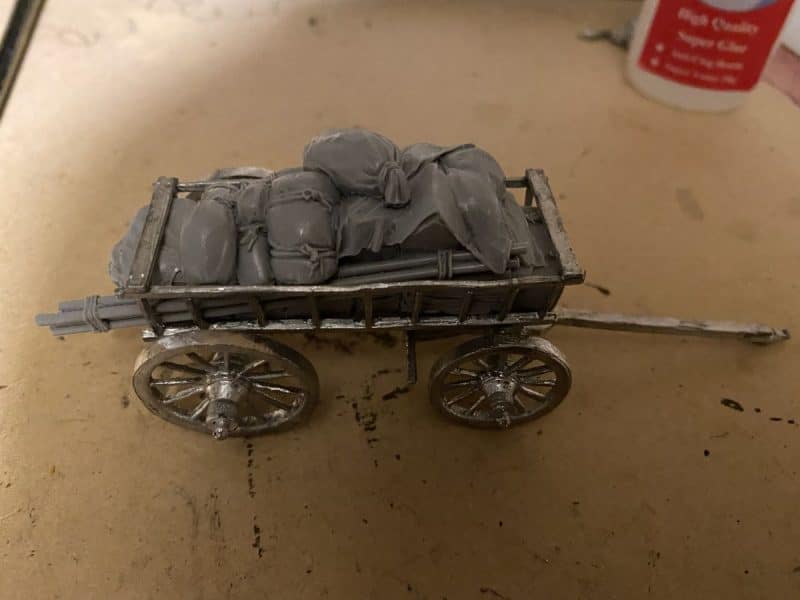
Here’s the wagon with the wheels on and the top connectors in place. The next part of the assembly is to fix the ‘elbow’ reinforcements to the wheels ( I made that term up – I’ve no idea what they are actually called!). They will need a bit of careful bending to go around the wheels and attach to the railing of the cart. It’s important that the joints are cleaned up and I cannot stress how important it is that you test fit everything before getting out the glue! It was during this part of the assembly that I stuck myself to the cart a couple of times! Those joints are difficult!
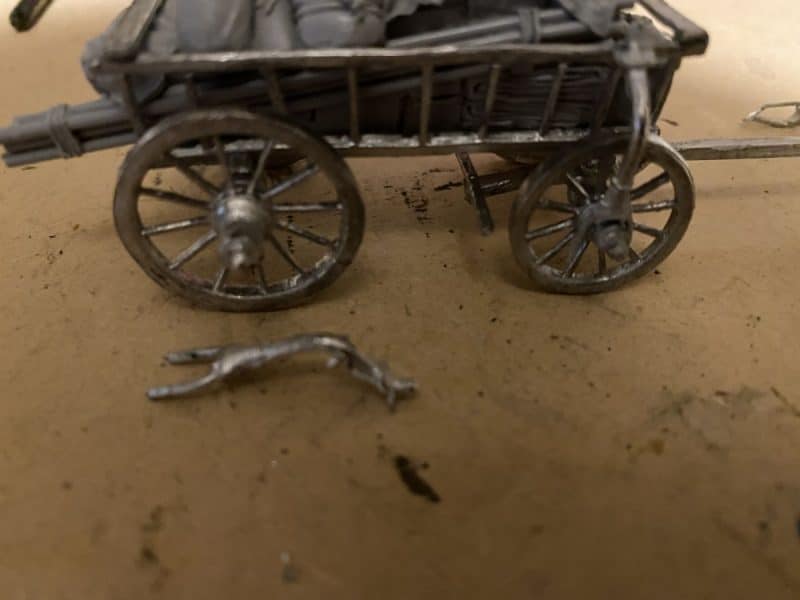
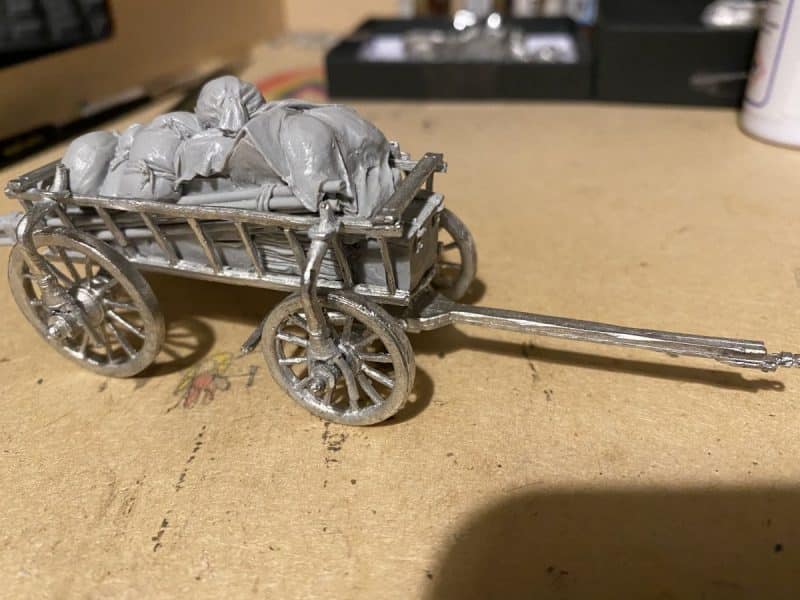
With the elbow joints in place, the cart assembly is complete. What ever those things are that connect to the axles, they do make the cart look more substantial so I think it is worth persevering to add them.
The next part of the assembly is to make the draft oxen. After cleaning up the pieces, you will need to glue the heads on the Oxen at the same time as placing the yolk over the animals neck. I haven’t glued the yolk into place, it will stay there without the need for glue and the movement will allow me to prime and paint the animals later.
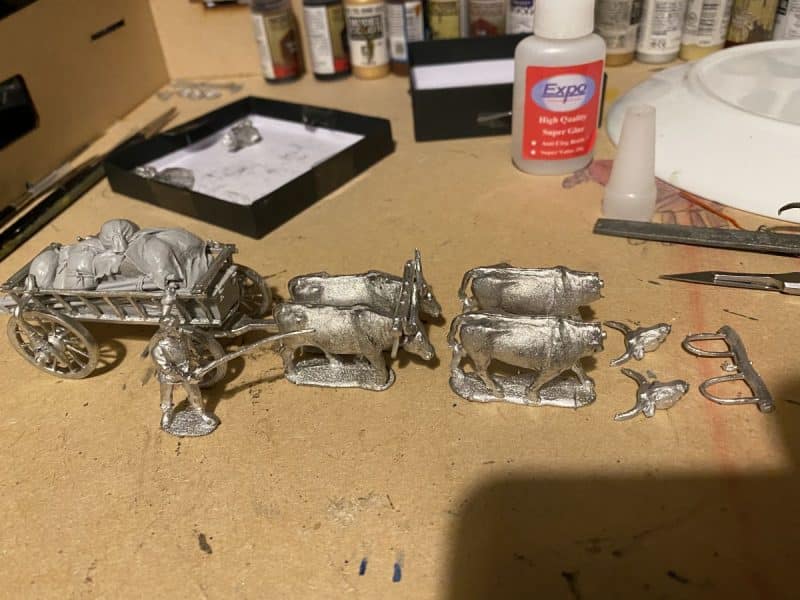
Once the Oxen are assembled, I cleaned up the ‘crew’ and you can see the finished wagon below ready for priming. I’ll cover the painting process in my next blog – all being well!
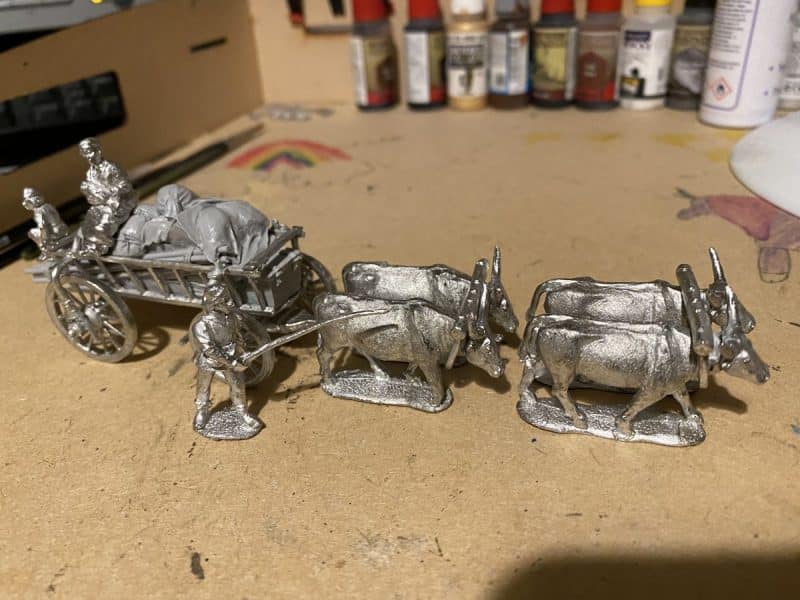
One final note, You get two types of Oxen – heads up or heads down. I decided to pair them. With hindsight, it might have been better to have one’ heads up’ with one ‘heads down’ as their horns tend to clash the way I have assembled them!
THE COMMERCIAL BIT
I hope that you all enjoy your hobby as much as I do – remember that our web site will have much of what you need! Click here to see our shop:
To go straight to the adhesives and fillers section. Click here:
To see our selection of tools, click here:
Tools and Modelling accessories
Happy Modelling!
