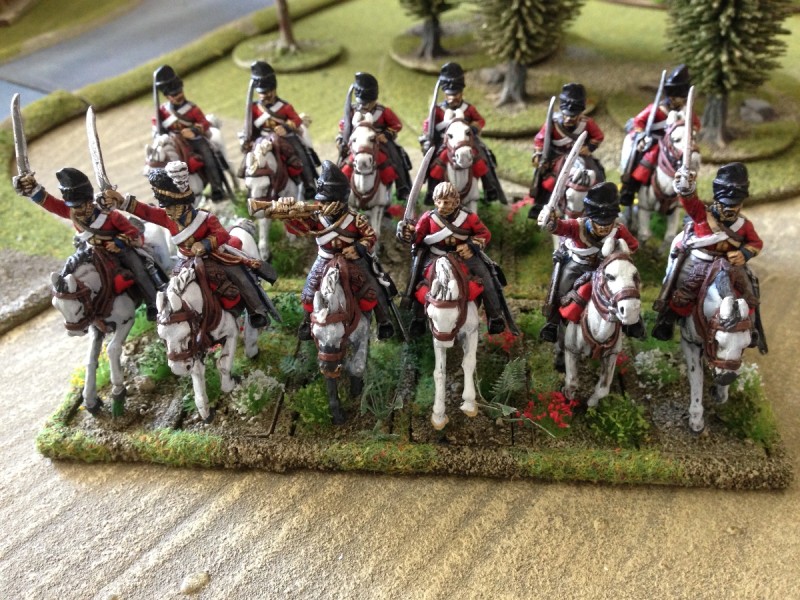
The Charge of the Scots greys… or not!
It’s strange how a narrative can develop over a series of otherwise unconnected games. I play Black powder regularly with a group of friends on a Thursday night and one of the themes that has developed has been the poor performance of my Cavalry regiments. Now they are subject to the same whims of fate inflicted on my dice throws for as for all my other units but time and again, it is the Cavalry that refuse to do as they are told!
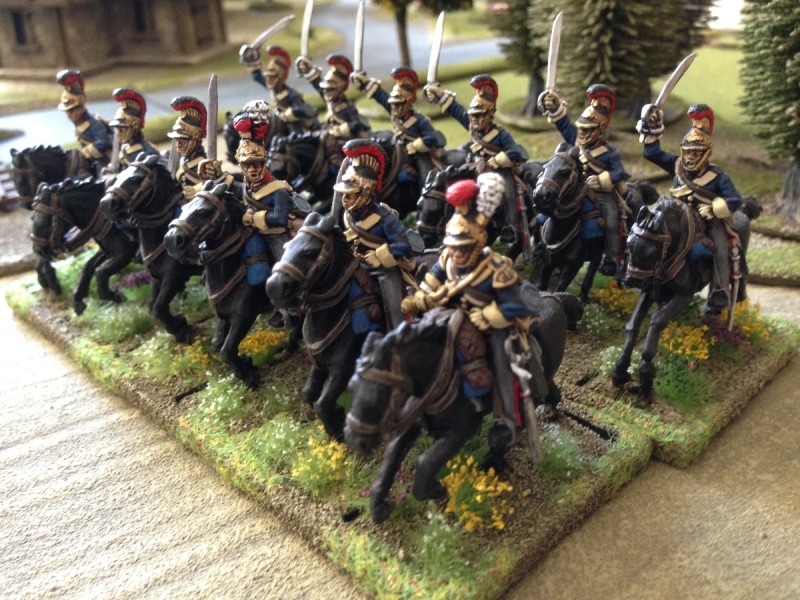
The Blues are not for moving.
We tend to use a rather generous fixed leadership value of 8 and so you would expect the orders for these units to be passed more times than they are failed. Not with my beauties! I have lost count of the number of times that my nicely painted regiments of Scots Greys and ‘Blues’ have sat at the back of the table refusing to budge or even worse, blundering and withdrawing from the action, playing little or no part in the battle.
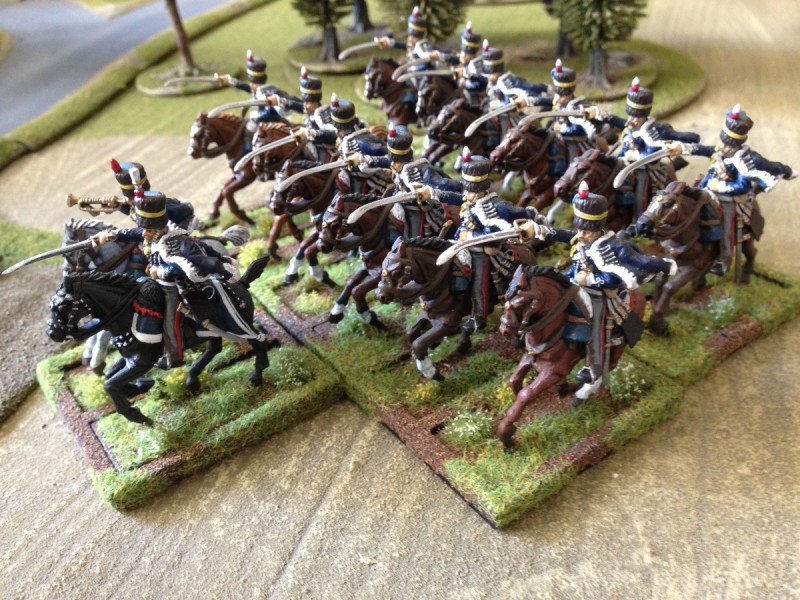
Charge to the rear Boys!
Things came to a head at last weeks club battle. To be fair, because we were a bit short of participants the mix of opponents was rather strange. A combined Austrian and British force was facing a combined British and French force – the French force being made up of a number of units of Lombardy Legion and Polish battalions. I suspect the purists out there will be reaching for their caps lock on the keyboard just at the thought… Anyway, I digress, back to the battle. My opponent, Pete, had rather misjudged his advance and had left his guns limbered within charge distance of my cavalry. I was about to order the charge when Wayne, who was spectating said “are you going to do a ‘follow me’ order?” Well, Pete wasn’t too impressed by this coaching from the side-lines but it was sound advice. By passing this order I would get three moves and the charge would be pressed home. And to my surprise, it was! A glorious victory for the British Cavalry right at the start of the game and the opposition Artillery routed and off the table, Huzzah!
Follow me boys!
So far, so good. Except that was the end of my good fortune. I proceeded to throw six blunders during the course of the game, constantly throwing away any advantage that had developed. On top of this, at one point in the game, my light Cavalry were presented with a flank to charge by a rather enthusiastic enemy infantry unit. Hah! I thought, I’ve got him now, I’ll do another follow me order and rip the centre out of his army. I rolled eleven… order failed. Despite this, my luck held. Even though Pete was now aware of the danger, his units failed their orders and were still vulnerable to a flank charge. Brilliant! ‘Follow me boys’ charge! Again, the dice roll was eleven. Good grief, my infantry units looked on in disbelief as the Cavalry just sat there and the game was gradually lost in the continuing blunderfest! Ah well, there’s always next week…
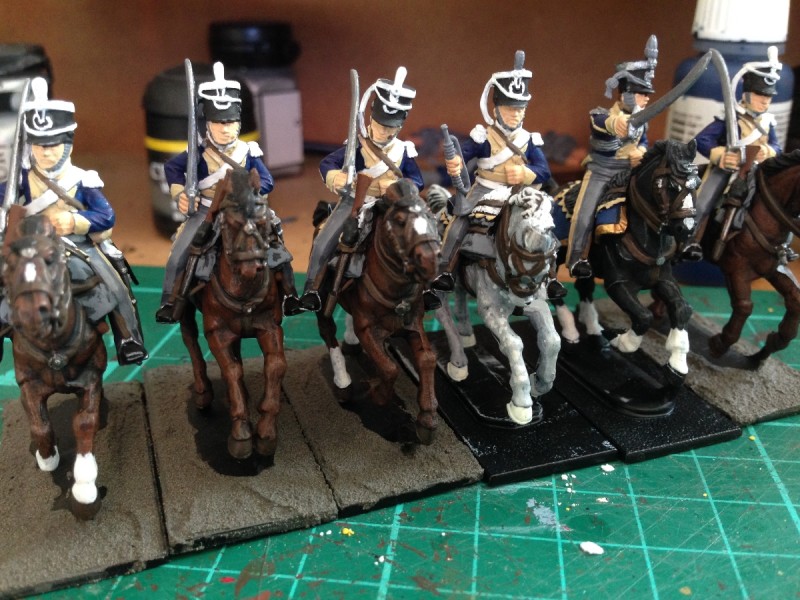
11th Light Dragoons on the workbench
Mind you, this poor performance on the Battlefield isn’t exactly inspiring me to get on and finish my 11th Light Dragoons. To be fair, I have been somewhat distracted in other ways, the arrival of a new Granddaughter, Eleanor, and a spot of decorating in the house have curtailed my painting time. Progress has been made though. The Horses are finished, with a grey for the trumpeter and the officer will have a nice Black mount. The main colours are now on the troopers with just the detail to do. It’s surprising how much difference a coat of Quick shade will make to how they look and of course once the basing is finished they will be ready for the table. Perhaps this Regiment will move when ordered to!
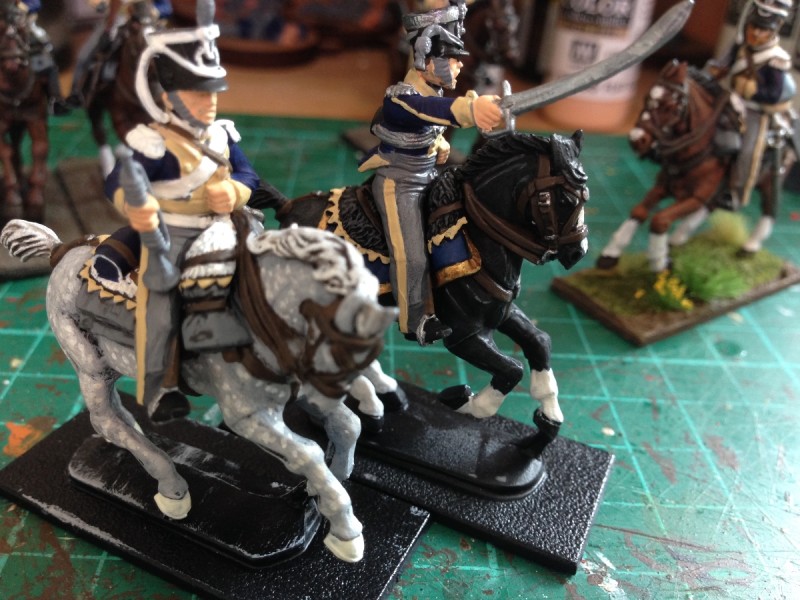
Trumpeter & officer of the 11th dragoons await the final details to be painted.